The Zoom on Cursor preference now affects all navigation tools in all views that support zooming. There is a separate Zoom on Cursor preference for zooming with the mouse wheel. See Camera Preferences.
An annotation object is a text balloon that can be used to communicate messages to colleagues who are working on the same scenes and models. Annotation objects can be selected, transformed, and parented like any other 3D object in the scene, so the balloon can point at specific elements in the viewport. See Annotation Object.
There have been several improvements for component selection:
You can Shift+double-click to select loops and ranges (Quick Loop). The Alt key workflow is still supported. See Selecting Ranges and Loops of Components.
You can double-click on a polygon to select a polygon island. Press Shift to add to the selection, Ctrl to toggle, and Ctrl+Shift to deselect. Note that Shift+double-clicking is also used to select ranges and loops. If a range or loop selection is possible in the circumstance, it will take precedence.
There are new commands on the Select  Select Loops menu. See Modifying Range and Loop Selections.
Select  Select Polygon Outline selects the edges on the outline of the selected polygons. See Selecting Polygon Outlines.
Select  Island From Selection selects all components in the same island as the current selection. See Converting Selections to Islands.
Using the Rectangle tool and clicking without dragging selects the closest element. This was always the case for objects, but now it works for components as well. You must click and drag to select all elements under the pointer.
You can access the Selection Preferences from the Select menu. In addition, the Surround Edges, Surround Polygons, and Raycast in Shaded Mode options are all available as toggles directly on the menu.
The Include Backfacing Polygons preference is on by default.
The Show Snap Targets preference toggles the display of points and other targets for snapping. See Snapping Preferences.
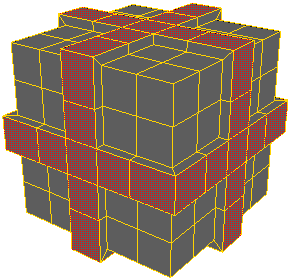
The Extrude Normal operator extrudes, duplicates, and insets components while retaining proper mitering at corners. See Copying Components Along Their Normals.
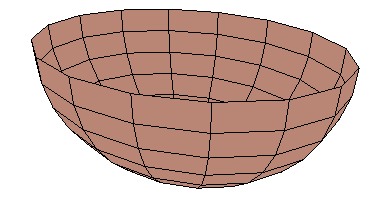
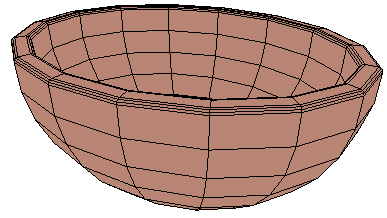
The Apply Thickness compound solidifies polygon mesh objects by adding thickness, similar to the Shell modifier in 3ds Max. See Apply Thickness.
|
|
Modify  Poly. Mesh
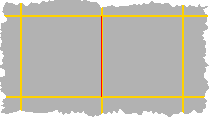
  Spin Edges "rotates" edges by cycling their endpoints around the vertices of their two adjacent polygons. See SpinEdge Op.
|
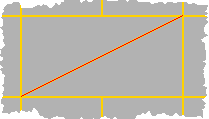
|
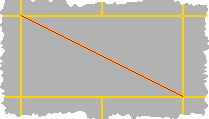
|
The Add Smooth Edge Loop tool splits parallel edges across quad topology while preserving the original surface curvature continuity.
The SplitEdge and SubdivideEdge operators have options for Curvature Continuity.
Apply Slice Between Two Vertices
The Apply Slice Between Two Vertices compound adds a range of edges intersecting all other edges between two points on a polygon mesh. See Apply Slice Between Two Vertices.
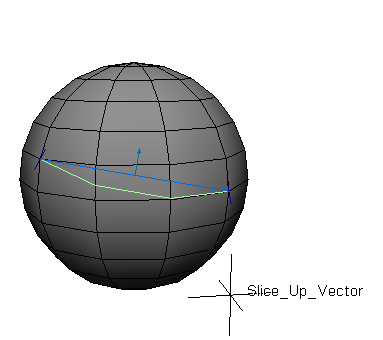
|
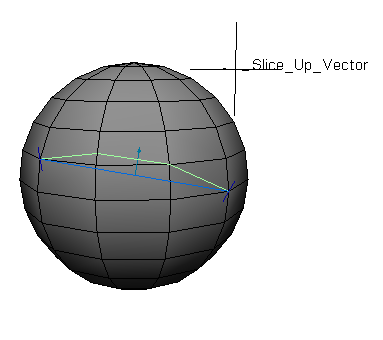
|
The new Include Animation Layers option in the Store Action dialog box allows you to bake animation layers into the base layer's animation when you store an action. See Collapsing or Storing the Animation Layers for more information.
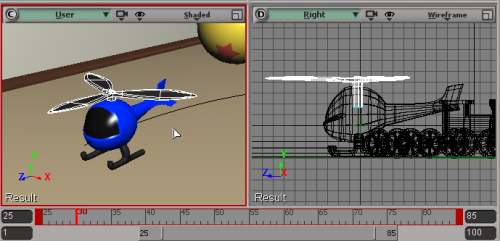
The new Highlight Active Viewport and Timeline preference in Animation Preferences lets you set a highlight around the active viewport and the timeline when autokey is on. You can also select the highlight color.
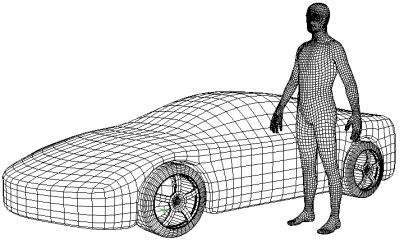
There are some new faces on the block! New polygon mesh character envelopes with predefined UVs are available in the Get  Primitive
  Model menu: Mesh - Bull, Car, Fish, Horse, Lizard, Male, and T.rex.
There is a new option in the Brush Properties to turn off normalization when painting weights. It is also linked to the existing Normalize option in the weight paint panel. You can temporarily turn this off to remove some weight from an existing deformer in order to add weight for a new one.
 Create
  Rigid Bodies command on the ICE toolbar now uses the Simulate Bullet Rigid Bodes node instead of the Simulate Rigid Bodies node.
ICE Simulation Subframe Sampling is now supported for both the Simulate Rigid Bodies and Simulate Bullet Rigid Bodies nodes.
Bullet Physics for ICE Rigid Bodies
The Bullet physics engine (v2.78) has been integrated into ICE as the Simulate Bullet Rigid Bodies node.
This node is similar to the existing Simulate Rigid Bodies node (which uses the PhysX dynamics engine) except for the following:
The transform port (Texture SRT parameter) of the Edit UV shader can now be driven by connections in the render tree.