Achieve a vast range of materials with this library of Substance parametric textures. These dynamic, resolution-independent 2D textures have small memory and disk space footprints, making them useful for exporting to games engines via the Allegorithmic Substance Air middleware offering; integration is currently provided for Unreal ® Engine 3 game engine, Emergent's Gamebryo ® game engine, and Unity. Alternatively, you can use Render to Texture to bake textures to bitmaps for use with certain renderers.
Some examples of dynamically editable and animatable parameters are: brick distribution, surface aging, and mortar thickness in a brick wall; color variation, density, and leaf type in an autumn leaves texture; and the age and number of planks in a varnished wood texture. Also, every texture has a randomizing setting to lend natural variation to your scenes.
The remainder of this introductory topic includes procedures for using the Substance feature; the following topics provide sample renders of the textures and information about the software interface.
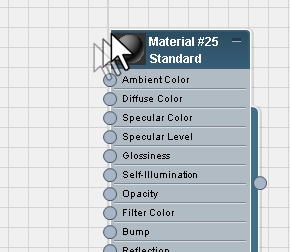
Example: To use the Substance map in the Slate Material Editor:
It is recommended that you use Substance in the Slate Material Editor (SME) rather than in the Compact Material Editor. If you would like to use Substance in the Compact Material Editor, however, a procedure for doing so follows this one.
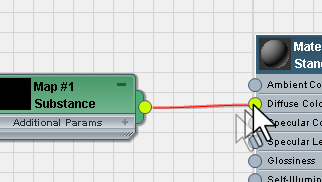
Its parameters appear in the Parameter Editor on the right side of the Material Editor.
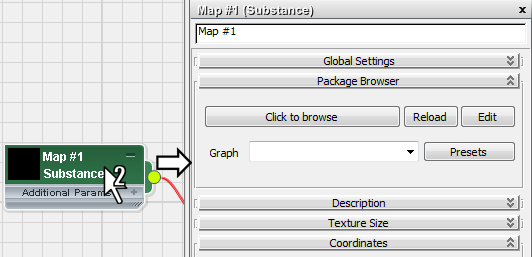
The Browse For Substances file dialog opens. By default it shows the two folders of included Substance files: Noises and Textures.
Substance files have the file name extension .sbsar.
After you open the Substance file, 3ds Max automatically inserts a Map Output Selector map node between the Substance node and the material node. This node is necessary for most Substances, which produce several different output types (or channels) simultaneously. (Some Substances produce only one output type; these don’t need the Map Output Selector.) You can use the Map Output Selector to change the type of output of the Substance map that is connected to the material input socket without having to rewire the two nodes.
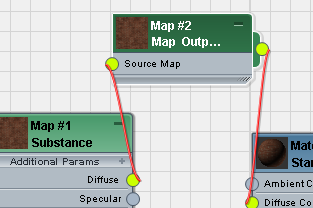
Because the Substance map produces different types of output, you can apply the same map to different material inputs, as in the following example, which shows how to use the Substance’s Normal output as a bump map.
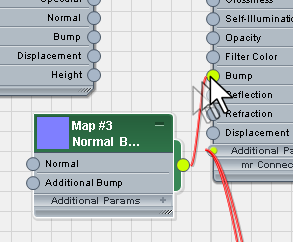
Again, after performing the wiring, 3ds Max automatically inserts a Map Output Selector node between the two nodes.
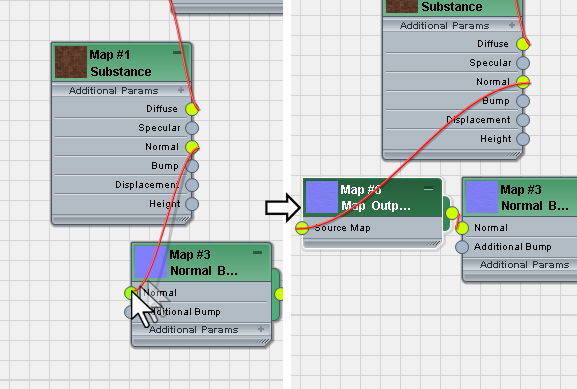
If you double-click each Map Output Selector node in turn, you can see that the first is set to the Diffuse channel while the second is set to the Normal channel.
Example: To use the Substance map in the Compact Material Editor:
For ease of use, it is recommended that you assign Substance maps in the Slate Material Editor (SME) rather than in the Compact Material Editor. If you prefer to use the Compact Material Editor, however, follow this procedure:
The Browse For Substances file dialog opens. By default it shows the two folders of included Substance files: Noises and Textures.
 (Go To Parent) to return to the Parent Map Output Selector map and set Channel Name to the appropriate output channel, such
as Diffuse.
This ensures that changing a setting in any of the Substance maps changes all of them simultaneously.
This topic provides, for your reference, an alphabetical list of all included Substances and sample rendered images as applied to a cube. In most cases, the Substance map outputs used were Diffuse for coloring, Specular to set the specular level, and Height for displacement.
The Substance interface consists of several rollouts that appear in the Material Editor by double-clicking the map node. In addition, most Substance maps include several outputs for connecting to different material map inputs.