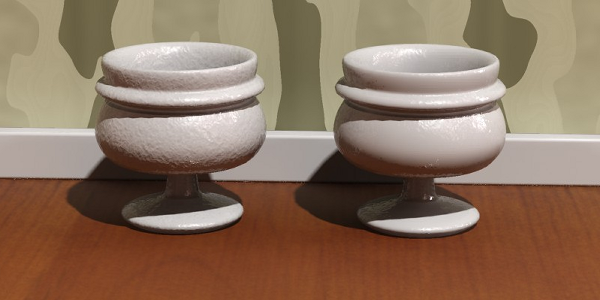
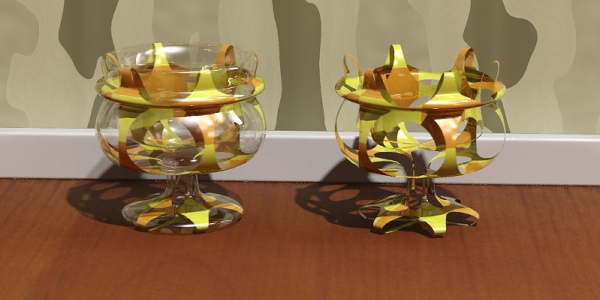
Lets you apply bump, displacement, and other maps.
Each left-justified setting has a check box for enabling and disabling the map, and a button for defining the map.

Click the map button to assign a Bump map. Use the multiplier value to adjust the strength of the bump effect.

Left: Do Not Apply Bumps ...=off
Right: Do Not Apply Bumps ...=on
Click the map button to assign a Displacement map.
The numeric setting is a multiplier value for adjusting the strength of the displacement effect.
Click the map button to assign a Cutout map. For example, you could use this feature to map an image of a tree to a flat plane and use opacity to cut away the parts of the tree that are not there.

Left: Mapped transparency
Right: Using Cutout
Click the map button to assign a local Environment map to the material.
Click the map button to assign a Self-Illumination map.