While 3ds Max has a dedicated method (Footstep mode) for creating quick and easy walking animations, you can also create walk cycles with freeform animation.
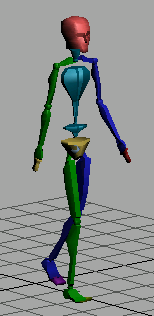
In this lesson, you’ll use animated pivot points and IK blend keys to constrain the feet to the ground plane.
Skill level: Intermediate to Advanced
Time to complete: 1 hour and 10 minutes
If you don’t use Biped to create a walk for you, it helps to know that a human walk cycle is defined by two steps: left foot to right foot, followed by right foot to left foot (or vice versa). The two steps break down into four states:
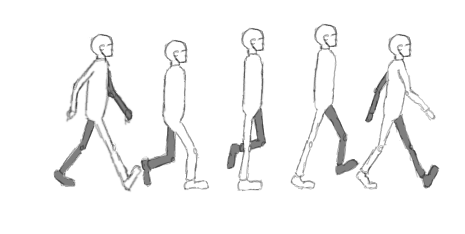
Left to right:
1. Contact
2. Down
3. Passing
4. Up
5. Contact again (same as 1, but with legs reversed)
You can start animating the cycle at any of these poses. Animators often prefer to begin with the contact pose, as that pose (in general, any extreme pose) is a good reference to build from.
You have to decide how many frames the walk cycle will use. Twelve frames yield two steps per second: this is a natural pace, which we will use in this tutorial. Cartoonists sometimes use an 8-frame cycle to create a fast, humorous walk. A 24-frame cycle would give (for film) one step per second, suitable for a slow-moving character. This tutorial uses a slightly slower 37 frames for the cycle.
 (Project Folder) and set
your current project to Autodesk 3ds Max 2011 Tutorials.
(Project Folder) and set
your current project to Autodesk 3ds Max 2011 Tutorials.