


The First Step: Pivots
and IK Keys
To use freeform animation for feet, yet keep those feet on the “ground” (the 3ds Max ground plane), you can use a system of pivot points and a few different kind of IK keys. This lesson introduces those features.
Create a biped and load a FIG file:
 (Biped), and create a biped
in the Front viewport.
(Biped), and create a biped
in the Front viewport.
 Motion panel.
 (Figure Mode), then click
  (Load File).
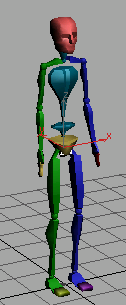
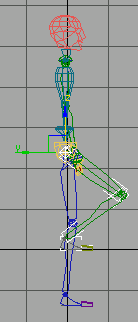
The biped takes on new structural elements stored in the FIG file. This simplified figure has one large toe on each foot and one large finger on each hand; its spine contains two segments instead of four.
 (Figure Mode).
 (Zoom Extents All).
Motion panel  Key Info rollout, click
  (Set Key).
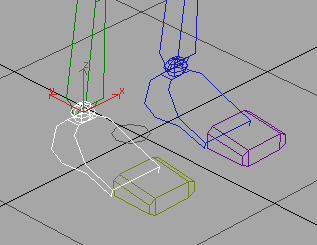
The foot is highlighted in white, and a key appears on the track bar at frame 0. You have just started a freeform animation.
Track bar key at frame 0
Set different types of keys at frame zero:
There are two ways to set character animation keys in 3ds Max. You can use the standard method of keyframing, which involves turning on Auto Key and transforming objects. It is quick and easy, but if you forget that Auto Key is on, you can set keys unintentionally.
The second method uses the Set Key buttons on the Key Info rollout. These buttons set several parameters at once. This is the method you'll use in the steps that follow.
 (Body Vertical).
This selects the biped's center of mass, Bip01,
and activates the  Move tool in one step. You’ve
set a key for the foot, but there is a problem. The foot can go
through the ground plane. See for yourself in the next few steps.
Move tool in one step. You’ve
set a key for the foot, but there is a problem. The foot can go
through the ground plane. See for yourself in the next few steps.
move the center of mass
down in the Left viewport.
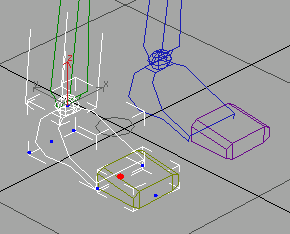
The biped moves down through the ground plane (as indicated by the grid in the Perspective viewport).
Now you’ll set a planted key. A planted key does three things: It sets IK Blend to 1, turns on Join To Previous IK Key, and also turns on Object Space. Together, these three settings ensure that the foot will not pass through the ground plane.
For more information about IK Keys, refer to the “Key Info Rollout” topic in the 3ds Max Help.
 select Bip01 R Foot again.
 (Set Planted Key).
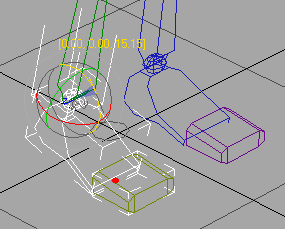
The red pivot point becomes more pronounced.
(Body Vertical), and move the biped down in the
Left viewport.
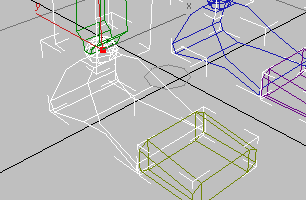
The foot stays on the ground plane, and the knee bends to accommodate the vertical movement of the biped.
Planted foot stays on ground.
Now you’ve seen the effect of the planted key on the foot. You can use the same Set Key buttons on pivot points for the feet and hands. Next, you’ll replace the key at frame 0 with a new one, changing the pivot point.
select Bip01 R Foot.
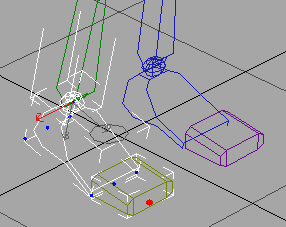
All pivot points for the foot are now visible as blue and red dots. The pivot at the ankle is red, showing that this is the currently active pivot point.
The new pivot point is displayed in red.
(Set Key).
 Rotate the foot up approximately
–15 degrees about the local Z axis to make the heel raise, and then
click (Set Planted Key).
Rotate the foot up approximately
–15 degrees about the local Z axis to make the heel raise, and then
click (Set Planted Key).
The heel lifts off the ground, the foot rotates on the ball, and the toes stay on the ground.
Now you can animate the pivot point to the toes, as the ball of the foot lifts off the ground.
(Set Key).
 (Set Sliding Key) to set
a key for the pivot.
Rotate the right foot about
–25 degrees around the Z axis so the heel continues to raise and
roll off the toes.
(Set Sliding Key) to set
a key for the pivot.
Rotate the right foot about
–25 degrees around the Z axis so the heel continues to raise and
roll off the toes. 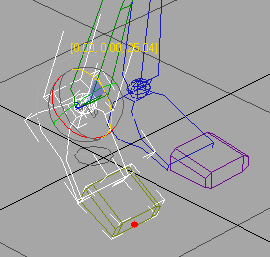
(Set Sliding Key) to keyframe
the foot rotation.
The sliding key does not join to the previous key, but has IK Blend set to 1, which keeps the foot above the ground plane. If you had set a planted key, the foot would jump to a different location as it attempted to join to the previous key.
 Create panel, click
  (Systems).
 Save the scene as walkcycle_beginning.max.