To create a rendered image of hair for either the render region or rendering to file, you apply a shader to it, just as you would for any other object in a scene. The default shader that you use to render hair is the Hair Shading shader. This is a surface shader that allows you to set the color, transparency, etc. along the hair strands. You can also use the Hair Gradient Material shader, which is another special hair shader.
As well, you can use any Softimage surface shader on hair — see Coloring Your Hair.
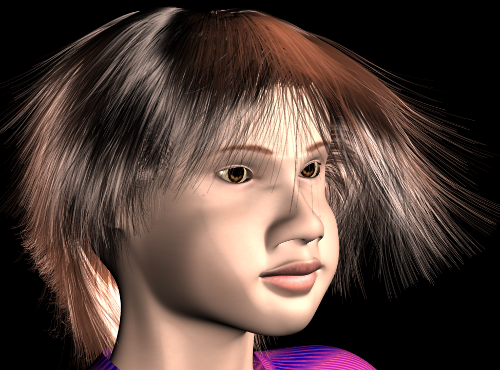
The Hair Shading shader gives you control over accurate strand coloring, transparency, and shadows than do other Softimage shaders. You can optimize the render and take advantage of final gathering.
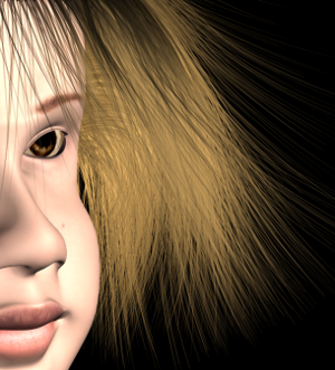
The Hair Gradient Material shader lets you set the coloring, transparency, and translucency using gradient sliders, which give you lots of control over where the shading occurs along the hair strand.
Many of the parameters of the Hair shaders are mappable (any one with a little connection icon), meaning that you can connect texture maps (not weight maps) to them to create specific effects.

For an example of this, see Creating a Surface for Texturing Curve-Based Hair.
Open their property editors in one of the following ways:
For information on setting up all parameters in the Hair Gradient Material shader, see Using the Hair Gradient Material Shader for information.
For information on coloring with the Hair Shading shader, see Getting Started with Color Presets.
For information on setting transparency with the Hair Shading shader, see Setting the Hair's Transparency.
For information on lighting and shadows with the Hair Shading shader, including shading models for hair length, see Lighting and Shadows for Hair.
The Hair Shading and Hair Gradient Material shaders use a geometry render type for rendering hair. This type is used by default unless you activate the Instancing option to render instanced geometry instead of hair — see Rendering Objects (Instances) in Place of Hairs for more information.
With geometry rendering, the same shading algorithm is used as for any Softimage surface shader. Each hair is rendered as a flat ribbon geometry (a special hair primitive) by the mental ray renderer.
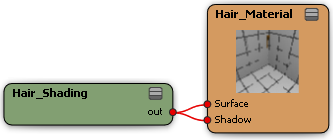
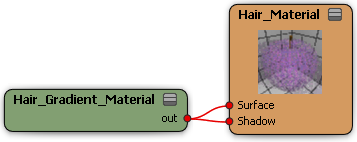
The Hair Shading shader is the default shader applied to hair. It is a surface shader that you can connect to the Surface and Shadow inputs of the hair object's Material node. You can connect the Hair Gradient Material shader to hair in the same way as the Hair Shading shader.
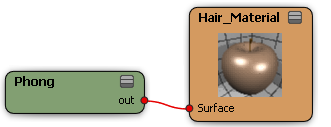
As well, you can connect other surface shaders, such as the Phong shader or a Toon shader, to the hair object's Material node.
For general information about the render tree, see The Render Tree.
The Hair Shading shader is automatically connected when you create hair. However, if you need to reconnect it, here's how:
Remove the Hair Shading shader and connect the Softimage shaders directly to the Surface input, and optionally to the Shadow input, of the hair's Material node.
For example, you can attach a Phong shader to the Surface input of the hair's Material node to change the hair's color.
You can also connect shaders, such as the Toon Paint shader, directly to the hair Material node's Surface and Shadow inputs to create some interesting results. Remember to add the Toon Lens shader to the camera to see the ink outlines.
For information on the Toon shaders, see Toon and Non-Photoreal Effects.

 Except where otherwise noted, this work is licensed under a Creative Commons Attribution-NonCommercial-ShareAlike 3.0 Unported License


 Shader