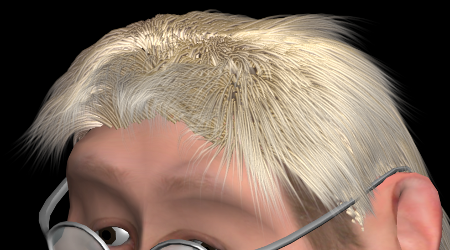
With the Hair Gradient Material shader, you can set the diffuse, ambient, and specular color shading and transparency for hair. All parameters in this shader have the option of using a gradient slider which allows you to have more accurate control of how the color shading and transparency occurs along the hair strand.
You can also add incandescence (glow) to the inner and outer hair edges. This creates a glowing appearance or makes the hair appear more "tubular," which can improve the hair's look or add the type of effect you want.
The hair's Diffuse color is its main color while the Ambient color is the hair surface's underlying ambient (shadow) color. This color gets modified by the scene's ambience. To get luminescent hair, use a high value for the Ambient parameter.
You can use the Diffuse/Ambient Blending  Use Blend Gradient option to define the mixture of diffuse and ambient along the hair strand using a gradient slider.
With the Specular parameters on the Illumination page, you can set the color and area of falloff (decay) of Specular highlights on the hair. The specular color value should be very high for dark hair and very low for light hair.
For more information on each parameter on this page, see Illumination.
Parameters in this property editor that have a connect icon beside them are mappable, meaning that you can connect texture maps to them to create specific effects.

For an example of using a texture map for colors, see Creating a Surface for Texturing Curve-Based Hair.
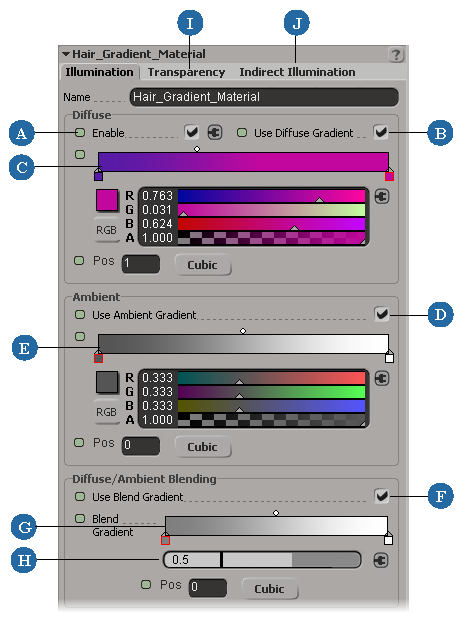
| A |
Activates the hair's Diffuse color. |
| B |
Defines the hair's Diffuse color using the gradient slider (C) that appears when you select this option. If this option is off, you can use the "regular" color controls (no gradient slider). |
| C |
The left end of the Diffuse color slider represents the hair strand root and the right end represents the hair strand tip. |
| D |
Defines the hair's Ambient color using the gradient slider (E) that appears when you select this option. If this option is off, you can use the "regular" color controls (no gradient slider). |
| E |
The left end of the Ambient color slider represents the hair strand root and the right end represents the hair strand tip. |
| F |
Defines the blend between Diffuse and Ambient colors using the gradient slider (G) that appears when you select this option. |
| G |
The left end of the Diffuse/Ambient Blend slider represents the hair strand root and the right end represents the hair strand tip. |
| H |
A value of 1 means that both Diffuse and Ambient are visible, and a value of 0 means that only Ambient is visible. |
| I |
|
| J |
See Setting the Effect of Indirect Illumination on the Hair and Adding Incandescence to the Hair. |
Using the options on the Transparency page, you can set the transparency on the hair in different ways: the overall transparency, along the hair strand's length, or across the hair strand's width.
By tapering the transparency along the hair strand, you can improve the hair's overall look and reduce hair flickering. Reduced flickering gives a much smoother look, which is required for some furry animals, and also renders faster because you don't need to have high antialiasing settings to get rid of artifacts.
Another benefit of controlling the hair's transparency tapering in this shader is that you can leave the hair width value as a constant in the Hair property editor.
For more information on each parameter on this page, see Transparency.
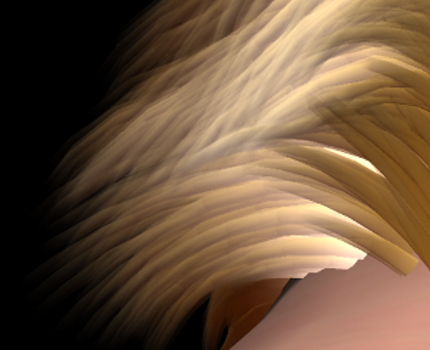
Below, hair with higher transparency Length values at the tips.
Below, hair with lower transparency Length values at the tips.
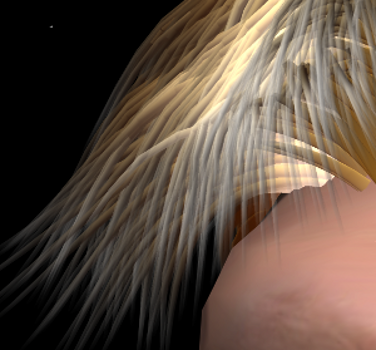
Below, hair with higher transparency Cross values at the edges.
Below, hair with lower transparency Cross values at the edges.
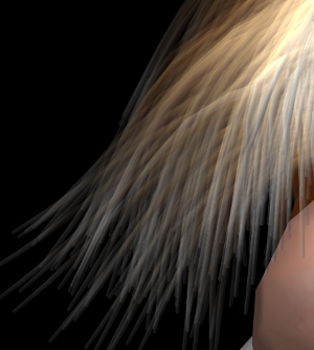
Translucency allows light to partially or diffusely pass through the hair strands. Using the Translucency options on the Indirect Illumination page, you can set the overall translucency for the whole hair strand or you can use the gradient slider to have varying translucency values along the hair strand. For example, hair is usually more translucent at the tips but less so at the roots.
Below, hair with high translucency values along most of the hair strand, then lessening at the root.

The Hair Gradient Material shader computes the illumination from both sides of the hair and adds the result. This lets you create a glow or rim lighting effect on hair, which can increase the realism of hair, especially when the hair is white or light-colored or in a brightly lit environment.
For more information on the Translucency parameters, see Indirect Illumination.
The parameters on the Indirect Illumination page let you control how global illumination, caustics, and final gathering affect the hair.
To control the effect of indirect illumination on the hair, set the value for the Radiance parameter. This controls the color and intensity (strength) of any indirect lighting effect over the hair's surface.
The color that is received on the hair from final gathering is multiplied by the color value you set here and then added on top. Be aware when you're setting this value that hair is very sensitive to final gathering because it's like thousands of tiny objects blasting color at each other in a short distance.
If you keep this value low for the hair, you can then associate an inclusive light for only the hair for shadows. This light should be quite dark so that it doesn't change the final gathering look. You can then exaggerate the specular of the hair so that it shines more from the dark light. You may also need to use negative umbra values to get dark enough shadows because of the dark light.
You can also connect a texture map to this parameter to reveal indirect illumination on a specific location of the hair.
For more information on the parameters on this page, see Indirect Illumination.
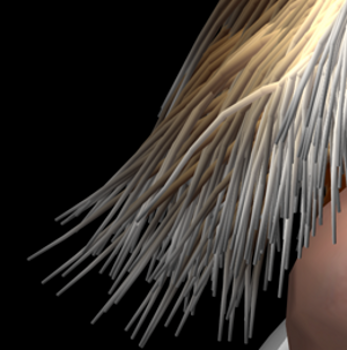
Incandescence is the emission of light from a hot body due to its temperature. This is often used to make objects look radiant, as if they are glowing or backlit. You can set the Incandescence parameters on the Indirect Illumination page to create a glow on either the hair strand's edges (rim) or its inner part (core). These parameters add an emissive color to the hair strand on top of the hair shading. You can use these parameters to improve the hair's look or add a special type of effect.
Hair appears to be more "tubular" when a light color is used on the inner core of the hair strand and a darker color is used on the edges (rim) of the strand.
With a light color used on the rim, you can create the effect that the hair is lit from behind.


On the top, incandescence is on the inner part of the hair strand.
On the bottom, incandescence is on the rim of the hair strand.
For more information on the Incandescence parameters, see Indirect Illumination.
 Except where otherwise noted, this work is licensed under a Creative Commons Attribution-NonCommercial-ShareAlike 3.0 Unported License