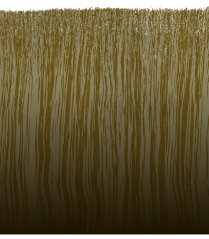
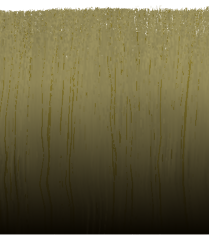
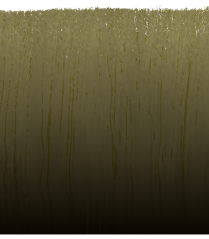
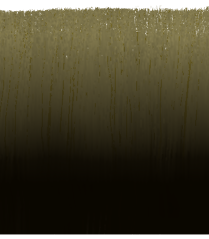
Trying to cover up those dark roots? Leaving just a touch of gray? You can do these coloring activities and more with the various illumination parameters in the Hair Shading shader. While you can apply any Softimage shader to the hair object to define color, the Hair Shading shader allows you to specify different root and tip colors, as well as where the root/tip color starts and ends.
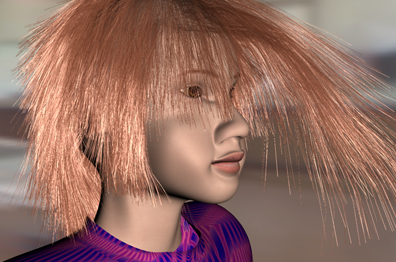
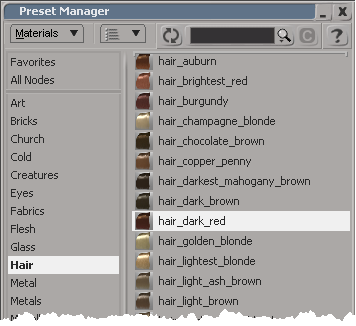
Better than a shade card from your hairdresser or private colorist, you can have drag-and-drop hair color! There are many presets to choose from for hair colors, just like having your own virtual salon. The presets are simply variations based on the Hair Shading shader. You can use them "as is" or as a starting point to creating your own custom hair color.
On the Illumination page, specify the color information for the hair strands using the parameters outlined here.
For more information on each parameter, see Hair Shading.
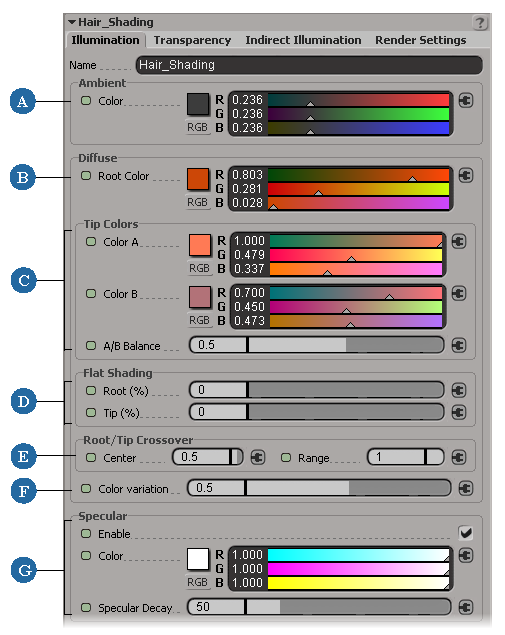
| A |
Defines the hair surface's underlying ambient (shadow) color. This color gets modified by the scene's ambience. To get luminescent hair, use a high value for this parameter. |
| B |
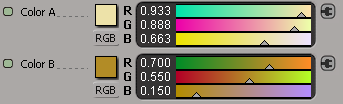
Defines the hair's root color. Setting this to a darker color than the tip colors usually adds more realism, especially for a severe blonde dye job! |
| C |
Defines the hair's two tip colors and the balance between them. |
| D |
Reduces the effects of the Diffuse color values to make the hair less sensitive to light direction (Specular color is not affected). This simulates the multiple scattering of light. |
| E |
Defines the balance between the root and tip colors. |
| F |
Adds some hue jittering on the hair's final Diffuse color, mixing in random colors of the same value (not saturation). For example, this may be useful to use when you want subtle variations in white or light-colored hair. |
| G |
Defines the highlights on the hair — see Connecting a Texture Map to Hair Color Parameters. |
All of the parameters on this page are mappable, meaning that you can connect texture maps to them to create specific effects.

For an example of using a texture map for colors, see Creating a Surface for Texturing Curve-Based Hair.
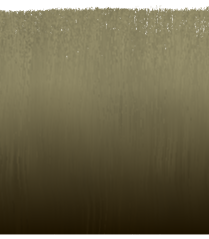
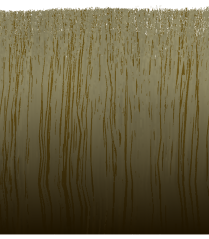
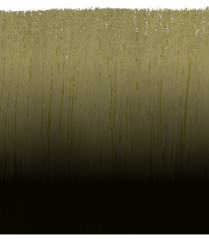
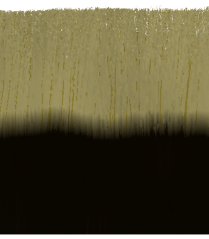
The hair's Diffuse (main) colors are divided between a tip and root color. You can easily set the root and tip colors and then choose how you want to blend them.
Tip Color A and B combine to define the diffuse color of the tip of each hair strand.
The Root Color does what you expect: it defines the hair strands' diffuse root color.
You can set the color and area (decay) of Specular highlight on the hair. Lower values for Specular Decay give a larger highlight area indicating less decay. The specular color value (not the decay) should be very high for dark hair and very low for light hair.
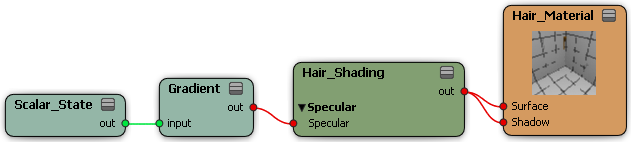
Although you can't directly set the Specular values of the hair's root and tip separately, you can do this by connecting other shaders to the Hair Shading shader.
Choose Nodes  Mixers -Processing Gradient and plug it into the Specular input on the Hair Shading shader.
Choose Nodes Data Shading State Scalar State and plug it into the input of the Gradient node.
Open the Scalar State property editor and change the State Parameter to Barycentric B/Lengthwise Hair.
This creates a white/black gradient running along the length of each hair. You can reverse the gradient direction by plugging an image processing/invert node into the tree. See About the Barycentric Hair Parameters for an explanation.
Open the Gradient property editor and change the values on the gradient slider to define the hair's root and tip specularity.
 Except where otherwise noted, this work is licensed under a Creative Commons Attribution-NonCommercial-ShareAlike 3.0 Unported License