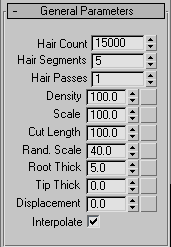
This rollout lets you set the hair count and density, the length, thickness at the root and tip, and various other comprehensive parameters.
The total number of hairs generated by Hair. In some cases this is an approximate count, but the actual count is usually very close to the specified quantity. Default=15000. Range=0 to 10000000 (ten million).
Top: Hair Count=1000
Bottom: Hair Count=9000
By default, Hair normalizes density to surface area; that is, larger polygons receive more hairs than smaller ones. If you edit the growth object in a way that changes the polygon-size ratios, use Reset Rest to adjust the hair distribution automatically.
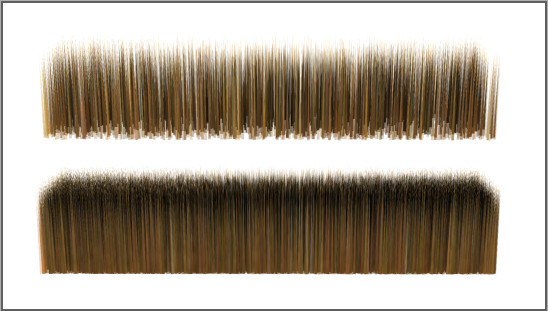
Sets the number of transparency passes. Default=1. Range=1 to 20.
Hair's buffer renderhas a fairly novel way of handling hair transparency. Instead of resolving actual hair transparency, the hair is rendered multiple times (as opaque hair) with different random seeds. These buffers are then blended together. As you increase the Hair Passes value, the transparency (or wispiness) of the hair increases. In addition, increasing the value increases the actual number of rendered hairs as well, although the apparent density, or fill, seems about the same because of the additional transparency. Render time also increases linearly.
Top: Hair Passes=1
Bottom: Hair Passes=4
 Max. Depth value (see Rendering Algorithms Rollout (mental ray Renderer)) higher than the Hair Passes value.
The numeric value sets the overall hair density; that is, it acts as a percentage multiplier of the Hair Count value. Default=100.0. Range=0.0 to 100.0.
This attribute is also mappable via the map button to the right of the spinner. Mapping lets you add a texture map to control the amount of hair. An area of the map whose gray value is 50% will reduce the amount of hair grown in that area by 50%. To change the overall hair count, use the Hair Count value (see above).
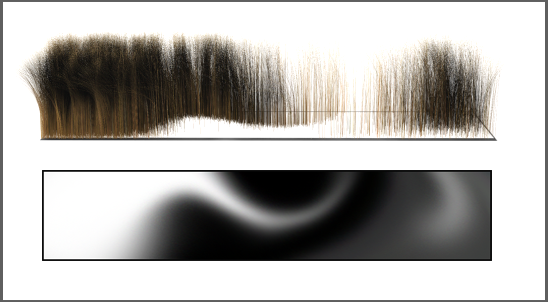
Top: Density=100.0 + map
Bottom: The bitmap used to control density
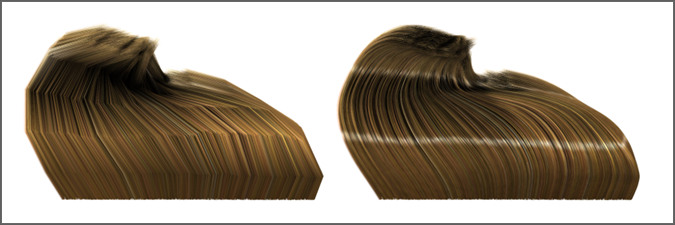
Sets the overall scaling for the hairs. Default=100.0. Range=0.0 to 100.0.
At the default value of 100.0, the hairs are full size. Reduce this value to make the hairs smaller. To make the hairs larger, use the styling tools. Default=100.0. Range=0.0 to 100.0.
This attribute is also mappable via the map button to the right of the spinner. Mapping allows you to add a texture map to control the length of the hair. An area of the map whose gray value is 50% will cut the hair grown in that area to 50% of its original length, with no shape change.
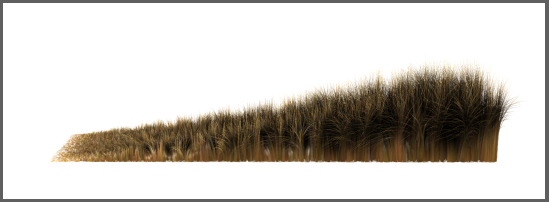
Scale value ramped from 0.0 (left) to 100.0 (right) using a linear gradient map
The numeric value sets the overall hair length as a percentage multiplier of the Scale value. Default=100.0. Range=0.0 to 100.0.
This attribute is also mappable via the map button to the right of the spinner. Mapping allows you to add a texture map to control the length of the hair. An area of the map whose gray value is 50% will cut the hair grown in that area to 50% of its original length, with no shape change.
This parameter is more computationally expensive than a density map, since each curve is re-parameterized on the fly, and should not be confused with a density map. It’s really more useful as an animated effect for growing hair (for example, creating a wolfman character).
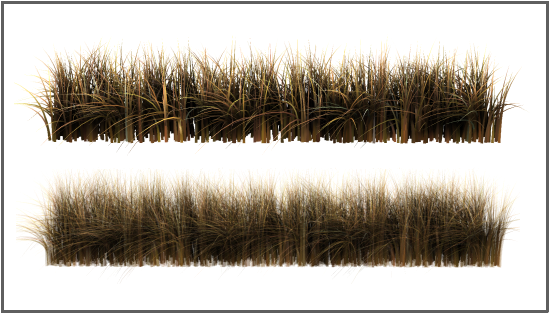
Introduces random scaling into the rendered hairs. Default=40.0. Range=0.0 to 100.0.
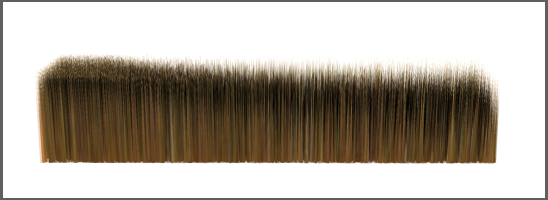
Random Scale value ramped from 0.0 (left) to 100.0 (right) using a linear gradient map
At the default value of 40.0, 40 percent of the hairs are scaled down randomly by varying amounts. At 0.0, no random scaling is introduced.
Controls the thickness of the hair at its root. With instanced hair, this controls the overall thickness as a multiplier of the original object's dimensions on the X and Y axes in object space.
This setting affects both native hair and instanced hair. With instanced hair, Root thick controls the overall thickness of the hair, not just at the root.
Controls the thickness of the hair at its tip.
This setting affects native hair only, not instanced hair. To create tapering in instanced hair, apply the tapering when modeling the object to be instanced within Hair.
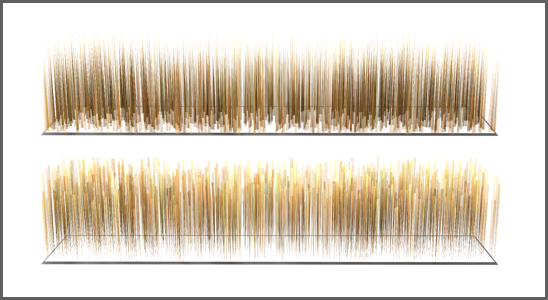
Top: Root Thick=10.0, Tip Thick=0.0
Bottom: Tip Thick=10.0, Root Thick=0.0
Hair is translucent if its width is less than one pixel. On the other hand, setting Root Thick and Tip Thick to small values (close to or less than 1.0) can be a good way to obtain translucent hair.
Displaces the hair roots from the surface of the growth object. Default=0.0. Range=–999999.0 to 999999.0.
When you render an object with a high polygon count, but use a low-polygon proxy object to grow the hair, adjusting Displacement can help make the hair seem to grow from the high-polygon object, rather than floating above it.
Another use for this setting can be animating the hair falling onto or moving away from the growth object.

 Modify panel