This tutorial is intended for those who want to take designs created in Autodesk Revit and add professional rendering effects in 3ds Max Design.
To share it with 3ds Max Design, you export Revit data as an FBX file. This format is preferable to others (such as DWG), because it can include scene metadata as well as geometry, material, and lighting information.
In 3ds Max Design, you can either import the FBX file, or use File Link Manager to maintain a live link with the project in Revit. This gives you the opportunity to update the scene in 3ds Max Design after you use Revit to edit the scene. This tutorial demonstrates the File Link technique.

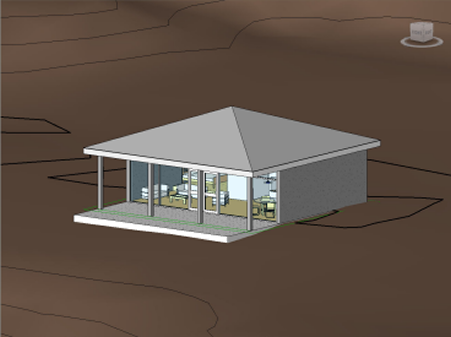
The beach house in a Revit view
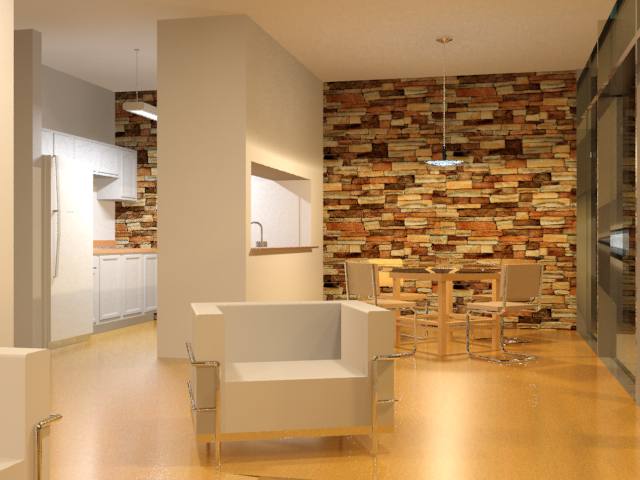
In 3ds Max Design, you can use materials, lighting tools, and cameras to create photorealistic renderings based on the Revit model.

Interior of the beach house rendered in 3ds Max Design
In this tutorial, you will learn how to:
 (Project Folder) and set
your current project to Autodesk 3ds Max Design 2011 Tutorials.