


Add Weight Shifts and Spine
Movement
For a more realistic walk, the quadruped’s hips and shoulders need to move up and down as the weight of the animal shifts from leg to leg. You will create a layer that contains this animation. Using a new layer allows you to compare the original animation with the newly created keys. When you are satisfied with the new animation, you can collapse layers to integrate the old and new animation.
 open quadruped_walk_3.max.
Create a layer for the hip and shoulder motion:
 Select any part of the quadruped,
go to the
Select any part of the quadruped,
go to the  Motion panel, and open the
Layers rollout.
Motion panel, and open the
Layers rollout.
 (Create Layer). Name the new
layer Center of Mass & Spine.
(Create Layer). Name the new
layer Center of Mass & Spine.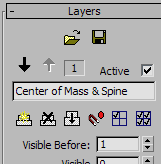


 retargeting buttons for
all four legs. Turn on IK Only as well.
retargeting buttons for
all four legs. Turn on IK Only as well.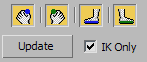
These controls preserve the IK constraints from the animation on the base layer. Without them, moving the quadruped’s center of mass (COM) would simply translate the entire quadruped, disregarding the sliding keys you created earlier to control the feet.
If you select a foot, you can see that the sliding keys now appear in the Track Bar for this layer.
Motion panel, open the Track
Selection rollout. Click  (Body Vertical) to turn
it on. This selects the COM, as well.
(Body Vertical) to turn
it on. This selects the COM, as well.
Because the quadruped is walking in place, you need to adjust only the vertical position of the COM.
 (Auto Key), then
  move the COM down slightly
(frame 1, as you might recall, is a Down pose).
move the COM down slightly
(frame 1, as you might recall, is a Down pose).
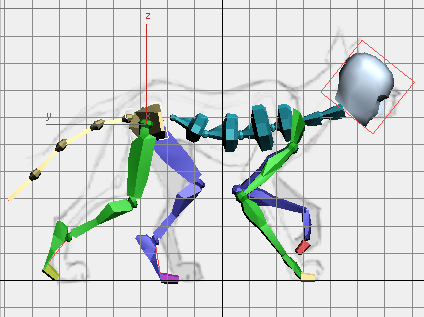
Lowered COM for the Down pose
As you animate on the Center of Mass & Spine layer, viewports show the original animation as a red stick figure with a box for a head.
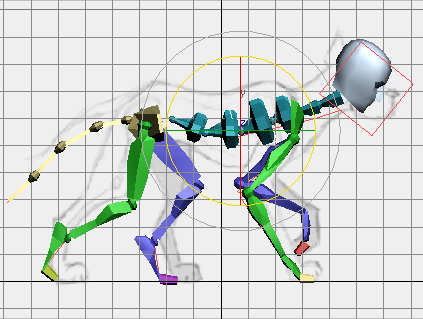
move the COM to a point
that is higher than the original animation.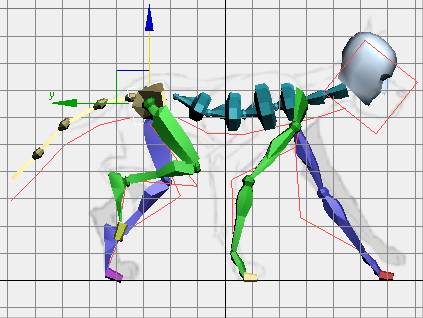
Raised COM for the Up pose
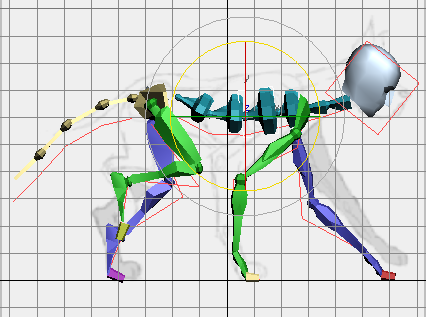
move the COM to a vertical
position midway between its heights for the Down and Up poses.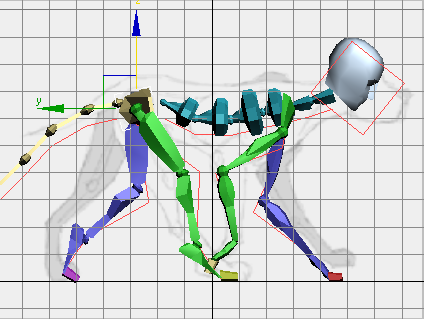
If you scrub the time slider or play the animation, you can see that the hips now bob up and down in a more convincing version of a walk. The shoulders and spine still seem rigid.
Create movement for the shoulders:
 (Auto Key) is still on.
Select the lowest spine
link, Bip01 Spine, and
(Auto Key) is still on.
Select the lowest spine
link, Bip01 Spine, and  rotate it up a bit (not
too much).
Select the next spine link, Bip01
Spine 1, and rotate this link down a
bit.
rotate it up a bit (not
too much).
Select the next spine link, Bip01
Spine 1, and rotate this link down a
bit.
The goal is to have the outline of the spine match the contour of the dog’s body in the reference sketch.
repeat these adjustments
to the lower two spine links. Again, you want to have the spine
follow the dog’s body in the sketches. At Contact for the forelegs,
the dog’s weight shifts from the pelvis to the shoulders.
In this step, you might want to adjust the third spine link, Bip01 Spine 2, down a little bit, as well.
After you adjust the
spine, if the forefeet don’t appear to be reaching the ground plane
properly, go to the Layers rollout  Retargeting group, and click Update.
If you scrub the Time Slider, you can see that the spine already has a more fluid movement.
rotate the spine links to
follow the dog’s body. For this pose, the spine should be a bit
higher than the pelvis.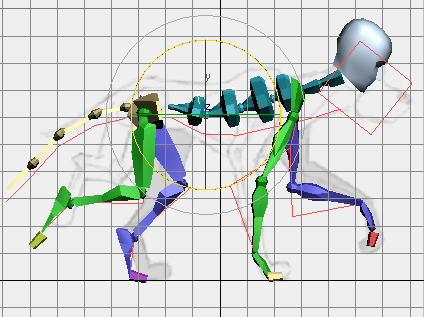
With the spine movement added, the quadruped looks less like a robot and more like an animal walking.
select the head of the quadruped.
 (Set Key).
This sets a key for the head and the upper neck link, Bip01 Neck1.
Select the lower neck link, Bip01 Neck, then
click (Set Key) to set a key for
it as well.
You’ve now set up a reference pose about which other head poses can move. Head movement is secondary motion. It’s called “secondary” because the walk doesn’t depend on it, and it doesn’t affect the leg or body motion. However, secondary motion can add a great deal of life to an animation.
(Auto Key) is on, then rotate the neck and head
upward slightly.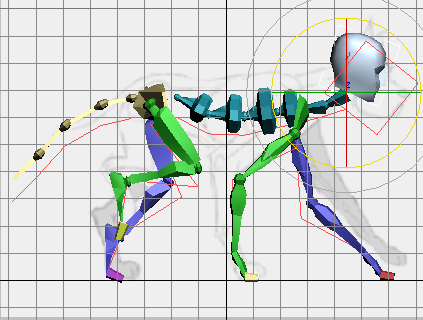
The idea is that in general, the dog looks where it is going when it’s forelegs are in the Contact position.
Rotate the neck links so
they are roughly parallel to the ground, and then rotate the head
so it is looking slightly down.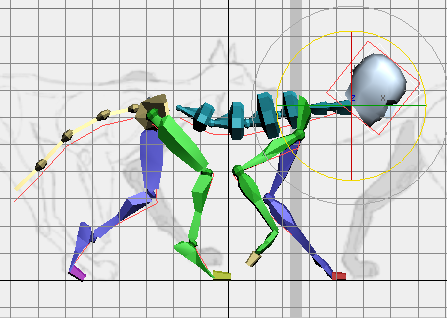
As you probably noticed, frame 11 comes one frame after the Down pose at frame 10. Secondary motion tends to lag a little behind primary motion. Also, setting keys slightly out of phase in this way helps keep the animation from appearing too mechanical.
 Save the file as my_quadruped_legs_spine_head.max.