


Polish the Walk Cycle
 open quadruped_walk_4.max.
 Select any part of the quadruped,
then go to the
Select any part of the quadruped,
then go to the  Motion panel.
 (Collapse).
Now the scene contains only a single layer of Biped animation: the keys you created on the Center of Mass & Spine layer are transferred to the main timeline.
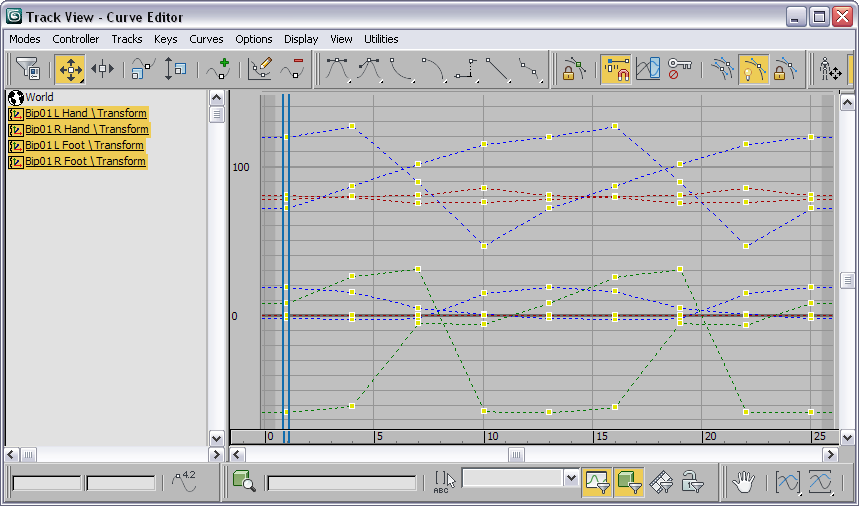
Click and Ctrl+click to select all four of
the quadruped’s feet.
 (Curve Editor (Open)).
 (Filter - Selected Tracks
Toggle).
(Filter - Selected Tracks
Toggle).
This simplifies the Controller window display by showing only selected tracks.
 (Zoom Horizontal Extents) and
  (Zoom Value Extents) (on
the Track View status bar) to see all the keys.
(Zoom Value Extents) (on
the Track View status bar) to see all the keys.
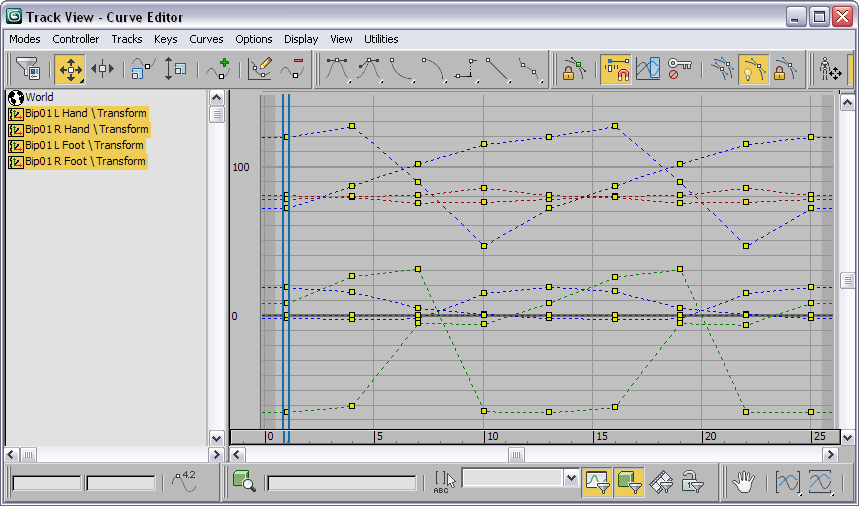
 (Set Tangents To Smooth).
Smooth tangents give the animation a more organic feel, making it less abrupt.

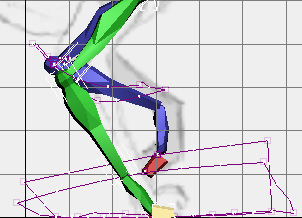
Trajectories of the dog’s right forefoot and knee before smoothing
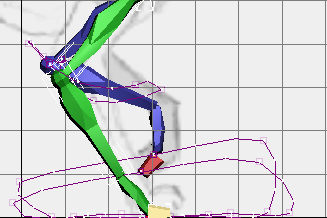
Trajectories of the dog’s right forefoot and knee after smoothing
 Play the animation.
The dog’s walk is now much smoother, and feels more “integrated”: more a single movement, and less a collection of individual movements.
Give the shoulder blades more freedom:
 (Auto Key). Go to frame
1, select the dog’s shoulder blade (Biped01 R Clavicle), then
(Auto Key). Go to frame
1, select the dog’s shoulder blade (Biped01 R Clavicle), then  rotate it up about 35 degrees
in the local Z axis.
rotate it up about 35 degrees
in the local Z axis.
 (Copy Posture).
 (Paste Posture) to paste
the shoulder blade posture at frame 13.
(Paste Posture) to paste
the shoulder blade posture at frame 13.
Pasting the pose lifts the dog’s foot off the ground, and we don’t want that to happen.
 (Paste Posture Opposite)
to paste shoulder blade posture onto the left shoulder blade at
frames 1, 13, and 25.
(Paste Posture Opposite)
to paste shoulder blade posture onto the left shoulder blade at
frames 1, 13, and 25.
 Switch to display all four
viewports before you preview the animation.
Switch to display all four
viewports before you preview the animation.
We have been working mostly in the Left viewport, but this is a three-dimensional animation, and it helps to look at the motion from other points of view.
With more movement in the shoulder blades, the quadruped walk has more of a loping feel to it: a gait that we associate with wolves and larger dogs.
Add some side-to-side movement to the pelvis:
Maximize the Top viewport.
 (Auto Key) is on.
 (Angle Snap Toggle). Then
at frame 1, rotate the pelvis to the
dog’s right, 15 degrees in the local Y axis.
(Angle Snap Toggle). Then
at frame 1, rotate the pelvis to the
dog’s right, 15 degrees in the local Y axis.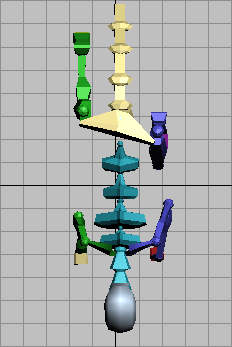
Rotate the pelvis to the
dog’s left: –30 degrees in the local Y axis.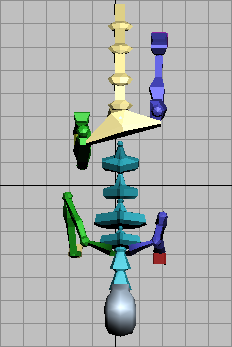
restore the pelvis back to
its frame 1 position: 30 in the local Y axis.
You can preview the animation, but the pelvis movement is really a basis for the spine movement, which you will add next.
Add side-to-side movement to the spine:
(Auto Key) and  (Angle Snap Toggle) are
both on.
select the lowest link of
the spine, Bip01 Spine.
Rotate Bip01 Spine to the
dog’s right, 15 degrees in the local Y axis.
(Angle Snap Toggle) are
both on.
select the lowest link of
the spine, Bip01 Spine.
Rotate Bip01 Spine to the
dog’s right, 15 degrees in the local Y axis.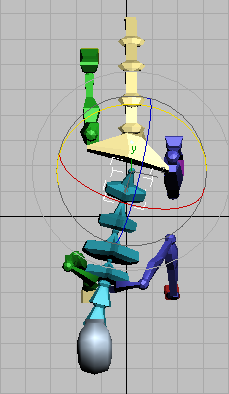
Notice that Biped maintains the head facing forward, which is what you want it to do.
rotate Bip01 Spine02 –10 degrees
in the local Y axis, and then rotate Bip01 Spine03 (the
shoulders) –15 degrees in the local Y axis.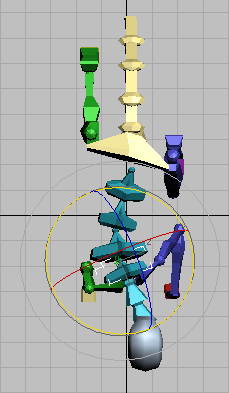
The spine describes an S-curve as the dog walks, with the shoulders rotating in the opposite direction from the hips.
Rotate the three spine links
in the opposite direction: –15 degrees
in the local Y axis for Bip01 Spine; 10 degrees
for Bip01 Spine02; and 15 degrees
for the shoulders, Bip01 Spine03.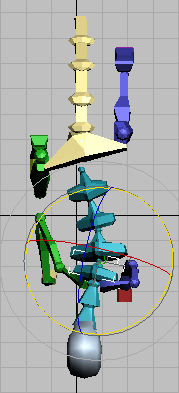
Because of other Biped keys, the spine returns to a straight posture by frame 5, so you don’t have to “overcompensate” the rotation value as you did for the hips.
rotate the spine to its frame
1 position: 15 degrees in the local Y axis
for Bip01 Spine; –10 degrees
for Bip01 Spine02; and –15 degrees
for the shoulders, Bip01 Spine03The last bit of movement to add is, appropriately, the tail, which mirrors the spine movement in a similar S-curve. Like head movement, tail movement is a secondary motion that doesn’t affect the mechanics of the walk, but does give it greater realism.
Add side-to-side movement to the tail:
(Auto Key) and (Angle Snap Toggle) are
both on.
select the lowest link of
the tail, Bip01 Tail.
Rotate Bip01 Tail to
the dog’s left, –15 degrees in the local Y axis.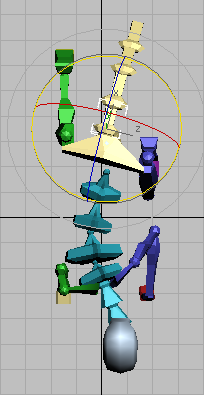
Rotate the remaining three
tail links in the opposite direction, to counter the side-to-side
motion of the spine.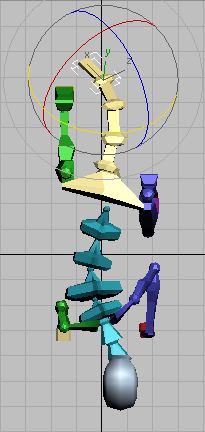
rotate the tail links to
mirror the frame 1 pose.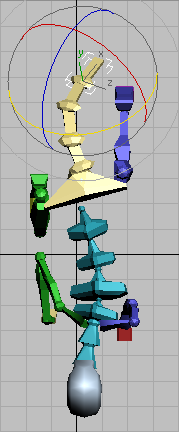
restore the tail to its
frame 1 pose.
(Auto Key).
Correct the intersecting feet:
The last bit of “polish” to add to the dog’s walk is to remove the intersecting feet that was a result of simple footstep blocking.
(Maximize Viewport Toggle)
so you can see all four viewports.

 move the foot up and out
of the way of the hind foot, and then click
move the foot up and out
of the way of the hind foot, and then click  (Set Sliding Key).
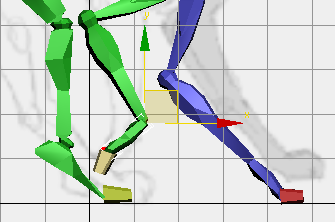
Now the forefoot lifts out of the way before the hind foot steps down. Scrub the time slider to make sure you’ve corrected the intersection: the forefoot should lift from the ground just before the hind foot descends.
Here there is the same problem with the left feet intersecting.
move the left forefoot up
and away from the descending hind foot, and then click (Set Sliding Key).
Now neither the right nor left feet intersect during the walk.
Switch to all four viewports,
and play the animation.  Stop playback when you’re
done.
Stop playback when you’re
done.
 Save the file as my_quadruped_completedwalk.max.
To see a completed version of the animation, open quadruped_walk_completed.max.
In essence, a quadruped walk cycle combines two biped walk cycles. This tutorial demonstrated the ForeFeet toggle that enables hands to behave as feet, with sliding keys on the ground plane. It also showed one way to smooth tangents for a better-integrated animation.
Notes on Looping and Reloading Biped Animation
To loop the quadruped walk (or other Biped animation), 3ds Max doesn’t allow you to use Parameter Curve Out-Of-Range Types, but you can use the Motion Mixer to loop a walk cycle.
Also, when you have rotated the COM as you did for the quadruped, if you save the motion as a BIP file you should save a FIG file as well as a BIP file. Then the method to use depends on how you are loading the BIP file:
 (Load File) on the Motion
panel, in the Open dialog, turn on Restructure Biped To Match File.
load the FIG file onto your Biped.
(Load File) on the Motion
panel, in the Open dialog, turn on Restructure Biped To Match File.
load the FIG file onto your Biped.
The FIG file saves the COM rotation data, so you need to load it before loading the BIP animation: Otherwise, the orientation of the motion will not match the rest of the scene.