


Block the Steps for the
Hind Legs
Creating steps for the hind legs essentially repeats the work you did for the forelegs.
 (Move) and
  (Rotate) to pose the hind
legs in the Down pose, using the reference sketch as a guide.
(Rotate) to pose the hind
legs in the Down pose, using the reference sketch as a guide.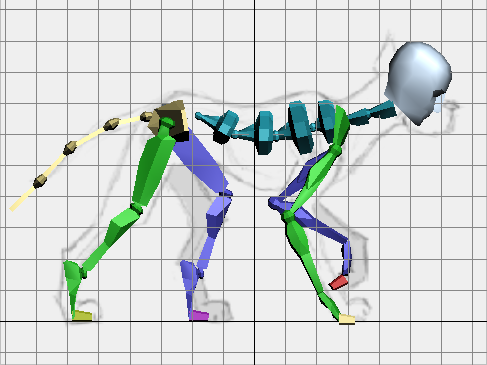

 Set a sliding key for each
foot.
Double-click the right thigh
to select the whole hind leg, then click
Set a sliding key for each
foot.
Double-click the right thigh
to select the whole hind leg, then click  (Copy Posture).
 (Paste Posture).
 (Paste Posture Opposite).
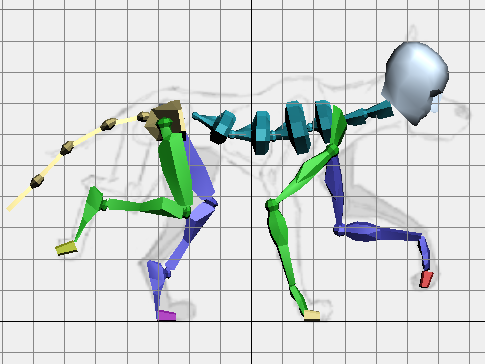
(Move) and (Rotate) to pose the legs at
the intermediate frames, as follows:
Set sliding keys for the feet.
(Paste Posture Opposite).
(Move) and (Rotate) to pose the legs at
the intermediate frames, as follows:
Set sliding keys for the feet.
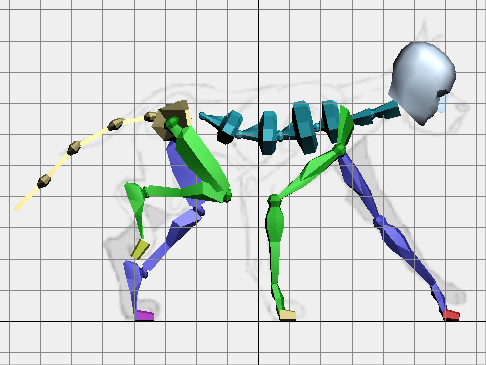
Copy poses to the second half of the walk cycle:
copy the intermediate poses
and paste them to the opposite
hind leg in the second half of the walk cycle, as follows:
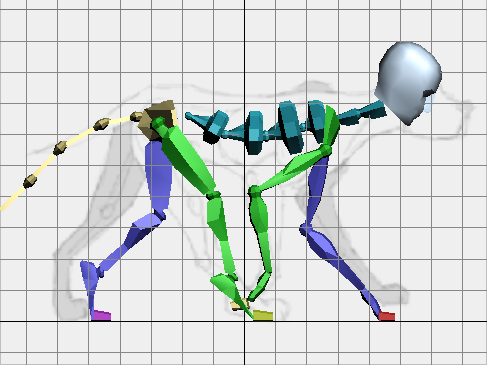
 Click Play to see the animation.
Now all the legs move in a plausible walk cycle. The effect is still a bit stiff and mechanical: you will correct that in the following lesson.
 Click Stop.
 Save the file as my_quadruped_alllegs.max.