Making a Biped Stop and
Start Walking
In just a few key strokes, you can generate multiple footsteps to make a biped walk. But what if you want the biped to stop and pause? To do that, you'll use a simple manipulation of the footstep keys in the Track View - Dope Sheet. Just stretching the length of the selected footsteps changes the animation so the biped pauses in its path.
Make the biped stop and start:
 Motion panel.
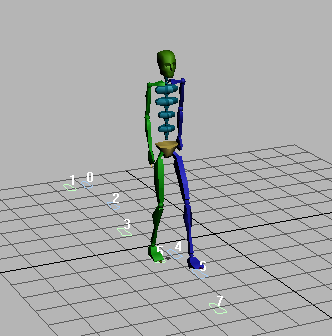
 Play the animation of the
biped.
Play the animation of the
biped.
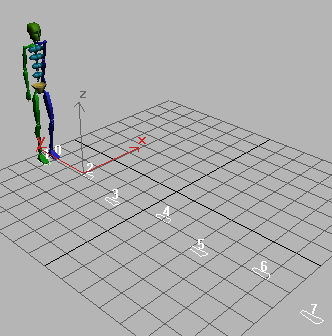
The biped walks seven steps forward without stopping.
You'll use footsteps 4 and 5 as the footsteps where the biped pauses.
 (Footstep Mode).
The animation looks a little funny right now; something's not quite right.
It's good practice to deactivate the footsteps, and then create new keys from the moved footsteps. This will recreate the correct upper body motions. You'll do that next.
Create keys to correct upper body motions:
Motion panel  Footstep Operations
rollout, click
Footstep Operations
rollout, click  (Deactivate Footsteps).
To manipulate the footstep keys, you'll use Track View in Dope Sheet mode.
Track
View - Dope Sheet.
Transform track,
and click to highlight it.
Bottom.
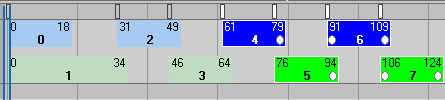
In the Dope Sheet, the selected keys appear in a brighter color, with white dots on them.
Keys 4 through 7 are selected, but keys 4 and 5 display only one white dot.

Frames are automatically added to the animation.

The light grey background extends behind the footstep keys. The time slider now shows that there are 230 frames in the animation.
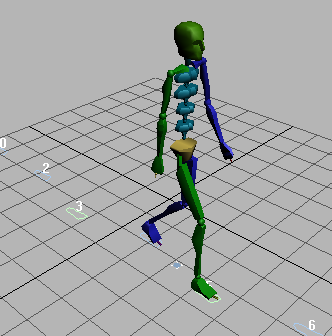
The biped walks, then stops and waits, and then walks again. The motion seems a bit odd, though, as he steps off around frame 180.
 (Create Keys For Inactive
Footsteps).
(Create Keys For Inactive
Footsteps).
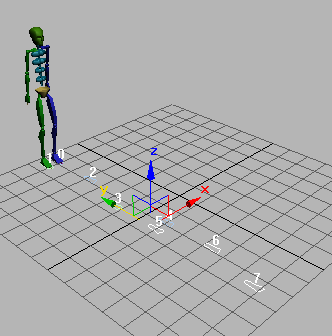
The motion is better. When new keys are created, 3ds Max applies a new upper-body motion.
You can  open standstill_final.max to see a version
of the completed scene.
open standstill_final.max to see a version
of the completed scene.