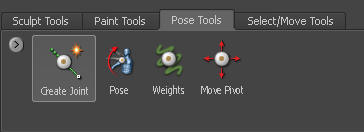
As you create joints, you simultaneously specify the joint location, its relative influence on the surrounding vertices of the model, and its default behavior when the affected vertices are translated using the Pose tool. You can edit these items as required using the Weights or Move Pivot tools.
For models rigged using other 3D applications, Mudbox can import the model with joints using the FBX file format so that the joints can be used for posing, deformation, and sculpting within Mudbox. For more information, see Import using FBX.

Drag the Weights Vector a short distance away from the joint (pivot) to define a small transition region, so that only vertices close to the joint are affected when the model component is deformed using the Pose tool.
Drag a longer distance away from the joint to create a larger region of influence, so that more vertices further away from the joint are affected as you deform the model.
Adjust the angle of this ring in relation to the model by dragging the Weights Vector around the joint. Depending on your requirements for deformation, you can adjust the joint boundary to appear perpendicular to the model component or at an angle. The angle of the joint boundary affects the default region of influence for the joint.
Both of these give you interactive feedback on the region of influence for this joint, and how deformations will occur in relation to the joint as you use the Pose tool.

When you place the joint, Mudbox attempts to center it in the volume by default. This makes it a quick and easy process for positioning the joint from any vantage point in the 3D View and provides an initially good default placement in most situations.
The saturation of the weight color indicates the amount of influence the joint has on those faces when the affected component is posed or deformed. When the weight color is fully saturated, the faces are fully affected by the joint when the component is deformed. When the weight color is less saturated, the faces are less affected by the joint when the component is deformed.
You can select from different methods for setting this initial weighted region using the Weights options in the Create Joint properties. You can also adjust the weighted region using the Weights tool. See Adjust a joint's region of influence.
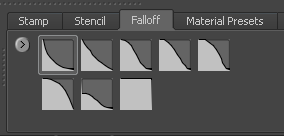
How the weight color diminishes with distance from the joint is initially based on the falloff curve selected in the Falloff tray when you select the Create Joint tool. You can further customize the falloff using the Weights tool. (See Adjusting tool falloff.) The falloff curve is used as the guide along the range of influence you create when dragging the Weights Vector.

The joint displays as a dot, and green highlighting indicates the region of influence for the joint.
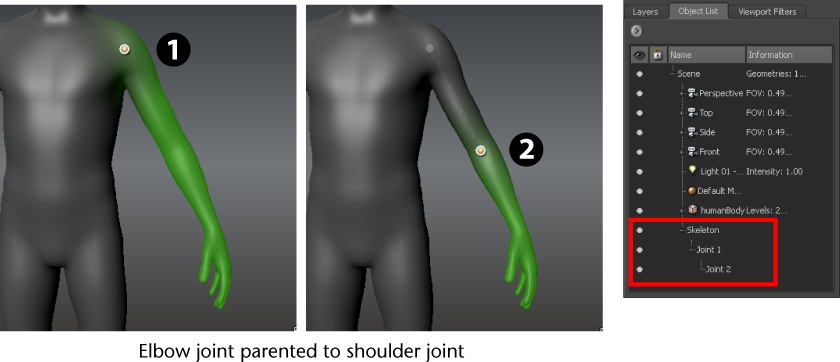
As you create additional joints, Mudbox automatically organizes the joint objects under a Skeleton object in the Object List. The hierarchical structure of this skeleton is determined by your placement of joints.
A smart auto-hierarchy logic creates joint hierarchies based on the influenced vertices as follows:
For example, if you create a shoulder joint with a weighted region on the whole arm, then create a joint at the elbow and drag to establish weighting toward the wrist, the elbow joint is auto-parented to the shoulder joint. A bone object displays between the two joints to indicate this relationship.

To create symmetrical pairs of joints
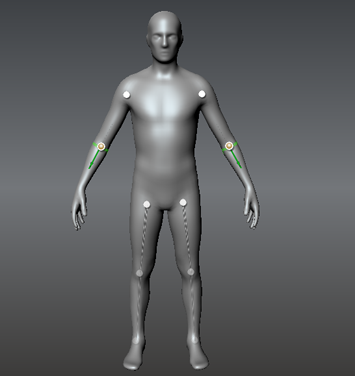
One joint is created where you click, and another joint is created on the opposite side of your selected axis of symmetry.

Import models with existing joints
Adjust a joint's pivot location