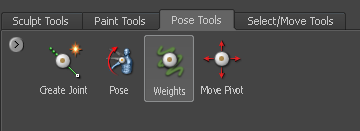
Sometimes a joint’s default region of influence, also referred to as the joint weight, does not produce the desired results as you pose the model components. You can improve the deformation results by modifying the joint weight (region of influence) using the Weights tool.
The Weights tool works exactly like the other paint and masking tools by letting you stroke on the surface of the model to add or subtract weighting color in areas of the model you want affected by the selected joint.
Adding or subtracting weight color to vertices on a model increases or decreases the amount of influence the active joint has on those vertices when it is posed.
Just like other paint tools, you can adjust Weights tool properties like Size, Strength, and Mirror. You can also customize the weight paint color in the color preferences (Windows > Preferences > Color) by adjusting the Joint Weight color.
Weight color displays for a joint when it is created and when it is selected.

If the model is in mid-pose (uncommitted), painting or smoothing weight color automatically updates the vertex positions to reflect the adjusted weight value, provided you have not exited the Pose tools to use a Sculpt or Paint tool. (See Committed and uncommitted poses.) Otherwise, the vertices update to reflect the new weight values the next time the you pose the joint.
If you want the Weights tool to remove paint by default, turn on the Invert option in the Weights tool properties.
Use the camera navigation keys to dolly and tumble the model as you paint weights. If you unintentionally add weight to an area you do not want affected by a joint, it will become obvious when you pose the model and those vertices move.
Keep in mind that adjusting the weights is one method for improving the final results when posing and deforming your models. Consider using the Sculpt tools for quickly adjusting unwanted folds and bulges that can occur.