Move CVs relative to their curve or surface


How to move CVs along the U, V, and normal directions of their curve or surface.

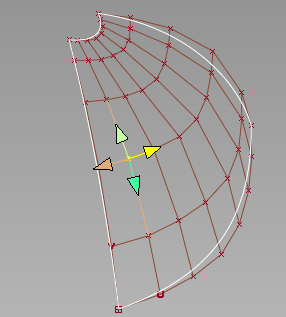
Show CVs on the picked objects

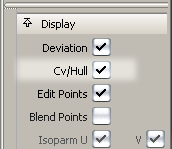
Click the Cv/Hull checkbox in the Display section of the Modeling control panel.

or do the following:

  1. Choose ObjectDisplay > Control .
  2. Set Scope to Active and turn on the CVs checkbox.
  3. Click Go.
Note

If CVs are not displayed, clicking on the object(s) while inside the Transform CV tool automatically turns on all CVs and hulls. As soon as you choose a different tool, the CVs and hulls are turned off again.

Move CVs relative to their curve or surface

  1. Choose Control Panel > Transform CV.
  2. In the Transform CV section of the control panel:
    • Choose Move from the Transform menu
    • Choose NUV from the left Mode menu.
  3. Pick the CVs you want to move. To select additional CVs, hold and click them.
  4. Drag a mouse button to move the CVs:
    • Drag the 
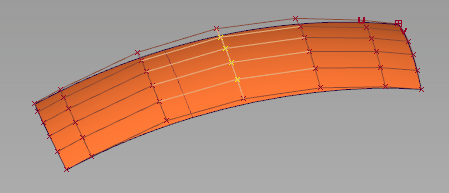
to move along the normal.
    • Drag the to move along the U direction.
    • Drag the to move along the V direction of a surface.

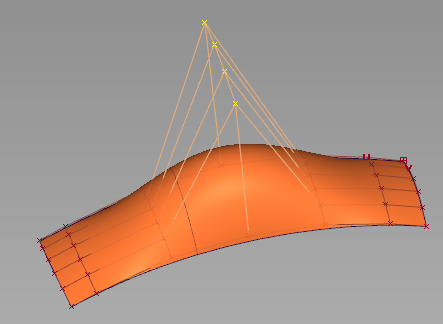
    Moving four CVs along the surface normals.

Note

The Transform > Modify > Move CV Normal tool in the Palette works in a similar fashion.

Move CVs along their hulls

  1. Choose Control Panel > Transform CV.
  2. In the Transform CV section of the control panel:
    • Choose Move from the Transform menu
    • Choose SLIDE from the left Mode menu.
  3. Click the CV you want to move. To select additional CVs, hold and click them.
  4. Click the arrow on the hull you want to move the CVs along, then drag to move the CVs.
NoteYou can also use the Hot Spot Interface to switch between options in order to reduce mouse movement across the screen.