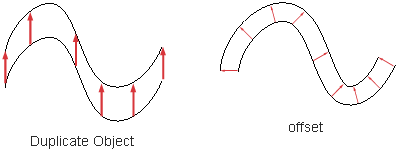
Offset a curve or curve-on-surface
Creates a copy of a curve that is offset from the original (every point on the copy is a specific distance from the corresponding point on the original).
 .
.
An approximation of the new curve(s) appears.
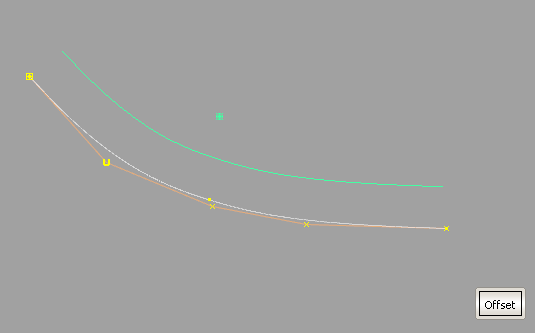
 left and right to change the offset distance.
 key while clicking them or using a pick box.
I get strange results when I try to offset a curve?
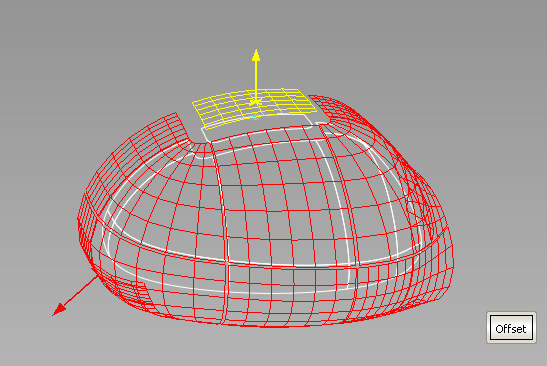
When offsetting surfaces using Object Edit > Offset, the surfaces are grouped based on topology, and an arrow lets you choose the direction of the offset for each group, so
that all surfaces in a group are offset in the same direction, regardless of their initial orientation.
(See Normals and surface orientation for more information on surface orientation).
Offset several surfaces in the same direction simultaneously
Surface sets are created based on topology. Each set shows an offset preview of a different color with an arrow indicating the unified direction of the offset.
The Topology Distance (in Preferences > Construction Options) is used to determine which surfaces form a unified set that must be offset in a single direction.
key while clicking them or using a pick box.
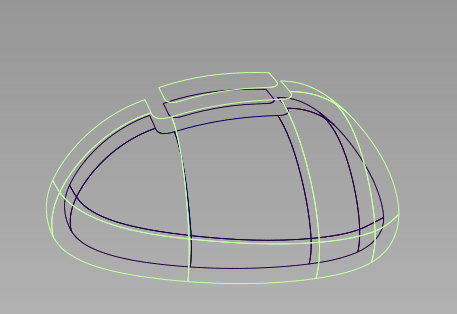
The offset preview updates.
The offset surfaces are created and grouped.
Offset multiple surfaces while maintaining continuity
Use Surface Edit > Claymate . Note that Claymate is not included with all Alias products.
.
The Claymate Options window appears.
The Claymate Control window appears.


