Use paint tools to reshape a concept
- Assign all the 3D geometry to a geometry layer and make the layer invisible.
- Choose Paint Edit > Make Warp Shape
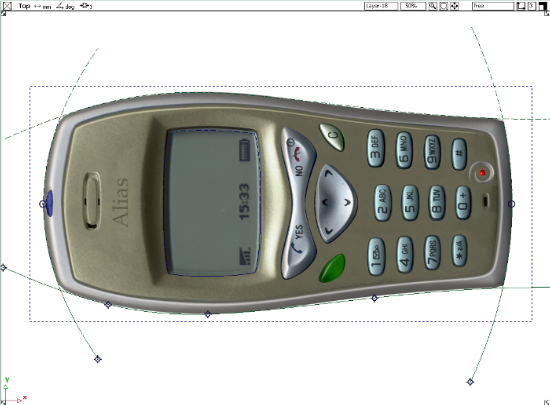
 . Create a curve warp shape by picking the curves highlighted in red on the paint layer used for the Phone Body. Note we have
selected the outer curves and the curves used to define the LED display, because we want to maintain the shape of the LED
area and deform only the body. Choosing the LED curves effectively stops the deformation from continuing past the LED curves.
. Create a curve warp shape by picking the curves highlighted in red on the paint layer used for the Phone Body. Note we have
selected the outer curves and the curves used to define the LED display, because we want to maintain the shape of the LED
area and deform only the body. Choosing the LED curves effectively stops the deformation from continuing past the LED curves.
- Use any curve modification tool to adjust the shape of curves. In this example, we have modified a blend curve point to pinch
the body of the phone. We don’t modify or the LED curves because we want this area unaffected by the curve warp process.
- Watch how the image layer warps as the 2D curve is modified.
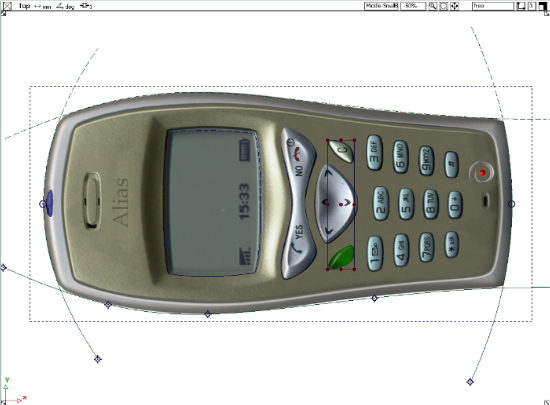
- Select the image layer displaying the small buttons.
- Choose Paint Edit > Deform Image Layer
 . This tool globally deforms everything on the active layer, whereas curve warp is typically used to locally deform the active
image layer.
. This tool globally deforms everything on the active layer, whereas curve warp is typically used to locally deform the active
image layer.
- Use the image deformation handles to adjust the shape of the buttons to match the new body shape.
- Change the image layer and adjust the position and shape of the upper small buttons.
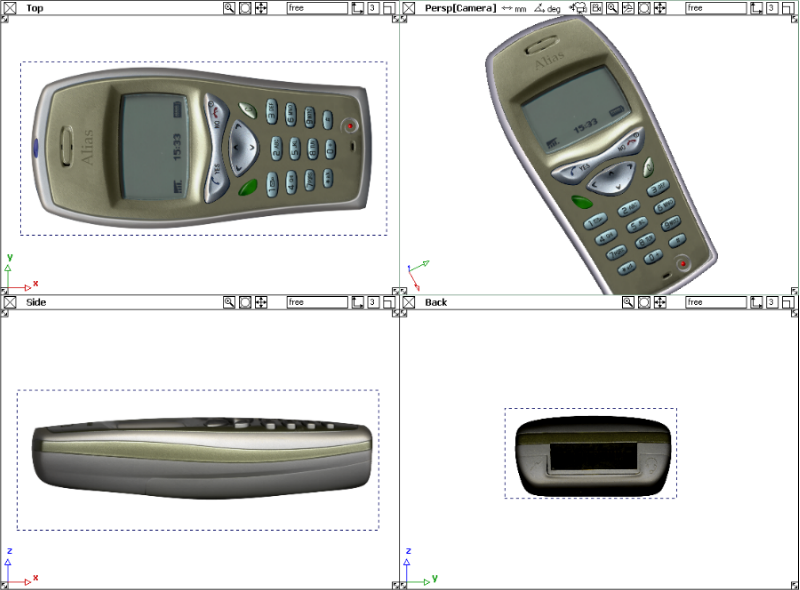
- Make the 3D geometry visible again, and wait a few seconds while the construction history updates the 3D geometry. For this
example, we used the same curves for the 2D shapes, 3D primary surfaces, 3D transitional surfaces, and the warp shapes that
deformed the 2D phone body.
- The final stage in this process is to update the sketch projection references so updates to display the new warped and deformed sketch.
To update the sketch projection references either choose in the , or reselect the surfaces and choose Canvas > Project Sketch again.
As you see, you can use paint to add design details to quick 3D concept models, quickly and easily change a design using curve
warp and image deformation, and use 2D & 3D can be used together as a powerful design tool.
Modify the color
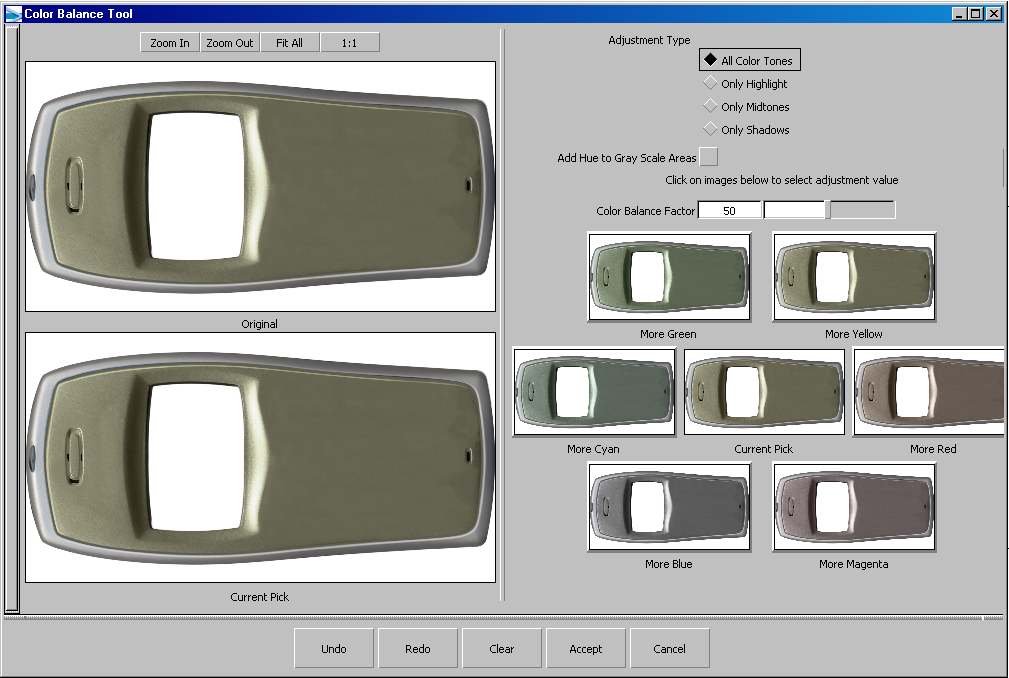
Time to make one quick and final change to this design concept: adjust the colour of the body.
- Select the image layer that has the main body on it.
- Open Paint Edit > Color Correction > Color Balance
 .
.
- Adjust the color balance sliders, then click one of the color thumbnails to select the color change. When you’re happy with
the color representaiton, click at the bottom of the window.
The 2D sketch is now updated to a new color.
- Update the sketch projection file references and tumble your model in the perspective window.
Using sketch projection to add detail does not replace adding the design detail: it does allow the designer to postpone building
the design detail during the conceptual design phase of design.