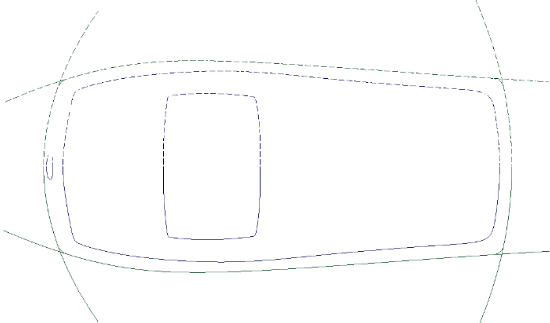
Develop a simple model using the same curves
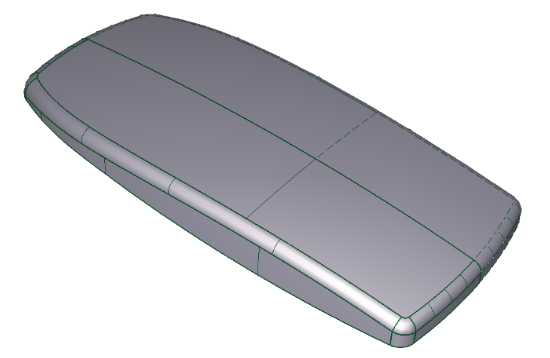
Create the 3D surface using the same curves used to define the paint shape. The next image shows a Hardware Shade perspective view. From a design perspective, this is adequate, but its 3D view is missing “life” and design content. Traditionally, the designer would now spend lots of time building 3D geometry to add design detail, but often designers don’t want to spend this time and effort during the early stages of design.
Projecting a sketch onto a model
 and turn on Active Objects, Active Canvas. Click Go to start the Sketch Projection process.
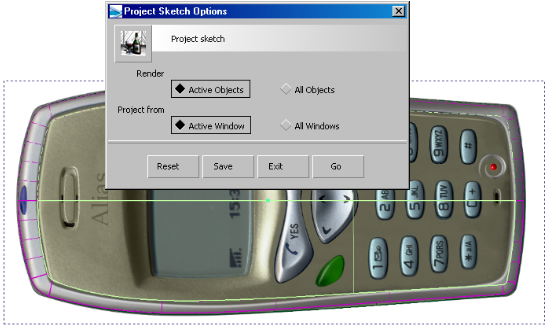
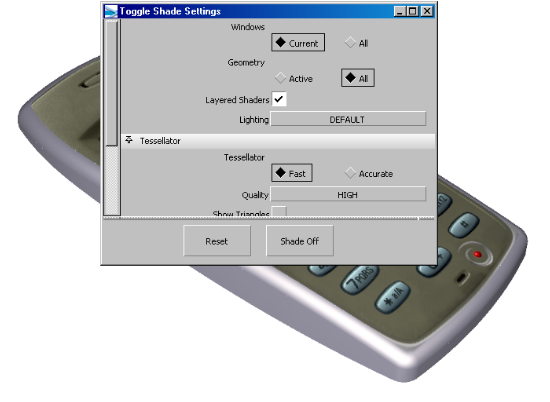
Behind the scenes, a shading network is being created, in which a series of shaders is automatically created and layered over the top of the assigned shaders. This means that any area of the sketch that is transparent will use the colour assigned by the original shader.
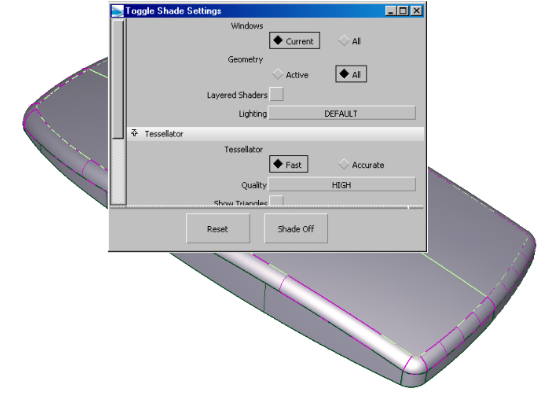
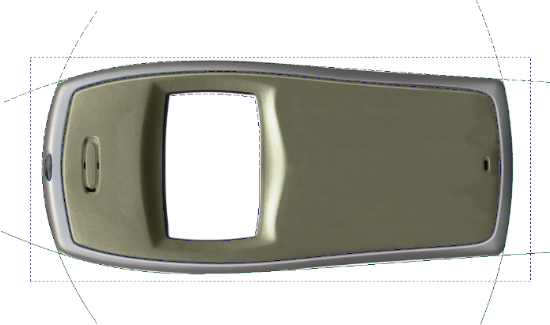
Image above shows layered shaders turned off.
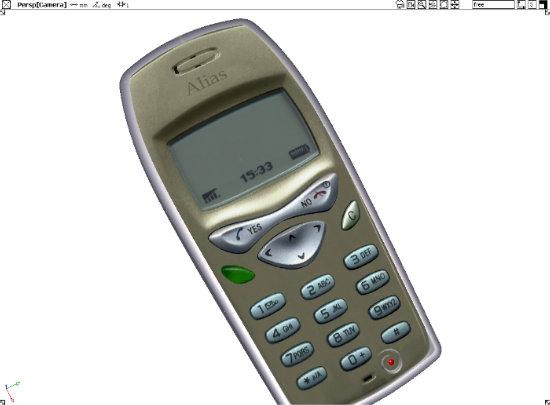
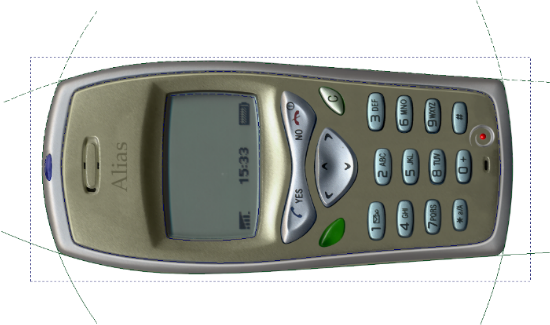
As you can see in the image above, Sketch Projection has been used to add 2D detail to an early design model. The buttons and LED display area are not modeled — they are simply projected paint onto an almost flat surface. You can tumble around this model, evaluating the concept deciding if you want to continue adding 3D detail or refine the 2D detail.