To make the revolving door spin, first you'll link the four doors to the hub. Then, using the time slider, you'll animate the rotation of the hub to spin the doors.

 zoom so you have a close-up
view of the hub and the four doors. It might help to
zoom so you have a close-up
view of the hub and the four doors. It might help to  pan and
  orbit the view, as well.
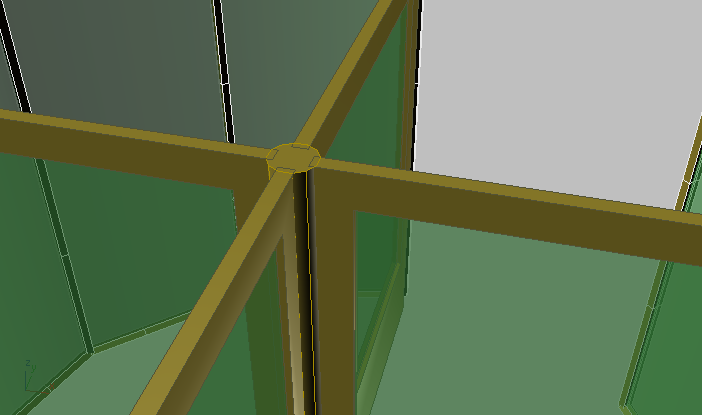
 (Select And Link).
 (Select Object) to deactivate
Select And Link.
(Select Object) to deactivate
Select And Link.
 (Select By Name), or press H on the keyboard.
 Display
Children, and then
Display
Children, and then  expand the Cylinder01 object
node.
expand the Cylinder01 object
node.
In the list, all four Pivot Door objects should be indented as children of the Cylinder01 object.

If the list doesn’t appear like this, link the doors that are missing to the hub again.
Replace the rotation controller
3ds Max Design performs animation by means of software devices called controllers that are assigned to individual objects. Typically an object has three types of controllers assigned: for position, rotation, and scale. The default rotation controller is good for character animation, but you'll replace it with a controller that is better for design-visualization animation.
 Select the hub, Cylinder01.
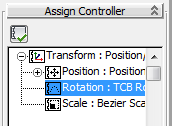
 Motion panel, and expand
the Assign Controller rollout.
Motion panel, and expand
the Assign Controller rollout.


The rotation controller listed in the Assign Controller rollout changes to TCB Rotation.
 (Auto Key).
 (Select And Rotate), then
click the hub.
(Select And Rotate), then
click the hub.
The Time Slider now shows keyframes as small squares at the beginning and at the end of the time segment.

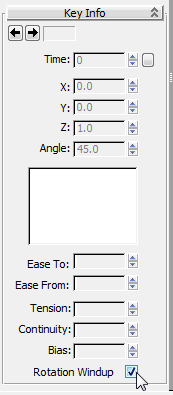
Rotation key at frame 100
 (Auto Key).
 (Go To Start), and then
click
(Go To Start), and then
click  (Play Animation).
 (Stop, in the same location
as the Play button) when you are done watching the animation.
(Stop, in the same location
as the Play button) when you are done watching the animation.
To slow down the rotation of the revolving door, do the following:
 (Time Configuration).
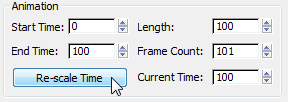
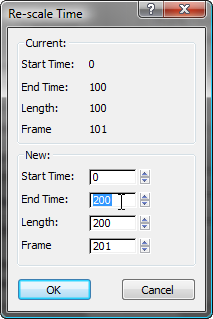
The Time Slider now displays 200 frames, with a key at frame 0 and frame 200.
(Play Animation) and watch
the revolving door go around.
Stop the playback.


 open
open  (Assign Controller).