


Using Sky Portals and Photographic Exposure
Control
A Sky Portal is a 3ds Max Design light object that gathers the sky light (as opposed to direct sunlight) generated by the Daylight system. It then directs the light flow through selected objects, such as doors, glass doors, and windows, so the interior of buildings can be illuminated.
Render the scene for later comparison:
 and render the scene.
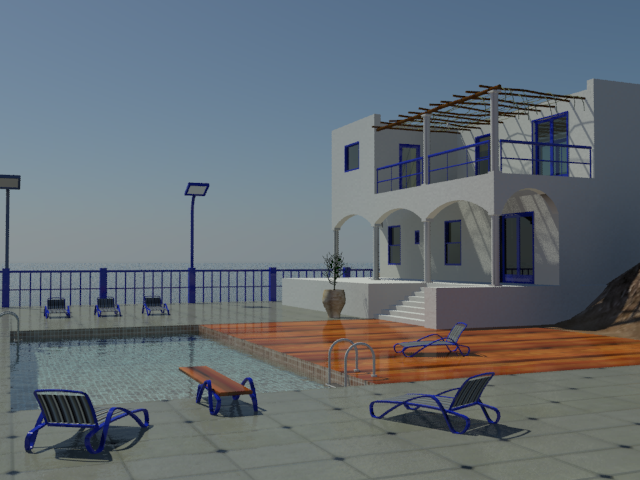
 clone of the image.
Isolate the windows and doors:


 (Select Objects In Current
Layer) to select the doors and windows.
(Select Objects In Current
Layer) to select the doors and windows.
 (Pan) and
  (Field-Of-View) until all
the windows are clearly in view.
(Field-Of-View) until all
the windows are clearly in view.
 Orbit the view so that the
windows and doors face you, as shown in the next illustration.
Orbit the view so that the
windows and doors face you, as shown in the next illustration.
 Create panel, click
  (Lights). On the Object
Type rollout, click “mr Sky Portal” to turn it on, then turn on AutoGrid.
(Lights). On the Object
Type rollout, click “mr Sky Portal” to turn it on, then turn on AutoGrid.

Orbit the Perspective view
so that the windows and doors are visible from their sides, as shown
in the next illustration.
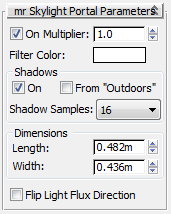
The yellow arrow for each SkyPortal object indicates the direction of the light flow, or flux. Because you used AutoGrid to place the SkyPortal object on the exterior face of the doors and windows, the light flux arrows point in the proper direction, into the building. (If you created the Sky Portal from the inside of the building, you would have to reverse the light flux either by rotating the window/door, or turning on Flip Light Flux Direction on the “mr Skylight Portal Parameters” rollout.)
Orbit the scene again until
the PivotDoor02 object is facing you.
Create another Sky Portal object by dragging across this door.
Orbit the scene one last
time so that the sides of the doors and windows are visible, as
shown in the next illustration. The PivotDoor02 object
should have its light flux direction pointed in the correct direction:
into the room from the opposite side of the building.
Adjust the Sky Portal settings:
 Select any Sky Portal object
you created by clicking its yellow light-flux arrow.
Select any Sky Portal object
you created by clicking its yellow light-flux arrow.
 Modify panel.
Each Sky Portal has an “mr Skylight Portal Parameters” rollout. The Multiplier control on this rollout lets you boost the amount of light transmitted by the Sky Portal. For now however, leave the Multiplier set to 1.0.
You do not need interior shadows for an exterior shot when viewed from a distance. Also, turning off Shadows helps to reduce render time. If you had created a single Sky Portal, you could turn off the Shadows toggle here; but since you’ve created several Sky Portal objects, it is easier to use the Light Lister.
 Light Lister. In the
Light Lister dialog Shadows
column, turn off Shadows for each mr Sky Portal object in the scene.
Light Lister. In the
Light Lister dialog Shadows
column, turn off Shadows for each mr Sky Portal object in the scene. 
 Close the Light Lister.
If 3ds Max Design opens a Select Camera dialog,
choose Camera-Terrace and then click OK. Otherwise, click the Perspective
viewport POV label and choose Cameras Camera-Terrace.
Render the terrace to see the effect of the Sky Portals:
Render the Camera-Terrace
viewport and compare the result with the rendered frame you cloned
earlier in this lesson.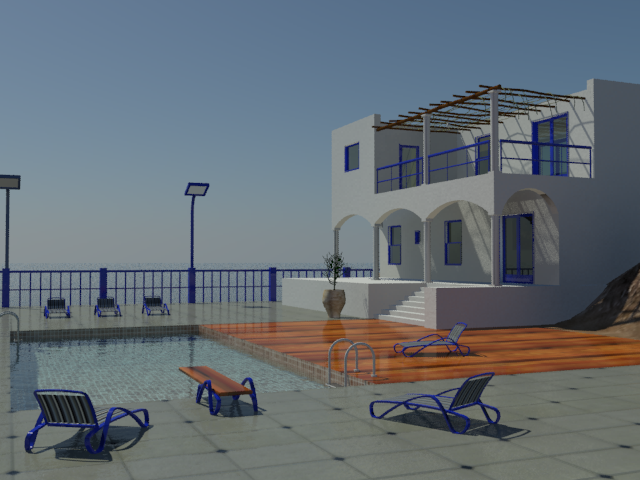
The result is subtle, but improved. The window and door openings are slightly lighter because now the Sky Portals are channeling sky light into the villa.
You can understand the effects of the Sky Portals better by looking at the villa from the inside.
View the sky portal effect from the interior of the villa:
render the scene.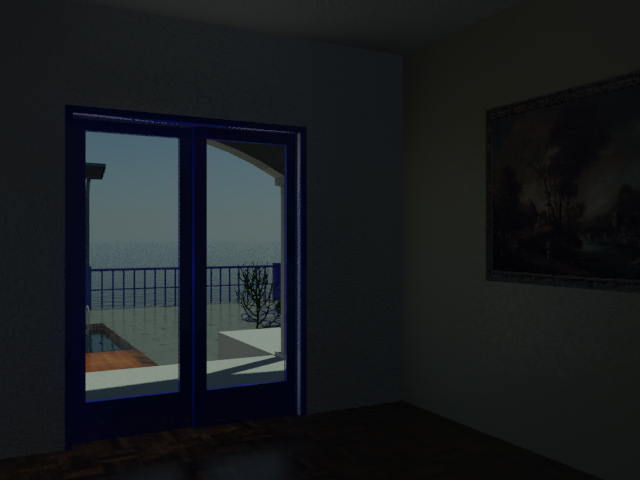
Because scene exposure is set to outdoor conditions, the outside portion of the scene is properly exposed, but the interior is too dark. You need to adjust the exposure setting to compensate for the lower light of the building interior.
 (Environment And Effects
Dialog (Exposure Controls)) to display the Environment And Effects
dialog.
Exposure
group, make sure Photographic Exposure is chosen, then set Shutter
Speed to 125.0 (1/125 Sec.).
(Environment And Effects
Dialog (Exposure Controls)) to display the Environment And Effects
dialog.
Exposure
group, make sure Photographic Exposure is chosen, then set Shutter
Speed to 125.0 (1/125 Sec.).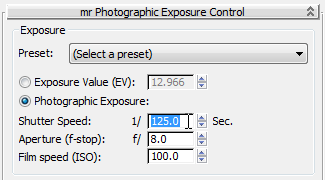
clone of the rendered frame,
then click Render to render the scene again.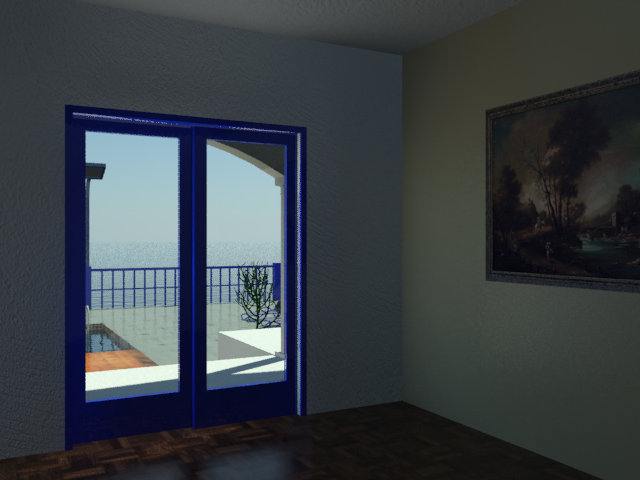
The slower shutter speed is now permitting more light to enter the camera, resulting in a better inside exposure.
You can further improve the interior lighting by increasing the number of bounces to each ray of light entering the interior.
Clone the current rendered
frame. In the Rendered Frame window mental ray controls, change
the Final Gather Precision to Low, and increase the value of FG
Bounces to 2.
Render the interior view
again and compare the result with the cloned frame.
Close the earlier cloned
frames, then make a new clone of the
most recent rendering.
If you wish, you can take things further by dragging the Final Gather Precision and Image Precision slider bars to the right. Keep in mind that the greater the precision, the slower the rendering time.
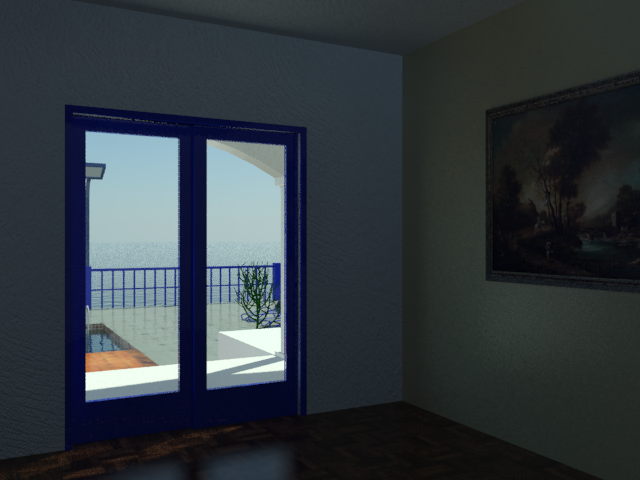
For this interior scene, it is appropriate for the door’s Sky Portal to cast shadows. This is because room illumination would ordinarily be affected by shadows cast by the door frame.
Select the Sky Portal object
by clicking its gizmo in the center of the door. On the “mr Skylight
Portal Parameters” rollout, turn Shadows on.
Render the scene again.
If you compare the result with the cloned rendering, you can see that the shadows where the walls meet each other, and where they meet the ceiling, are wider and darker than they were before.
 open the scene file