You will begin by looking at how the scene appears without any light objects. You’ll then add daylight to the scene.
 (Open File), navigate to
the \scenes\lighting_and_rendering\med_villa folder, then
open med_villa_lighting_start.max.
 Exposure Control.
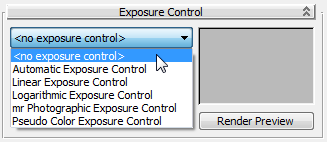
 render the scene.
With the exposure settings removed, you can now see the scene in a very basic way through default lighting.
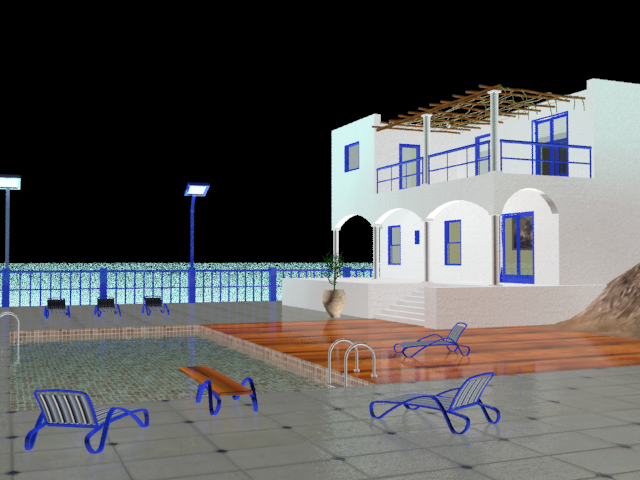
The rendering appears flat and not very realistic. You need to add either man-made light sources or daylight to properly illuminate the scene. In this tutorial, you will create daylight by generating two mental ray photometric light sources:
These two light sources will be accompanied by the “mr Physical Sky” environment shader, which establishes the physical representation of the sun and sky.
 Close the Rendered Frame
Window and the Environment And Effects dialog.
 Create panel, click
  (Systems). On the Object
Type rollout, click Daylight to turn it on.
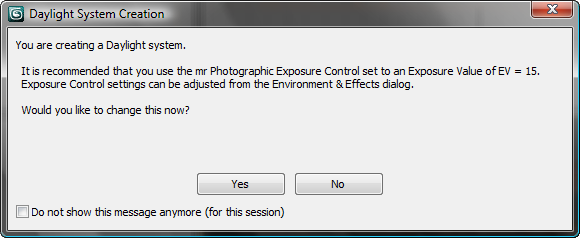
3ds Max Design opens the Daylight System Creation dialog, recommending an optimum exposure value for mental ray.
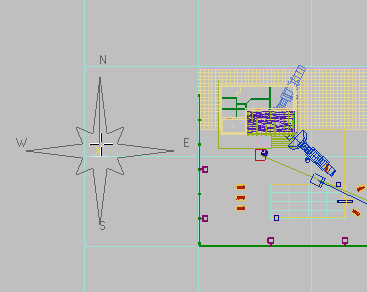
As soon as you release the mouse button, the Daylight system is created and 3ds Max Design opens the “mental ray Sky” dialog, which asks if you want to create an mr Physical Sky environment map.
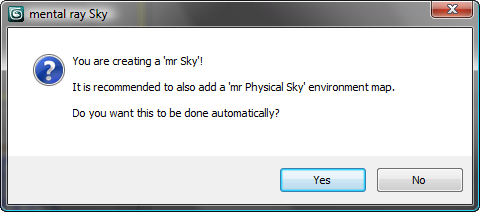
Click Yes to add the environment map.
The mr Physical Sky environment map is based on a gradient, whose appearance in the background of a scene will change depending on the position of the sun at any given time of day.
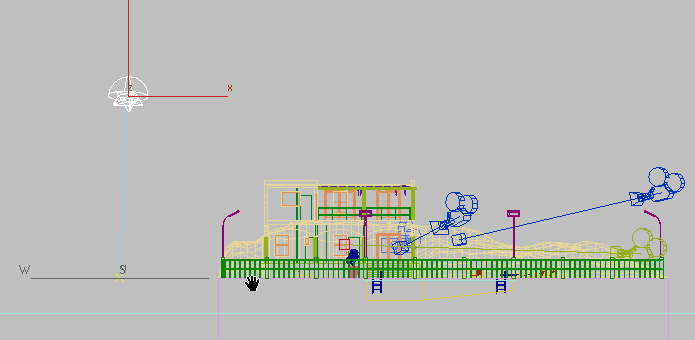
Set the time and location of the daylight:
Now you will reposition the sun object so its position in the sky corresponds to the geographic location of the scene.
 Modify panel. In the Daylight
Parameters rollout
  Position
group, click Setup.
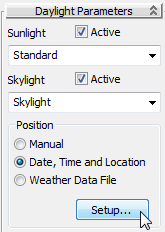
 Location group, click
Get Location.
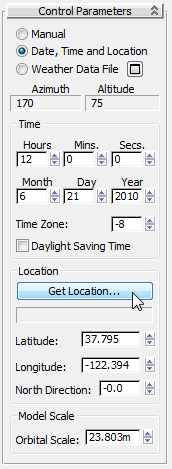
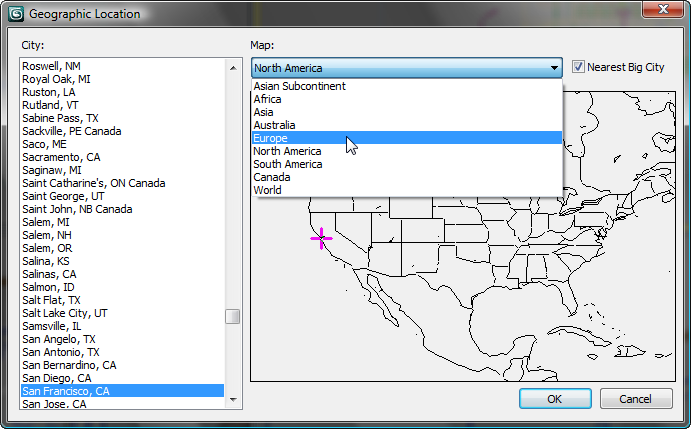
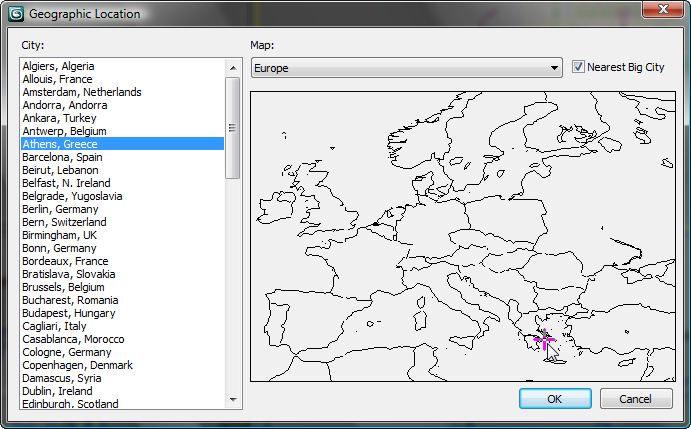
After you click OK, 3ds Max Design positions the Daylight sun object to model the real-world latitude and longitude of Athens, Greece.
The Control Parameters  Time group displays controls that let you
modify the date and time of day, settings that also affect sun position.
The scene you will illuminate and render is mid afternoon at 3 PM,
or 1500 hours.
 Hours spinner, change the time to 15.
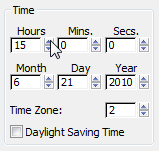
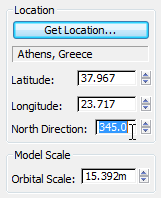
This adjustment orients the north-south position of the scene so the sun disc will appear over the sea as it prepares to set in the west.
 Exposure Control to display the Environment
And Effects dialog.
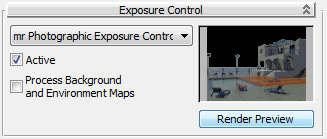
 render the Camera-Terrace
viewport to get a better look.
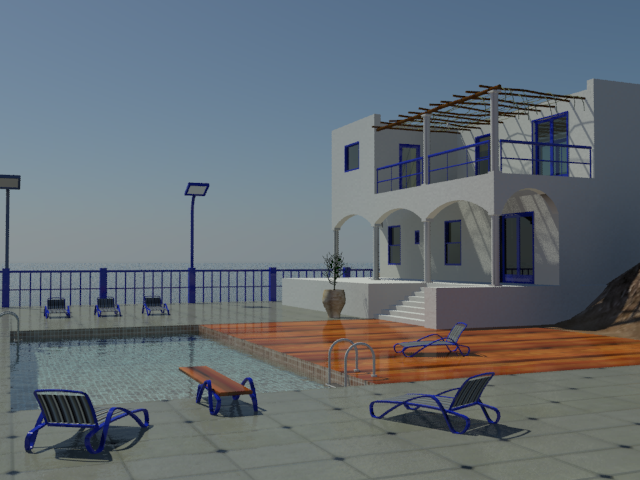
The result is good, but the indoor regions, behind the windows and doorways of the villa, are darker than they should be. In the next lesson, you will learn how to solve this problem by taking some of the outdoor light and directing it into the building.