Command entry:
Set mental ray as the renderer.

Rendering menu
Environment
Environment and Effects dialog
Environment panel
Exposure Control rollout
Choose mr Photographic Exposure Control from the list.
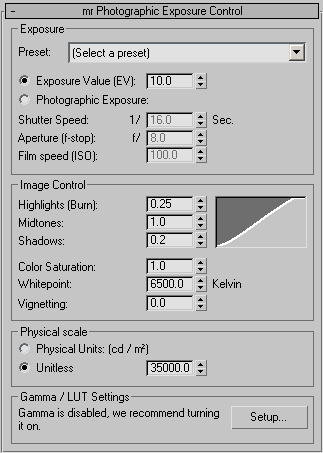
mr Photographic Exposure Control rollout
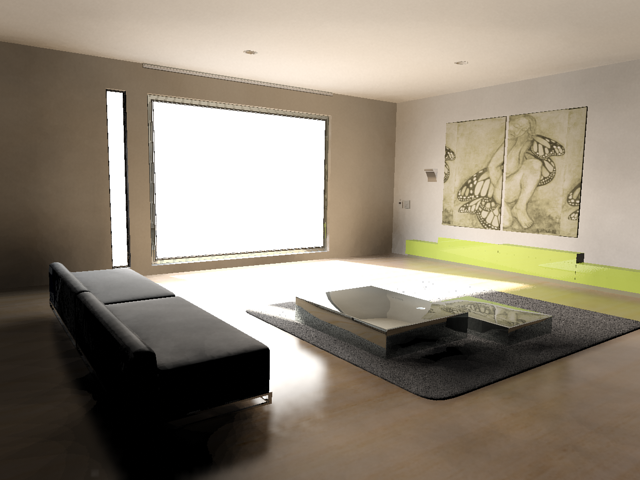
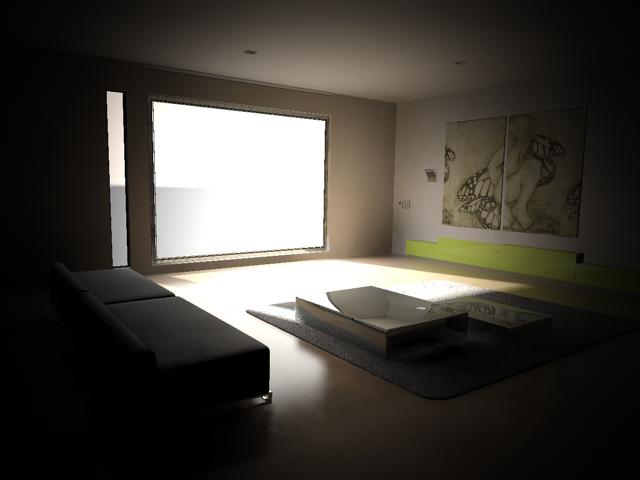
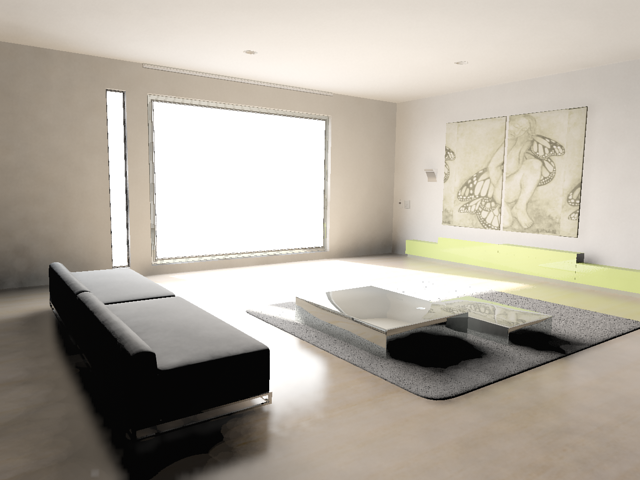
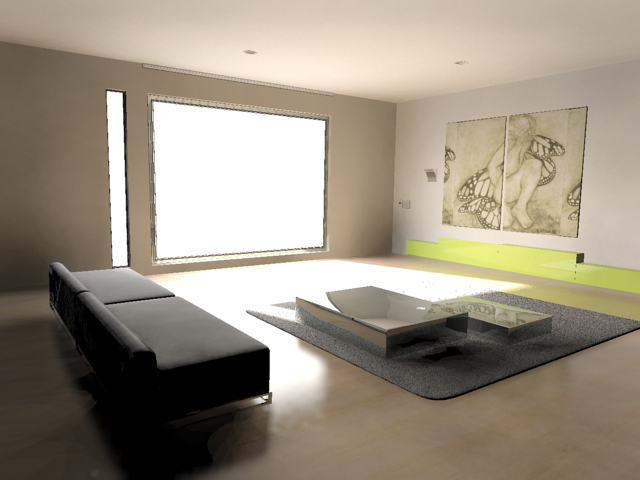
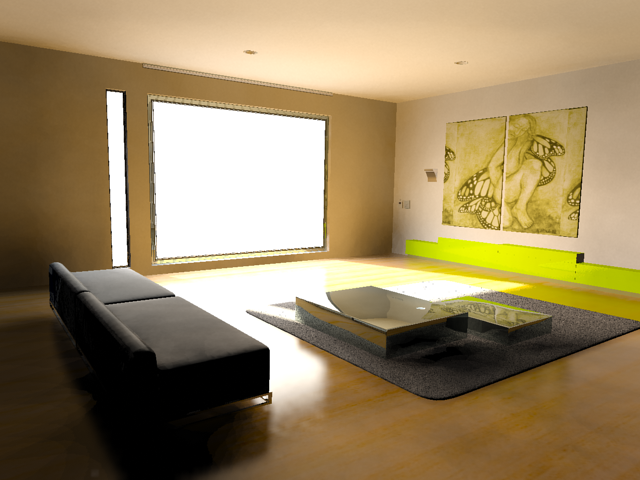
The mr Photographic Exposure Control lets you modify rendered output with camera-like controls: either a general exposure
value or specific shutter speed, aperture, and film speed settings. It also gives you image-control settings with values for
highlights, midtones, and shadows. It’s intended for high-dynamic-range scenes rendered with the mental ray renderer.
NoteThe mr Photographic Exposure Control contains a built-in gamma corrector (gamma 2.2), but this correction is disabled if the
3ds Maxgamma correction is enabled on the Preferences dialog, letting the Rendered Frame Window apply the view gamma instead.
The Logarithmic exposure control also has a curve similar to a gamma correction, but unlike the Photographic exposure control, it is not designed to disable
its gamma correction when overall gamma correction is on. For that reason, combining gamma correction with the Logarithmic
exposure control is discouraged, whereas using it together with the Photographic exposure control is encouraged.
Interface
TipTo see a definition of any numeric parameter on this rollout, hover the mouse cursor over the parameter’s spinner.
Exposure group
This group comprises a drop-down list of exposure presets plus a choice of Exposure Value or Photographic Exposure and associated
parameters. Choosing one method makes the other’s setting or settings unavailable, but they still change based on adjustments
you make to the available method. For example, when Exposure Value is active, adjusting its value also changes the Photographic
Exposure Shutter Speed setting.
- Preset
-
Choose from the available options based on setting and lighting conditions. The presets affect all of the remaining settings
in this group.
- Exposure Value (EV)
-
Choose this option to specify a single Exposure Value setting that corresponds to a combination of the three Photographic
Exposure values (see following). Each increment or decrement in the EV value corresponds to halving or doubling, respectively,
the effective exposure, as expressed in the resultant change in the Shutter Speed value. Thus, higher values yield darker
images, and lower values yield brighter images.
For example, as shown above, the combination of a shutter speed of 1/125 of a second, f/16, and ISO 100 results in an EV of
15. The same EV results from halving the shutter speed to 1/250 second and doubling the aperture size to f/11.
- Photographic Exposure
-
Lets you set the exposure using standard camera-oriented controls. These controls affect exposure only: Shutter Speed has
no effect on motion blur; Aperture doesn’t influence depth of field; and Film Speed has no effect on graininess.
- The duration, in fractions of a second, that the “shutter” is open. The higher this value, the greater the exposure.
- The size of the opening of the “camera iris,” expressed as a ratio. The higher this value, the lower the exposure.
- The sensitivity of the “camera film,” expressed as an index. The higher this value, the greater the exposure.
Image Control group
Use these controls to adjust the relative brightness or highlights, midtones, and shadows in the rendered image. The combination
of these three settings is depicted in the graph on the right side of the rollout. Additional controls available here let
you adjust color saturation, whitepoint, and vignetting.
- Highlights (Burn)
-
Controls the level of the brightest areas of the image. Higher values yield brighter highlights, while lower values darken
the highlights.
- Midtones
-
Controls the level of the areas of the image whose brightness lies between the highlights and the shadows. Higher values yield
brighter midtones, while lower values darken the midtones.
- Shadows
-
Controls the level of the darkest areas of the image. Lower values yield lighter shadows, while higher values darken the shadows.
- Color Saturation
-
Controls the intensity of colors in the rendered image. Higher values result in more intense colors.
- Whitepoint
-
Specifies the main color temperature of the light sources. This is similar to white balance controls on digital cameras. For
daylighting, a value of 6500 is recommended, for incandescent lighting, a value of 3700 is recommended.
For example, photographs taken indoors might be lit by incandescent lights, which are relatively orange compared to daylight.
Defining "white" as daylight will give unacceptable results when attempting to color-correct a photograph taken with incandescent
lighting.
- Vignetting
-
Reduces the image brightness in the image periphery compared to the image center, resulting in a circular fully exposed area
in the center, with darker edges.
- Physical Scale
-
Determines how 3ds Max calculates pixel values when outputting HDR (high-dynamic-range) images. You can use the physical scale inherent in the scene,
or set an arbitrary physical scale for non-physically-based lighting situations.
- Outputs physically correct HDR pixel values in candelas per square meter. Use this option when lighting the scene with photometric
light sources.
TipWhen you use this option, the renderer interprets all non-physical (standard) illumination values in units of cd/m
2
. If you use as a background image or texture map an HDR image with pixels correctly calibrated to cd/m
2
, it will be correct in the scene. However, if you attempt to use a low-dynamic-range photo such as a JPEG photo, it will
appear too dark in the rendered output. (The renderer interprets a white pixel in such an image as "1 cd/m
2
" by default, which is darker than the deepest dungeon.) So you need to increase the
output of the image to match a useful cd/m
2
value. The sky can be around 3,000 cd/m
2
.
- Lets you define how the renderer interprets the illumination from standard lights, which are not physically based. Use the
numeric setting to set the apparent illumination from these lights and the output pixel values based on the scene lighting.
For example, with the default Physical Scale of 1500, a standard omni light is treated by the renderer as a photometric isotropic
light of 1500 candelas. Physical Scale is also factored into the environment map and self-illumination.
NoteThis value does not affect apparent illumination of the rendered scene with photometric lights. However, it does affect the
apparent illumination cast by non-physical (standard) lights. For predictable results, illuminate the scene only with photometric
or standard lights (not a mix), and use Physical Units or Unitless, respectively.
- Gamma/LUT Settings
-
This group comprises text showing the status of the current Gamma/LUT settings, and a Setup button that opens the Preference
Settings dialog to the Gamma and LUT panel so you can change the settings.