The Lens Effects Highlight dialog lets you assign bright, star-shaped highlights. Use it on objects that have shiny materials. For example, a shiny, red car might show highlights in bright sunlight.
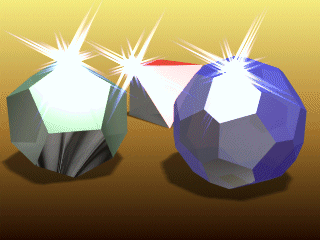
Example of highlights
Another good example of an effect perfect for Highlight is the creation of pixie dust. If you create a particle system and animate it moving in a straight line with small four-point Highlight stars applied to each pixel, it will look a lot like twinkling magic.
The Lens Effects Highlight module is multi-threaded and will take advantage of multi-processing machines, making it one of, if not the fastest highlight routines available.
To save your highlight settings:
You can save all of your lens highlight settings to a file, so you can reload them any time. Lens Effects Highlight settings are saved as LZH file (.lzh). Do one of the following:

When you select Lens Effects Highlight from the Image Filter Event drop-down list and click Setup, the Highlight dialog is displayed.
The Lens Effects Highlight interface is almost identical to the Glow module, with a large preview window, and tabs to control every aspect of your highlight effects.
Similar to the Glow settings, Highlight is also broken down into tabbed sections for fine control over each aspect of the Highlight effect. The four tabs are:
The Lens Effects Highlight properties enable you to determine which parts of your scene will have highlights applied to them, as well as how the highlights are to be applied.
The Geometry panel is where you set the initial rotation of the highlights as well as how the elements are affected over time. The Geometry panel consists of three areas: Effect, Vary, and Rotate.
The Preferencespaneldefines the size and number of points on the highlight, occlusion settings, and whether or not it affects the Z-Buffer or alpha channels.


 (Add Image Filter Event)