The Geometry panel is where you set the initial rotation of the highlights as well as how the elements are affected over time. The Geometry panel consists of three areas: Effect, Vary, and Rotate.
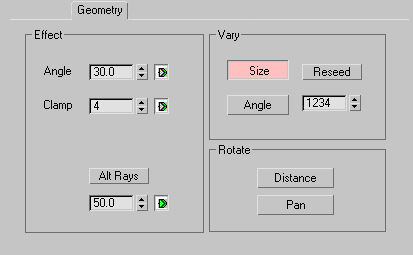
Controls the angle of the highlight points over the course of the animation. This parameter can be animated.
Determines the number of pixels highlight must read to place a single highlight effect. In many cases, you want to key your highlight effects off of the brightness of objects that can produce a lot of pixels to generate from. The end result is something that looks like stadium lights from a Monday Night Football game, where each pixel has the highlight cross drawn on top of it, which blurs the overall effect. When you want only one or two highlights, use this spinner to adjust how highlight processes the chosen pixels. This parameter can be animated.

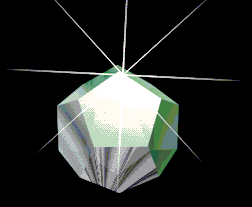
Clamp value of 5
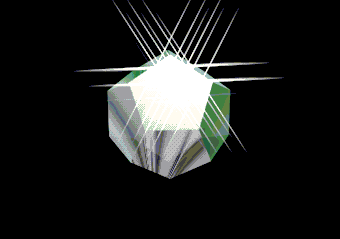
Clamp value of 15
As you can see, the Clamp value lets you maximize or minimize the overall number of highlights drawn over the same image. This can be a tremendous time saver.
The Vary group of controls adds randomness to your Highlight effects. You can quickly adjust your effects so that no two look alike. In many instances, you want to avoid having your Highlights rotate in formation, and the Size and Angle buttons control that.
These two buttons let you have your highlights automatically rotate based on their relative position in the scene.
Automatically rotates the individual Highlight elements as they move laterally across the screen. If you have objects in your scene that are passing by the camera, they can be automatically rotated based on their position. The faster your elements move across the screen, the faster they will rotate.


 (Add Image Filter Event)