This lesson shows you how to export 3ds Max scene data in .fbx format to MotionBuilder. You can export an entire scene, or only a portion of the scene containing selected elements.
 Application menu choose
Reset, do not save any changes, then
Application menu choose
Reset, do not save any changes, then  reopen basics.max.
Export skeleton A in FBX format:
 Region-select all of skeleton
A.
Region-select all of skeleton
A.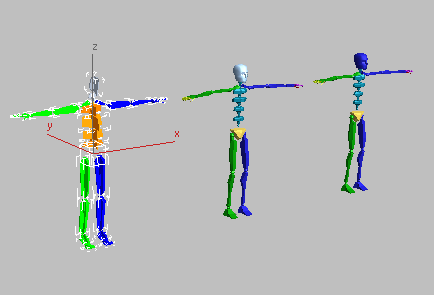
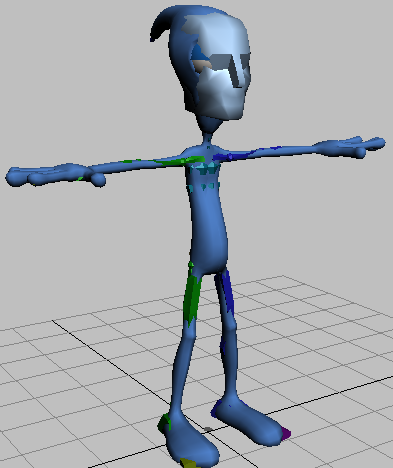
Notice that the skeleton has been positioned in a “T” pose, the stance commonly used by animators for skinning. You should always place your characters in this position before you export them to MotionBuilder.
Also, skeletons must be oriented in the minus Y axis direction. (All 3ds Max Biped systems are oriented this way when you create them.)
Skeleton A oriented in a minus Y direction
Application menu, choose
Export  Export
Selected.
File Name field, type mybone-skeleton and
click Save.
Export
Selected.
File Name field, type mybone-skeleton and
click Save.
3ds Max opens the FBX Export dialog. Here, you specify how to convert the 3ds Max scene information.

Animation
group, and turn off the Animation check box.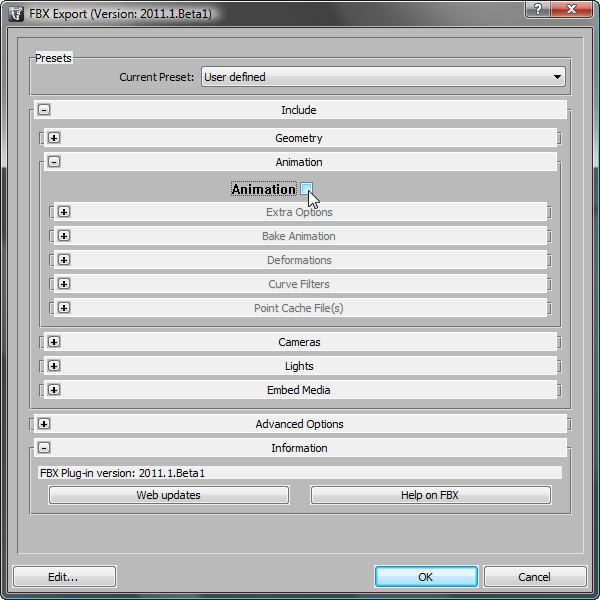
This option should be turned on only when the scene you want to export has animation.
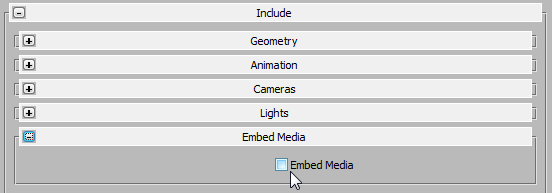
If you were exporting a mesh with a character, the Embed Media option would embed in the FBX file any texture maps associated with the character. But since you are exporting a skeleton only, this option is not needed.
Axis Conversion group,
and make sure Up Axis displays the Y-Up option (once again, this
should be the default).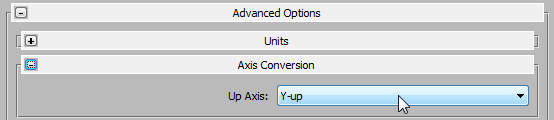
This setting assigns the exported character a Y-up axis, the orientation used by objects in MotionBuilder. This setting is required because objects created in 3ds Max use a Z-up orientation.
FBX File Format group,
and choose the FBX version that is compatible with the version of
MotionBuilder installed on your system.
In this case, we have MotionBuilder 2010 installed, so we chose FBX 2010 as the version to export.
Typically, you would also export a mesh, properly skinned onto a skeleton. This is what you do in the next procedure.
(Open File).
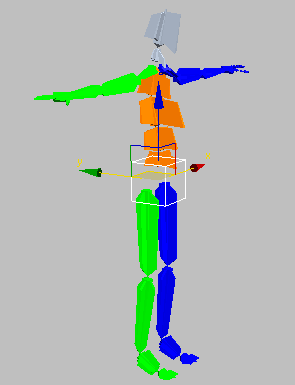
Scene consists of a biped skeleton inside a mesh
 (Select By Name).
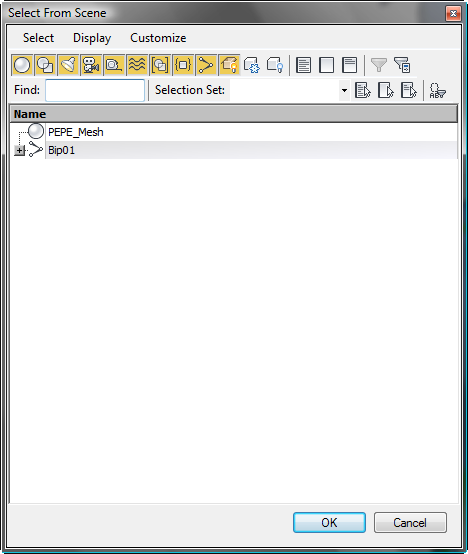
The Select From Scene dialog opens, showing both the mesh and the biped. The biped hierarchy uses a naming convention recognized by MotionBuilder.
 (Select And Move).
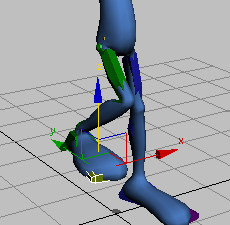
 (Undo) to undo the foot motion.
Application menu, choose
Export, and in the File Name field, type my_pepe_biped01.
Embed Media group, turn
on Embed Media. Make sure the other export settings are the same
as you used for the Bones skeleton, then click OK.
(Undo) to undo the foot motion.
Application menu, choose
Export, and in the File Name field, type my_pepe_biped01.
Embed Media group, turn
on Embed Media. Make sure the other export settings are the same
as you used for the Bones skeleton, then click OK.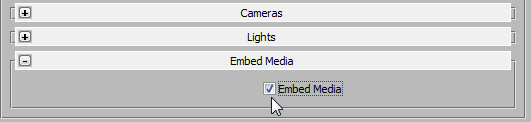
The FBX Exporter displays a warning message. This is because Pepe has a Multi/Sub-Object material that FBX and MotionBuilder don’t recognize. We don’t plan to render Pepe in MotionBuilder (after animating in MotionBuilder, you import the Pepe model back into 3ds Max), so the warning is not important: Click OK to dismiss it.
You might see an additional warning that says “Unsupported controller (1) / Turned edges (1)”: This is because the Pepe mesh is an Editable Poly object, rather than an Editable Mesh. This doesn’t affect the workflow, so dismiss this warning, too.
The Pepe character is exported as an FBX file to the same folder as the biped skeleton you saved earlier.
select any bone in the biped
skeleton.
 Motion panel Biped rollout, expand
the Modes And Display group, and in the Name field, type PEPE.
Motion panel Biped rollout, expand
the Modes And Display group, and in the Name field, type PEPE.
(Select By Name).
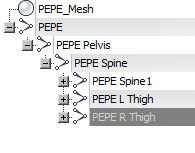
The Select From Scene dialog displays the modified names of the character parts. Each bone is now identified by the PEPE prefix.
In the next lesson, you will use this FBX file to learn how to import custom-named characters into MotionBuilder.
In the next few lessons, you will be working in MotionBuilder.


