This lesson shows you how to take characters created in 3ds Max and prepare them for import to MotionBuilder.
 (Open File), navigate to \scenes\interoperability\motionbuilder and
open basics.max.
(Open File), navigate to \scenes\interoperability\motionbuilder and
open basics.max.
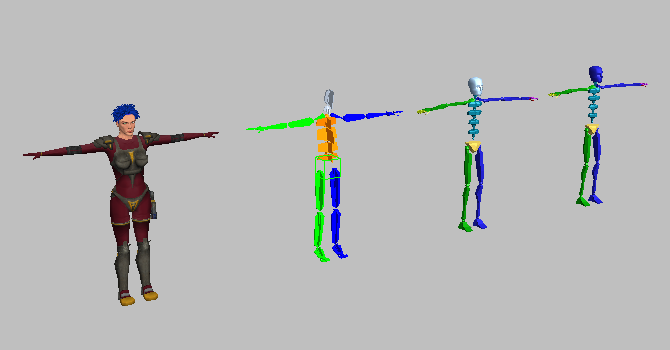
The scene contains, from left to right, a mesh character and three skeletons that can be used to drive the mesh.
Mesh and three skeletons
Left: Mesh
Second from left: Skeleton A
Third from left: Skeleton B
Fourth from left: Skeleton C
Skeleton A is made up of a conventional Bones system. Skeletons B and C are 3ds Max Biped systems.
Before MotionBuilder can recognize a model as a character that can be animated, its skeleton bones must be characterized. A model can be characterized only if its bones are labeled in a specific way. You can rename character bones in MotionBuilder, but it is a good idea to rename them properly in 3ds Max whenever you can.
View skeleton bone hierarchy and naming conventions:
 Region-select Skeleton A,
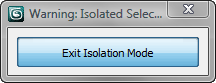
then right-click and from the quad menu, choose Isolate Selection.
Region-select Skeleton A,
then right-click and from the quad menu, choose Isolate Selection.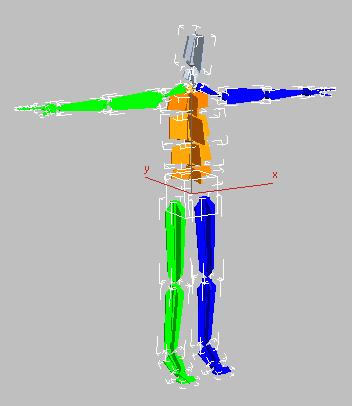
Skeleton created from a conventional bone system
 (Select By Name).
 Display
Children and then Display Expand
All. Scroll the list to view the skeleton hierarchy and see how
each bone is named.
Display
Children and then Display Expand
All. Scroll the list to view the skeleton hierarchy and see how
each bone is named.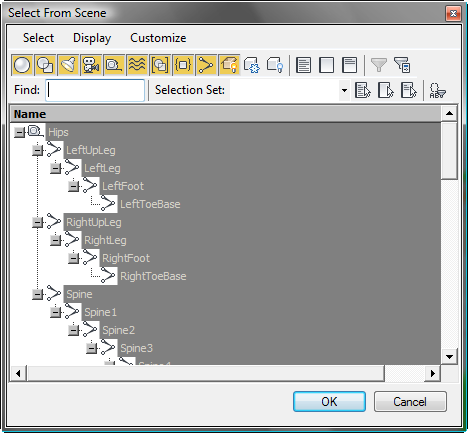
This is the naming convention recognized by MotionBuilder. If you name the skeleton bones this way, you can later characterize them in MotionBuilder with a simple click of the mouse.
Region-select Skeleton B,
then right-click and from the quad menu, choose Isolate Selection.
(Select By Name).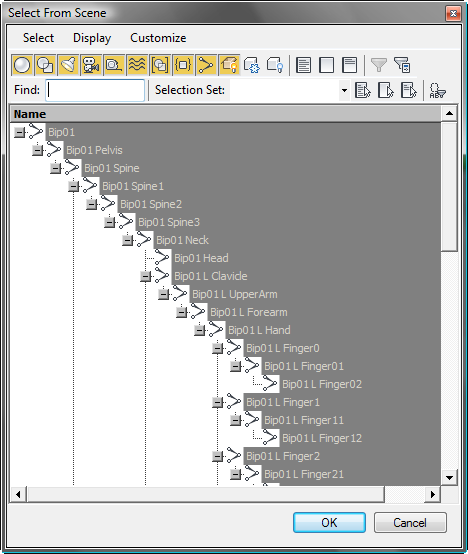
The Select From Scene dialog opens, showing the bone hierarchy of the Skeleton B and its identifying names. This naming convention is the default for Biped. While it is different from the convention used by Skeleton A, MotionBuilder also recognizes it, and it can be used to quickly convert skeletons for animation.
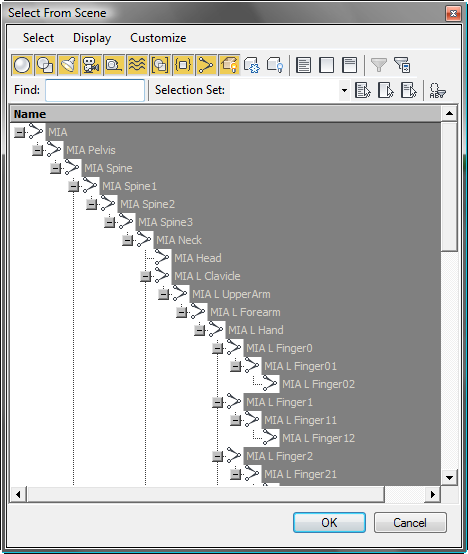
Even though the suffix of each bone name in Skeleton C is identical to the name suffixes in Skeleton B, the prefix to each bone name, “MIA,” is different. MotionBuilder recognizes prefix changes for biped skeletons.


