In MotionBuilder, you can animate characters by setting keyframes manually or by using motion-capture data. This lesson shows you how to do both.
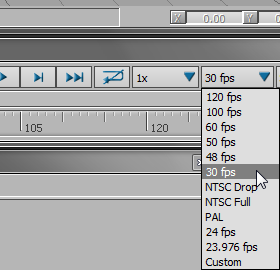
In MotionBuilder 2011, the default frame rate is 24 fps. In earlier versions of MotionBuilder, the default frame rate was 30 fps.
Load Pepe with characterization:
 MotionBuilder, from the
main menu, choose File
MotionBuilder, from the
main menu, choose File  New.
Export folder, click to highlight pepe_biped_characterized.fbx.
New.
Export folder, click to highlight pepe_biped_characterized.fbx. 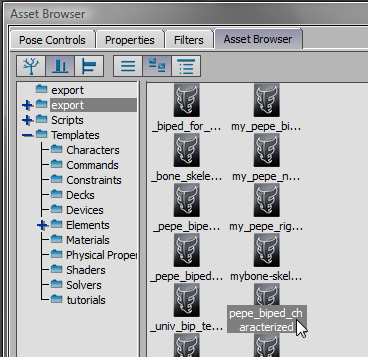
This file contains the Pepe character you worked on in the last few lessons. To speed things up, he has already been characterized and saved in MotionBuilder, so he is ready to receive animation.
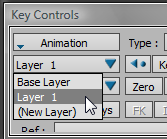
<All
Takes>.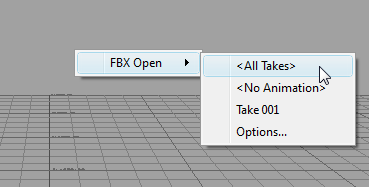
MotionBuilder has the ability to store multiple animation “takes” or sequences within the same project, and this option would open all of them if they existed. Alternatively, you could choose <No Animation> or Take 001.
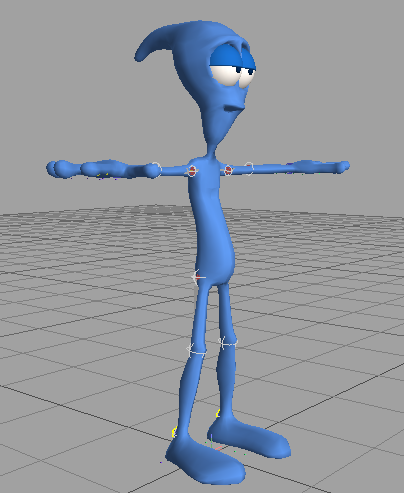
Pepe is ready to accept keyframe animation using control-rig input from the Character Controls window. But in this case, you will retarget animation to Pepe from one of the motion-capture files that ship with MotionBuilder.
Animate the Pepe character using motion-capture data
Export folder, choose iceslip and
drag it to the Viewer.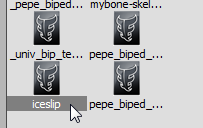
IceSlip.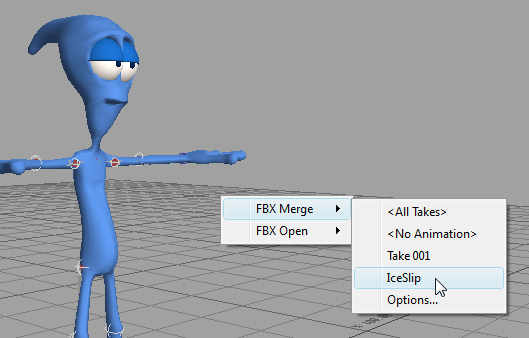
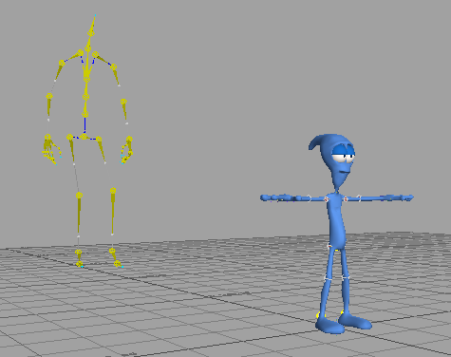
Pepe with skeleton containing motion-capture information
 (Play) to view the animation.
![]()
You will now assign this movement to the Pepe character. In MotionBuilder, this task is easy to accomplish.
Apply the animation to the Pepe character:
Character Controls pane,
make sure PEPE is displayed in the character list.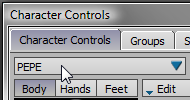
Input Skeleton2,
which is the yellow skeleton containing the motion-capture animation.
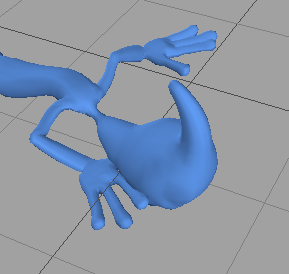
The skeleton is a good deal larger than Pepe, and when scales are mismatched in this way, you can expect that some motion doesn’t translate correctly.
If you look carefully, you will see how one of Pepe’s hands passes into his face. You might need to orbit the Viewer and scrub the animation a few times to see the problem.
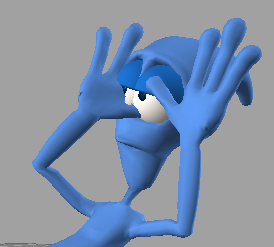
Unwanted hand movement inherited from motion capture
This behavior occurred because the animation driving Pepe’s bone movement is based on the skeleton, which has a very different physiology. (Pepe’s head, hands, and feet, for example, are much larger than the skeleton’s, while his shoulders are much narrower.)
In the next procedure, you will correct Pepe’s hand movement.
Correct the hand-in-the-face problem:
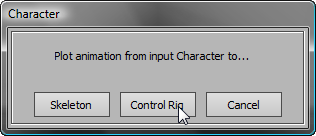
Nothing happens because Pepe’s animation is controlled by the skeleton, not the control rig. Before you can go any farther, you need to bake the skeleton animation onto the Pepe character’s control rig.
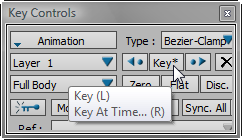
Character Controls pane Edit menu, choose Plot
Character.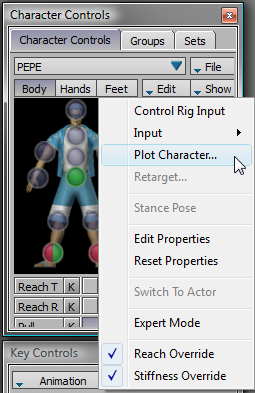
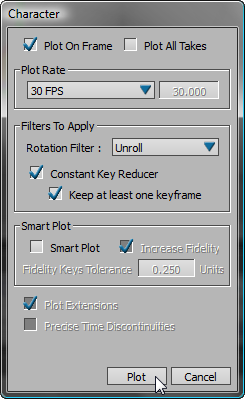
On the second Character dialog, leave the default values unchanged, and click Plot.
The keyframes are hidden on the timeline, clearing your workspace.
All character movement before the first key and after the second will remain unchanged. Only the character movement between frames 80 to 105 will be modified.
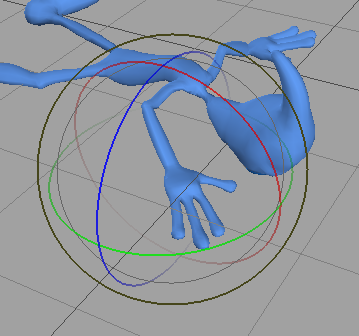
Left hand repositioned away from character’s face
Pepe’s hand no longer intersects with his face while he is falling.
Correct the hand position after Pepe has fallen:
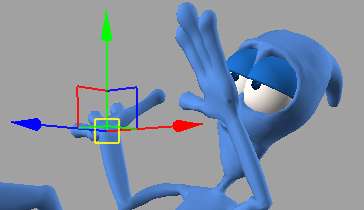
Right hand too close to the character’s head
Rotate gizmo used to reposition right hand
Play back the animation
to see the result.
When you are satisfied with the animation, proceed to the next lesson. There, you will save your work and prepare it for import back to 3ds Max.


