


Creating a Distinctive Walk
In this lesson, using automatically created motion as the basis, you’ll animate a biped walking with a rolling, springy step.

The automatic footsteps generate a starting point for you. You’ll then change the automatic walk into something more expressive and distinctive. This sophisticated yet simple approach results in a natural-looking motion that you can create quickly.
 (Open File), navigate to
the \character_animation\footstep_animation folder,
and open walk_start.max.
(Open File), navigate to
the \character_animation\footstep_animation folder,
and open walk_start.max.
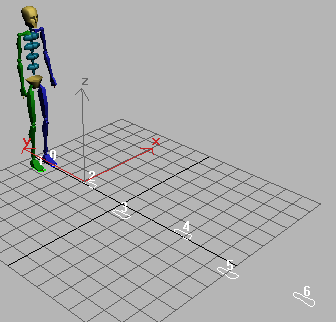
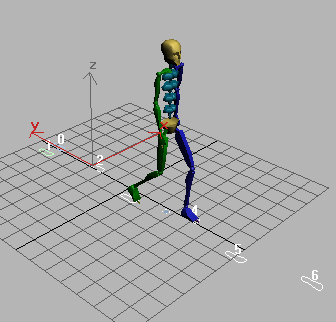
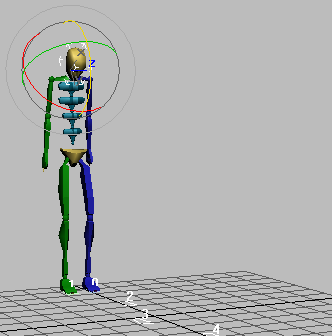
In this file, a biped is standing near the origin.

Biped near origin of grid.
 Motion panel.
The Biped controls are displayed.
Next you’ll turn on Footstep Mode. If Figure Mode was on, it turns off automatically.
Motion panel  Biped rollout, turn
on
Biped rollout, turn
on  (Footstep Mode).
 (Create Multiple Footsteps).
General
group, change Number Of Footsteps to 8, then click
OK.
(Create Multiple Footsteps).
General
group, change Number Of Footsteps to 8, then click
OK.
Footprints are displayed in white in the viewport. These are inactive footsteps. They do not yet control any animation for the biped. If you click the Play Animation button, the biped won't move.
Inactive footsteps
 (Create Keys For Inactive
Footsteps).
(Create Keys For Inactive
Footsteps).
The footsteps are activated. Animation keys are created for the biped.
 Play the animation.
The biped takes a step.
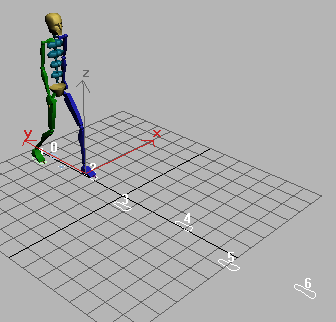
The biped takes another step.
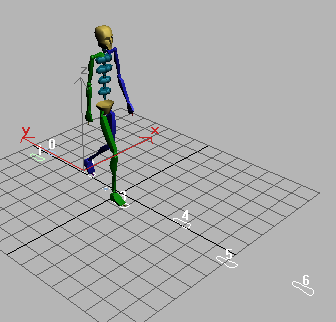
The biped keeps on walking.
Notice that the first footstep is numbered 0, and the last footstep is numbered 7.
 (Body Horizontal), if is
not already turned on. This selects the horizontal position track for
the center of mass (COM) object.
(Body Horizontal), if is
not already turned on. This selects the horizontal position track for
the center of mass (COM) object.
The track bar displays keys for the length of the animation.

Body Horizontal keys
Play the animation.
The biped walks, but without much character.
In the following procedures, you'll begin individualizing the motion by adjusting the keys for the Body Horizontal, Vertical, and Rotation tracks. You'll exaggerate the rotation of the center of mass to create a more energetic walk.
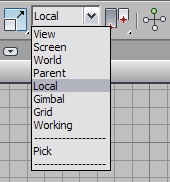
 (the front face of the ViewCube)
to shift the view so that the biped is walking toward you. Then
drag the time slider to frame 0.
(the front face of the ViewCube)
to shift the view so that the biped is walking toward you. Then
drag the time slider to frame 0.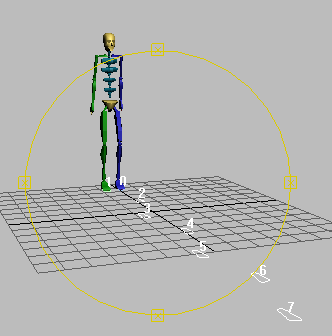
Be sure that a part of the biped is still selected.
In the Track Selection rollout, click  (Body Rotation).
Current
Transform.
Now the track bar displays the rotation keys.

 (Key Mode Toggle) button
to turn it on.
(Key Mode Toggle) button
to turn it on.
Key mode lets you use Previous and Next Key buttons to jump between keyframes for the selected object. You can also use the < and > keys on the keyboard to move between keyframes without clicking the mouse.
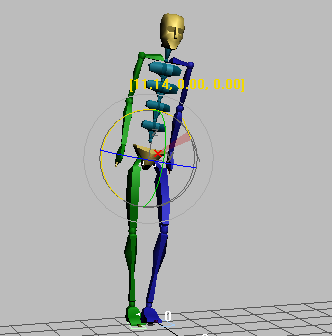
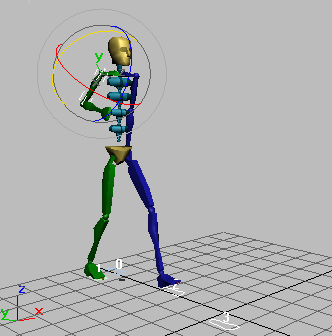
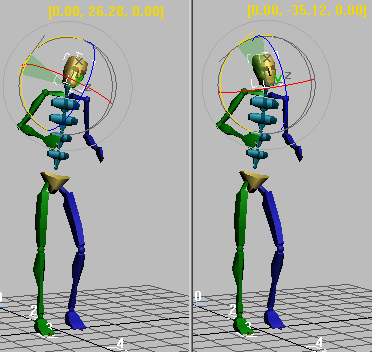
Rotation of the center of mass object about the X axis.
Motion panel Key Info rollout, click  (Set Key).
When you set the key, the biped will shift position slightly. In the viewport, you can see that the blue foot is no longer crossing the green.
Biped foot snaps away from the other foot.
What is happening is that the foot, calf, and thigh bones are being controlled by the footstep gizmos. The footsteps represent a pair of keys with IK Blend set to 1 and the Join To Prev IK key turned on. When you set the key, these settings force the foot, calf, and leg bones back into the correct path for walking.
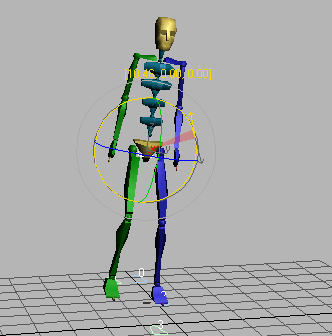
Negative rotation with blue foot in contact with the ground.
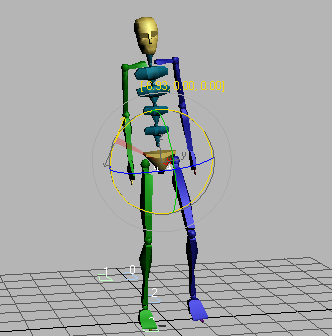
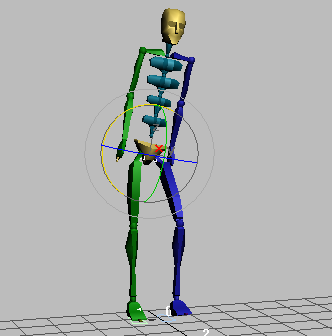
Positive rotation at frame 54.
When you are done, play the animation and notice the increased hip swings that result from rotating the center of mass back and forth.
 (Save File) and save the file
as mywalk.bip.
(Save File) and save the file
as mywalk.bip.
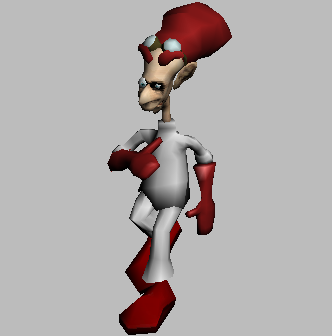
If you load the newly saved mywalk.bip file into a scene containing a skinned character, the character will swing its hips according to the instructions you saved in this file. Play the animation to determine if you need to adjust it. For instance, Dr. X (from the quick start tutorial) has huge feet, which may need to be moved further apart so they don't pass through the legs accidentally.
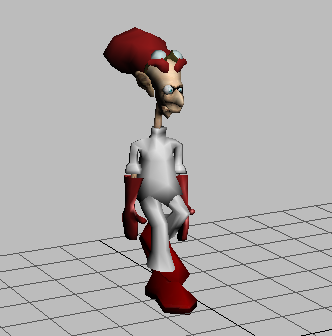
Dr. X character with distinctive walk.
To load a BIP file, create
or select a biped. On the Motion panel Biped rollout, click  (Load File), and open the
file. This transfers all the movement information in the file to
the biped.
(Load File), and open the
file. This transfers all the movement information in the file to
the biped.
 (Body Vertical).
This selects the vertical position track for the center of mass object.
(Key Mode Toggle), if it
isn't already on.
The knees bend because the feet are controlled by the footsteps.
(Set Key) on the Key Info
rollout.
This sets a key for the change you've made in the viewport; otherwise, the change is discarded.
Play the animation.
(Save File). Name the file mywalk2.bip.
Arm and hand motions are an integral part of an individual’s gait. In the following sequence, you'll customize the arm motion by moving the hands and rotating the arms.
You previously created keyframes using the Set Key button; however, for this technique, you'll use Auto Key instead.
load mywalk2.bip, the file you saved
in the previous section.
If you prefer, you can
begin at the end of the last procedure by opening springystep.max.
 (Auto Key).
When the green foot is extended, the blue arm swings forward. When the blue foot swings out, the green arm swings forward. See if you can find the frame at which the hand extends the farthest forward.
There is a key in track bar at that frame for the hand object.
Using the Transform gizmo, move the hand approximately 10 units upward on the Z axis.
By moving the hand, you've also rotated the two arm bones. The keys for the hand and arm bones are stored on a single track.
The hand moved upward.
The upper arm rotated around the Z axis.

The hand rotated close to the chest.
You can position the arm using forward kinematics (the rotation of the parent objects) or inverse kinematics, using position transform on the end of the chain: in this case, the position of the wrist. You can also rotate the hands.
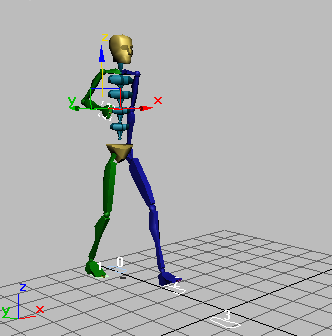
 (Orbit) to adjust the view
angle so you can see the angle of the other arm behind the biped.
(Orbit) to adjust the view
angle so you can see the angle of the other arm behind the biped.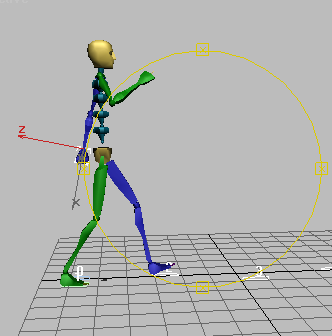
View of the arm behind the biped.
Play the animation.
open dr_x_03.max from the folder \character_animation\quick_start\ folder,
and then load your mywalk3.bip file.
For comparison, you can also load distinctive_walk_final.bip from the
folder \sceneassets\animations\.
Remember to select part of the biped to access the Biped rollout.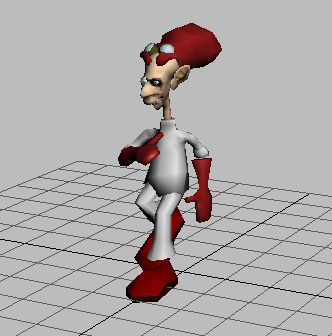
Dr. X with spring in his step.
You can edit the head motion to make the biped’s walk look more natural. In this procedure, you'll add head rotations to accentuate the COM rotation.
(Auto Key), if it isn’t
on already.
(Key Mode Toggle), if it
isn’t on already.
 (Select And Rotate).
The head rotated downward.
Rotate the head to follow the movement, or rotate the head to oppose the shoulders.
Natural head motion is smooth, so the orientations should change gradually from one key to the next.
 (Auto Key) and
  (Key Mode Toggle).
You can now save your work as mywalk4.bip. You can check your file against head_rotate_with.bip and head_rotate_against.bip. Both these BIP files are in the folder \sceneassets\animations\.
Dr. X's distinctive walk with head rotation.
To see a finished version of the walk, you can go to \scenes\character_animation\footstep_animation and open distinctive_walk.max.