


Set Up the Scene
The first steps are to configure animation for the walk cycle, and then to adjust the biped
 (Open File), navigate to
the \character_animation\quadruped folder,
and open quadruped_walk_1.max.
(Open File), navigate to
the \character_animation\quadruped folder,
and open quadruped_walk_1.max.
This file contains the biped used for the dog. It is posed on all fours, and has a tail.
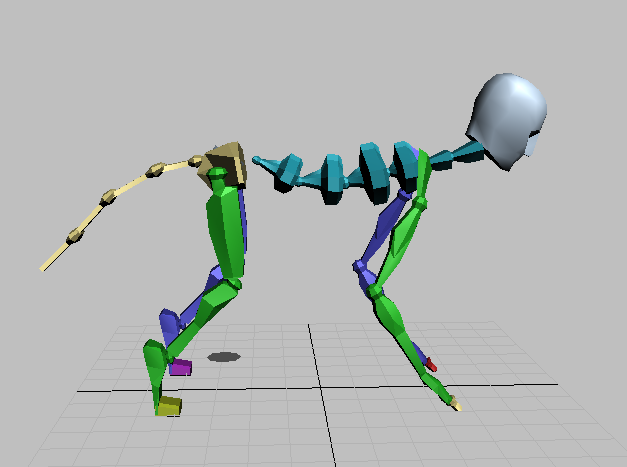
If you prefer to start from scratch, you can duplicate this pose by rotating and moving the biped’s pelvis, arms, and head.
Configure time and Auto Key behavior:
 (Time Configuration) to
open the Time Configuration dialog.
(Time Configuration) to
open the Time Configuration dialog.
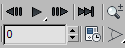
This button is located among the animation playback controls.
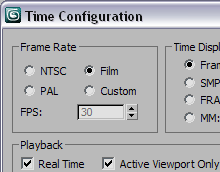
The rate of 24 fps is easier to work with, given our choice of a 12-frame cycle for each pair of limbs. If later you want to output to NTSC video, which has a frame rate of 30 fps, you can change the rate before you render.
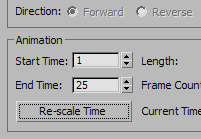
This gives a 24-frame animation, with an extra frame at the end so the walk cycle loops smoothly when you play it as feedback in 3ds Max viewports. When you’re done, frame 1 and frame 25 will have the same pose. If you were using the walk cycle in another context (for example, moving the walking dog along a path), you would trim off frame 25 and use the cycle of frames 1 through 24 in the larger animation.
 Preferences, and go to the Animation tab.
In the Auto Key Default Frame group, make sure On is turned on,
and change the frame value to 1.
Preferences, and go to the Animation tab.
In the Auto Key Default Frame group, make sure On is turned on,
and change the frame value to 1.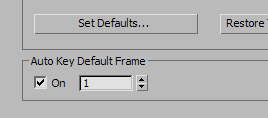
This sets Auto Key to set an original-value key at frame 1, the first of this animation, when you create a key at a different frame.
Set the biped to use ForeFeet.
 Motion panel.
 (Figure Mode) to turn it on.
ForeFeet causes the biped fingers to behave like toes. You can think of this option as “Four Feet.”
 (Figure Mode) again to turn
it off.
(Figure Mode) again to turn
it off.
 (Zoom Extents).
 rotate it so it is parallel
with the ground plane: about –30 degrees in the local Z axis.
rotate it so it is parallel
with the ground plane: about –30 degrees in the local Z axis.
 (Select By Name) to select
the biped’s left finger (Bip01 L Finger0), and rotate it as you did the
right finger.
(Select By Name) to select
the biped’s left finger (Bip01 L Finger0), and rotate it as you did the
right finger.
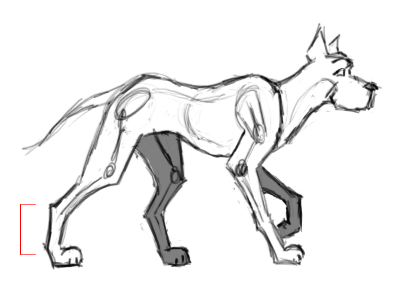
Elongated hind foot in a familiar quadruped