


Creating Animated Bones
with Biped
You can take the animated biped skeleton and use it to generate a 3ds Max bone structure that follows the same animation, by using the File Export and Import capabilities. In just a few steps, you will be able to take your biped animation and use it without the biped attached.
 (Open File), navigate to
the \character_animation\freeform_animation folder, and
open createbones_start.max.
(Open File), navigate to
the \character_animation\freeform_animation folder, and
open createbones_start.max.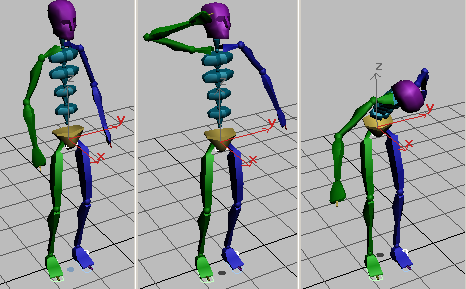
Biped takes a bow.
Create animated bones from bipeds:
 Application menu, choose Export.
Application menu, choose
Reset.
Application menu, choose
Import, then import the FBX file you just exported.
Application menu, choose Export.
Application menu, choose
Reset.
Application menu, choose
Import, then import the FBX file you just exported.
Use the Advanced Bone Options dialog that opens
to set the Bone Objects  Width
and Length both to 3.
Width
and Length both to 3.
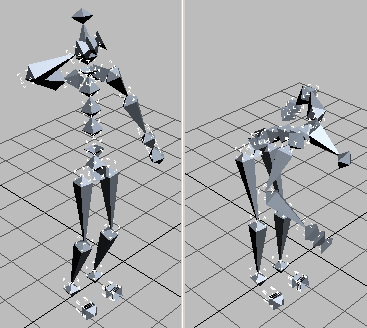
A bone skeleton appears in the viewport.

The skeleton has the identical animation as the original biped.
See MotionBuilder Interoperability for more information about working with bone animation, FBX files, and the MotionBuilder application.
This tutorial showed you a variety of ways to animate a Biped without using Footsteps mode. In addition, it showed how you can apply a Biped animation to a skeleton made from 3ds Max Bones.