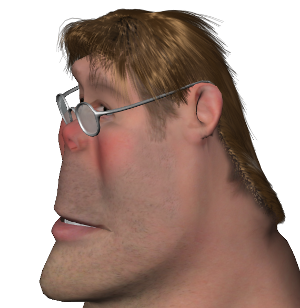
You can create hair by emitting it from a number of different objects, such as polygons, curves, and NURBS surfaces. After you create hair, you see the guide hairs appear. Hair is actually represented by two types of hairs: guide hairs (curves) for styling, and render hairs for viewing and rendering.
You can create, edit, and render as many instances of hair as you like in a scene. When you create hair, a hair primitive object and its hair generator are created for each object or component to which you have applied hair.
The first step for creating hair is to set up the objects or components that will emit hair. Hair can be emitted from polygon meshes, selected polygons, polygon clusters, geometry-approximated subdivision surfaces, NURBS surfaces and subsurfaces, and curves.
Once you have set up the object, cluster, or curves as you like, you can emit hair from it:
To emit hair from NURBS surfaces and subsurfaces, or polygon meshes, see Emitting Hair from Objects.
To emit hair from polygon clusters or selected polygons, see Emitting Hair from Clusters.
To emit hair from polygon meshes with geometry-approximated subdivision surfaces, see Emitting Hair from Subdivision Surfaces.
To emit hair from curves, see Creating Hair between Curves.
You can apply hair to the same object, cluster, or polygon more than once. This lets you, for example, create fuzz on a caterpillar for its undercoat and long stiff hairs for its spikes.
When you create hair, it is pose-constrained to the hair emitter. This means that the hair object's global transformation values (scaling, rotation, translation) are constrained to the emitter's transformation. As well, the hair object's local transformation parameter are muted. For information on the pose constraint, see Pose Constraints [Animation].
Having the hair pose-constrained to its emitter makes it easier to animate hair as part of character rigs, such as having hair enveloped or animated using deform operators.
You can make hair a part of a character, especially within the structure of a model, and then transform that character as you like; for example, branch-select and transform the emitter object and the hair strands stay with it. The hair object's centre, however, stays at the global origin which matters for deformations.
After you apply hair to the emitter object, you can change its topology, such as changing its subdivisions, or adding and deleting polygons or points.
Before you make any modifications, however, you should freeze the hair's operating stack (see Progressive Styling by Freezing the Stack) to keep the current hair style and turn off dynamics (see Making Hair Move with Dynamics). This way, the hair looks for the guide hair at the closest vertex and bases the creation of new guide hairs on that one instead of using the default guide hair state.
When you scale the emitter, the hair scales with it because the hair object's transformation is pose-constrained (which constrains scaling, rotation, and translation) to the emitter's transformation.
If you are scaling the emitter in non-uniform scaling mode, you may find that the hair styling will look distorted. For example, if the emitter is squashed down on the Y axis, the hair appears to stretch as you pull it horizontally and shrink when you pull it vertically. You should probably avoid using this scaling mode with hair.
When things get too hairy, you can delete the hair object by selecting either it or its hair generator operator and pressing Delete. This does not remove the hair emitter object.
 Except where otherwise noted, this work is licensed under a Creative Commons Attribution-NonCommercial-ShareAlike 3.0 Unported License


