Use bump mapping to create the appearance of detailed relief on a model or object with simple geometry.
To create the appearance of a Bump Map texture on a model or object with simple geometry, and see the result in the Viewer (window), you need to perform the following four procedures.
To attach a texture to the Material's Diffuse property of an object:
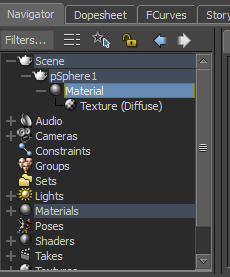
Texture added to the Material's Diffuse property
The Scene browser and the Material Settings pane displays a Texture attached to the Material's Diffuse property.
All materials, shaders, and textures you apply to models and objects are also displayed in their respective Materials, Shaders, and Textures branch in the Navigator Scene browser.
You can now import a file to use as a texture for the object.
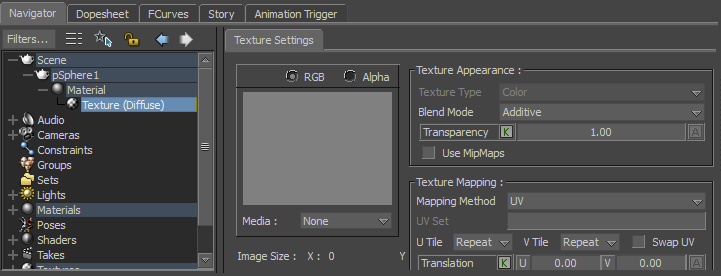
Navigator window Texture Settings pane
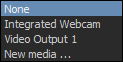
The Media field includes three options.
The Viewer window displays the texture applied to the object.
The Texture Settings pane displays the preview of the texture.

Navigator Window Texture Settings pane
The Navigator Scene browser displays the name of the imported file used as the texture for the object.
The Material Settings pane displays the preview of the texture and the texture applied to the Material Settings Diffuse property.
To add a Bump Map shader to the object:
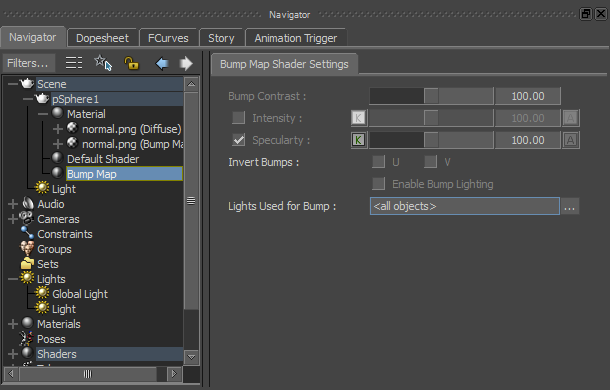
In the Navigator window, the Bump Map Shader Settings pane displays and the Scene browser displays the Bump Map attached to the Material.
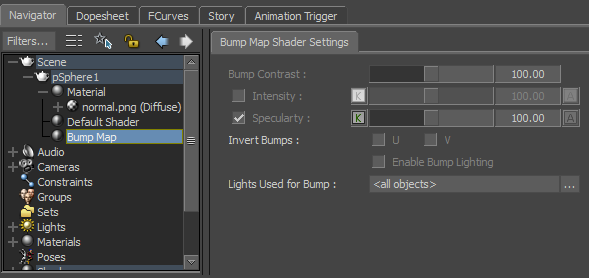
Bump Map Shader Settings
To attach the object's texture to the object's Material Bump Map property:

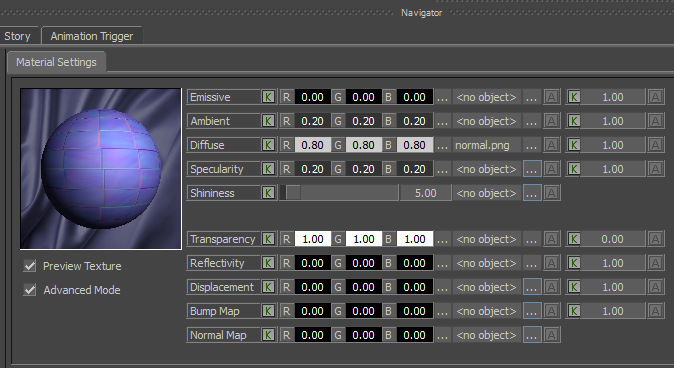
Material Settings
The Material Settings pane displays a texture attached to the Material's Diffuse property, and a thumbnail view (Preview Texture) of the texture.
The Material's Transparency, Reflectivity, Displacement, Bump Map, and Normal Map properties are not available when the Advanced Mode is disabled.
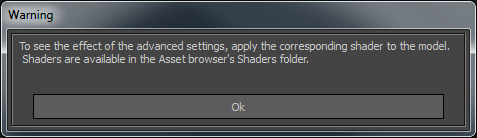
The Material Settings Advanced Mode enables you to access the settings that require a shader to display the result in the Viewer window.
The Material Settings in the Advanced Mode are now accessible.

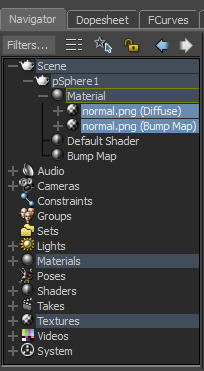
The Navigator Scene browser and Material Settings pane show the texture is now attached to the Material's Bump Map property.
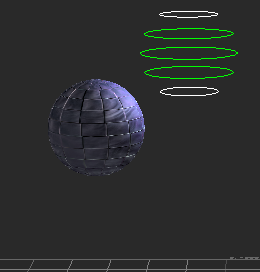
Although you added a texture and a Bump Map shader to the object, the Viewer window does not display the appearance of detailed relief on the object because there is no light in the scene.
The following screen shot displays a scene with a textured object and no lights. The object's texture is attached to the Bump Map and Diffuse Material properties.

The appearance of detailed relief of the object is now visible in the Viewer as shown in the following screen shot.
(Optional) To fine-tune the Bump Map effect:
 Except where otherwise noted, this work is licensed under a Creative Commons Attribution-NonCommercial-ShareAlike 3.0 Unported License


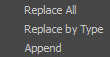
 context menu appears.