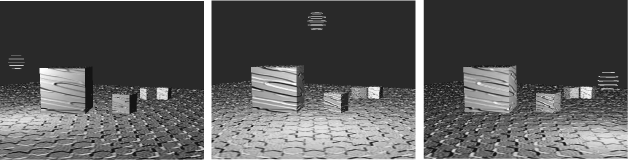
You can also use the Dynamic Lighting shader to read relief from Normal maps.
To add relief with a normal map:
- In the Asset browser, expand the Shading Elements folder and select the Shaders folder.
- From the Shaders folder, drag a Dynamic Lighting shader onto the objects you want to affect.
- From the Shading Elements folder, drag a Texture asset onto the same objects.
NoteYou can also apply a Layered Texture asset.
See Blending multiple textures.
- In the menu that appears, select Attach Texture to Material > Normal Map.
NoteYou can select Bump Map instead of Normal Map.
A new material is created if no material was applied to the model. The texture is attached to the materials’ Normal Map property,
and the material attached to the model. If there was already a material attached to the model, the texture is attached to
its property and no new material is created.
NoteIf you selected “Attach Texture to Material > Bump Map”, the texture is attached to the material’s Bump Map property.
- In the Navigator, expand the Textures folder and double-click the new texture to see its settings.
- In the Texture settings, select New Media in the Media menu then browse to select a Normal map texture.
The texture appears on the model in the Viewer.
 Except where otherwise noted, this work is licensed under a Creative Commons Attribution-NonCommercial-ShareAlike 3.0 Unported License