The character studio feature set in 3ds Max provides professional tools for animating 3D characters. It is an environment in which you can quickly and easily build skeletons (also known as character rigs) and then animate them, thus creating motion sequences. You use the animated skeletons to drive the movement of geometry, thus creating virtual characters. You can generate crowds of these characters and animate crowd movement using a system of delegates and procedural behaviors.
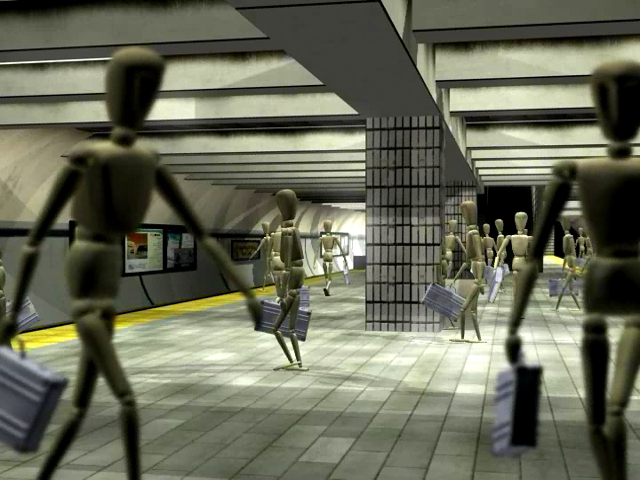
Crowd of mannequins in a subway station animated using character studio
character studio comprises three components:
If you are new to 3ds Max, read What You Should Know to Use character studio and Understanding character studio Workflow.
If you are already use 3ds Max, proceed to Understanding Biped to continue.
To find out about Physique, read Understanding Physique.
To learn about the Crowd system, read Crowd Animation.
character studio is a set of components that provides a full set of tools for animating characters.
character studio provides a broad range of tools for animating virtually any type of character.
Biped is a 3ds Max component that you access from the Create panel. Once you create a biped, you animate it using the Biped controls on the Motion panel. Biped provides tools to let you design and animate the figures and motion of characters.
Physique is a modifier that, when applied to a mesh, allows the movements of an underlying skeleton to move the mesh seamlessly, like bones and muscle under a human skin. Physique works on all point-based objects including geometric primitives, editable meshes, patch-based objects, NURBS, and even FFD space warps. For NURBS and FFDs, Physique deforms the control points, which in turn deform the model. You can attach it to any skeleton structure including a biped, 3ds Max bones, splines, or any 3ds Max hierarchy. When you apply Physique to the skin objects and attach the skin to the skeleton, Physique determines how each component of the skeleton influences each vertex of the skin, based on settings you specify.
There are several places to view your animation represented as tracks in 3ds Max. These views include the Track Bar and Track View . The tracks can be displayed as function curves, or as keys and ranges on a box graph. character studio makes special use of function curve editing capabilities with a customized version of the Track View - Curve Editor called the Animation Workbench.
The Workbench User Interface is a curve editor customized for use with character studio. It provides specialized tools for selecting and displaying curves, and also for locating and fixing errors and discontinuities in motion. It is a visualization tool that allows you to see and manipulate quaternion function curves represented as euler angles. Also you can see curves for the position of a biped body part in any coordinate space.
Motion Flow is a tool that graphically arranges clips (motion files) so that animation transitions smoothly from one clip to the next. You can use a Motion Flow graph to set up a series of clips with transitions between them. The biped then performs the series of motions in sequence.
The Crowd system in character studio lets you create realistic simulations using large groups of characters, humanoid and otherwise, that behave and interact with one another by procedural means. You can use it to easily animate scenes containing hundreds of people and/or creatures, all with similar or widely varying sets of behaviors. These can vary dynamically according to other factors in the scene.
Biped, Physique, and the Crowd system work together within 3ds Max to provide a complete set of character-animation tools. Although these components can be used in a variety of ways, it is helpful to approach character studio with a basic understanding of how a typical character animation is created.
To work most efficiently with bipeds, it is important to follow the general workflow described in this topic.
Use the Physique modifier to attach a skin to a skeleton structure such as a biped. The skin is a 3ds Max object: it can be any deformable, vertex-based object such as a mesh, a patch, or a shape. When you animate the skeleton with skin attached, Physique deforms the skin to match the skeleton's movement.
The crowd-animation system in character studio is designed to simulate the behavior of real-life crowds. A crowd simulation emulates real-life situations by animating delegates (helper objects that act as representatives). You give the delegates overall guidelines on how to behave, and the crowd simulation calculates their motion.
There are two topics in this section: a summary of the file formats used by character studio, and an index to the procedures in the character studio, topics.


