Command entry:
Create panel


(Shapes)
Splines
Object Type rollout
Helix
Command entry:Create menu
Shapes
Helix
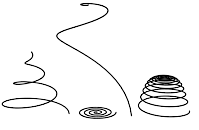
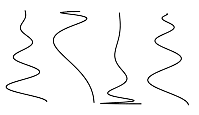
Use Helix to create open flat or 3D helices or spirals.
Procedures
To create a helix:
- Go to the Create panel and turn on (Shapes).
- Click Helix.
- Choose a creation method.
- Press the mouse button to define the first point of the Helix start circle.
- Drag and release the mouse button to define the second point of the Helix start circle.
- Move the mouse and then click to define the height of the Helix.
- Move the mouse and then click to define the radius of the Helix end.
Interface
Rendering rollout
All spline-based shapes share these parameters. See Splines for explanations of these parameters.
Interpolation
The helix differs from other spline-based shapes in that it always uses adaptive interpolation: the number of vertices in a helix is determined by the number of turns.
Creation Method rollout
The Helix shape uses the standard creation methods of Center or Edge. Most spline-based shapes share the same Creation Method
parameters. See Splines for an explanation of these parameters.
Parameters rollout
Once you have created a helix, you can make changes using the following parameters:
- Radius 1
-
Specifies the radius for the Helix start.
- Radius 2
-
Specifies the radius for the Helix end.
- Height
-
Specifies the height of the Helix.
- Turns
-
Specifies the number of turns the Helix makes between its start and end points.
- Bias
-
Forces the turns to accumulate at one end of the helix. Bias has no visible affect when the height is 0.0.
- A bias of –1.0 forces the turns toward the start of the helix.
- A bias of 0.0 evenly distributes the turns between the ends.
- A bias of 1.0 forces the turns toward the end of the helix.
- CW/CCW
-
The direction buttons set whether the Helix turns clockwise (CW) or counterclockwise (CCW).