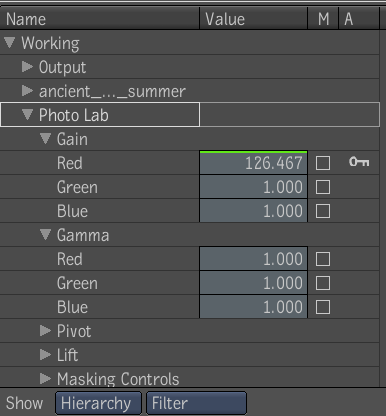
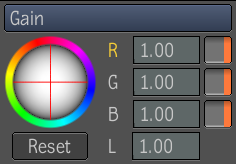
This example consists of a simple animation where the Photo Lab red channel Gain attribute drives the Radial Ramp tool's Y Center attribute—see Setting Keys Manually, Radial Ramp Tool, and Processing Images with Photo Lab.
To create an animation where the Photo Lab's red channel Gain attribute drives the Radial Ramp's Y Center position attribute:


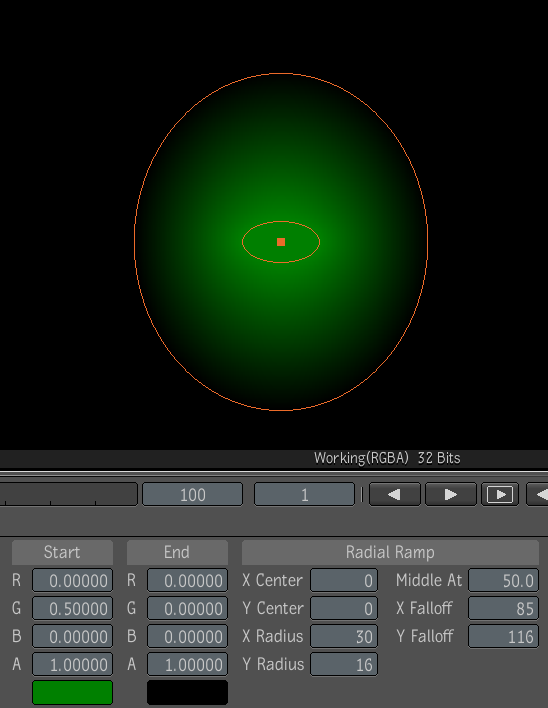
| Attribute | New Setting |
|---|---|
| Start Color Green (G) channel | 0.500 |
| X Radius | 30 |
| Y Radius | 16 |
| X Falloff | 85 |
| Y Falloff | 116 |
The Radial Ramp should look like this.
You can now set an expression for the Y Center attribute that enables it to be driven by the Photo Lab's Gain, Red channel attribute.
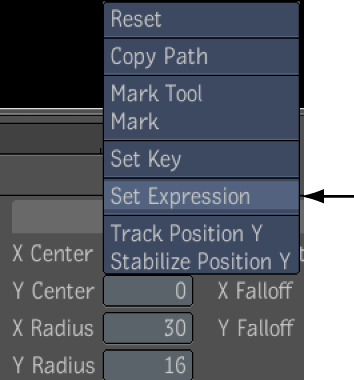
The Expresso Calculator appears along with a dashed green line at the top of the Y Center value field. This indicates that an expression has been applied.
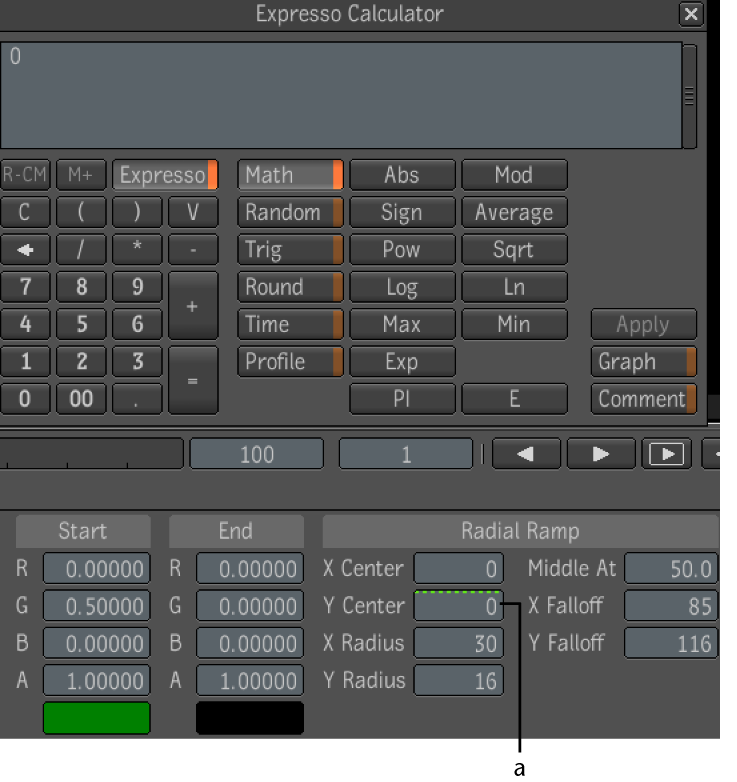
(a) Bar above value changes to a dashed green line

This string is typical of what an expression looks like. The Y Center of the Radial Ramp points to the red channel of the gain controls in the Photo Lab tool, and links them. If you are familiar with expressions, you can simply type the expression into the text field (using the correct syntax and order), but if you are not sure of the exact sequence or writing convention, you can cycle through the various expression tokens that make up the string by using Alt + slash (/) on the keyboard.
By opening a Composition Browser view, you can see the socket names of each tool attribute once the menus are expanded. You can use these names as a reference when creating expression strings, as this is how they should look in the expression.
