When working with high-resolution material in Lustre installations that do not include Incinerator, the speed of interaction can decrease substantially as grading effects are added, compromising real-time playback. For faster interaction with the application, you can generate lower resolution proxies of your footage and perform the colour grading on the proxies. After the grading is complete, you can easily render the colour grading data to the full-resolution version.
If you plan on using proxies on a project, it is recommended that you generate them at the beginning of the project so that you will have them available when needed. Proxies are stored in a sub-directory of the scans directory, at the same directory level as that of the original footage.
You can specify the proxy generation filter by selecting the one you need in the Rendering menu. See Rendering Settings.
An alternative to generating proxies in Lustre is to create them using another means outside the application, and place them in a directory with a name composed of the resolution (for example, 1024x778). See Recommended Directory Structure for Projects.
To override the filter specified in the configuration file, enter the appropriate proxy generation filter in the Command Line Renderer. See Command Line Renderer.
| Enable: | To enter: |
|---|---|
| Percent | The size of the proxy as a percentage in the Percent field. |
| Pixel | The width of the proxy in pixels in the Pixel field. |


(a) Percent button (b) Percent field (c) Pixel button (d) Pixel field
Modifying a value in one field automatically updates the value in the other field.
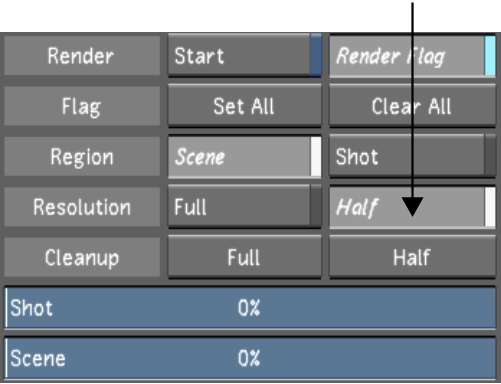
The Generate button changes to a Stop button, and proxy generation starts at the first frame of the current shot. It continues through to the end of the cut unless you abort the process by clicking the Stop button.