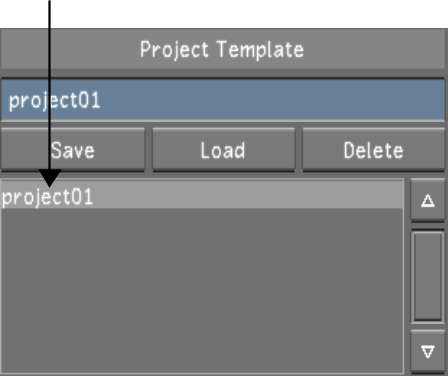
As you create project after project, there may come a time when you need to change a few of the settings and you do not want to create an entire new template. You can accomplish this by using the edit feature.


| Select: | To configure: |
|---|---|
| Project | The name and location of the project. See Project Settings. |
| Calibration | Default system calibration settings and define the default Print LUTs for a project. See Calibration Settings. |
| Rendering | Default rendering settings for a project. See Rendering Settings. |
| Engineering | Default video and graphics settings for a project. See Engineering Settings. |
| Network Rendering | Default Backburner/Burn, Slave Renderer, and Wiretap directory paths and settings for a project. See Network Rendering Settings. |


