Lustre has several ways to view and work with single or multiple shots in the Player or the SDI monitor.
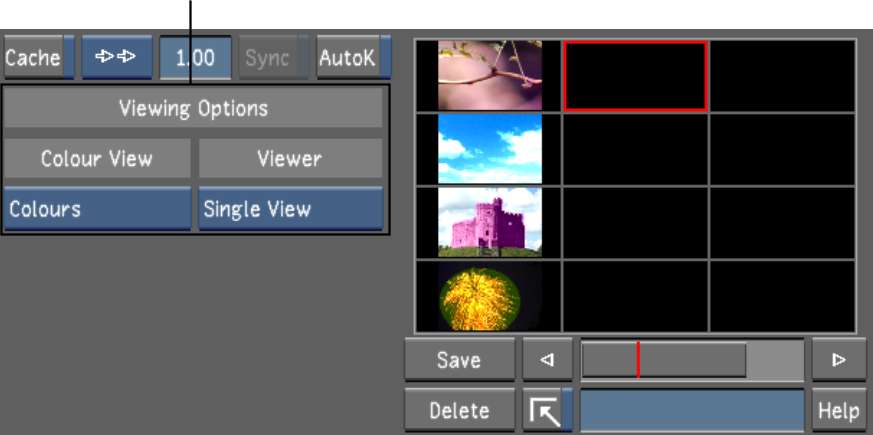
Within the Viewing Options, you can select the following:
If you are working in a stereoscopic project, you can also use this mode to display the image for the Left and Right Eye of the current frame at the same time. See Viewing Stereoscopic Footage in Dual View .
To enable the viewing options:


The Viewing Options panel appears to the left of the Grade bin.
Cycle through the following options:
| Select: | To display: |
|---|---|
| Single View | The default viewer. The viewer displays the image of the current playhead. |
| Dual View | The images of Playhead A and Playhead B. See Using Dual View. For a stereoscopic project, it displays either Playhead A and Playhead B, or the Left Eye and the Right Eye. See Viewing Stereoscopic Footage in Dual View. |
| Multi View | 2, 4, 9, or 16 shots. See Using Multi View. |
The Viewing Options are also accessible through the Autodesk Control Surface panel. See Player Viewing Options.


