You typically set project preferences when you first set up a project. If you modify preferences during the project, the changes take effect from that point on. The changes do not affect operations performed using the previous preference settings. For example, if you change the Channel setting in the Composition preferences from RGB to RGBA, the change has no effect on compositions you created previously; those compositions remain RGB.
All operations you perform during a session use the project preferences of the currently open project.
Project preferences from a read-only file are not modifiable, unless saved under a different location with read/write permissions, and then reloaded.
The Project Preferences window is displayed.

Information on the project is displayed on the Information tab. It contains basic information that is set automatically when the project was created. You can enter a description of your project in the Description field. The remaining tabs contain the preferences you can set for the project.

Home Folder Indicate the path for the home folder.
Monitor Executable Enter the command line that launches the render queue monitor.
These preferences apply only to compositions you create in the project. The compositions Composite creates when you import media retain their original format information.
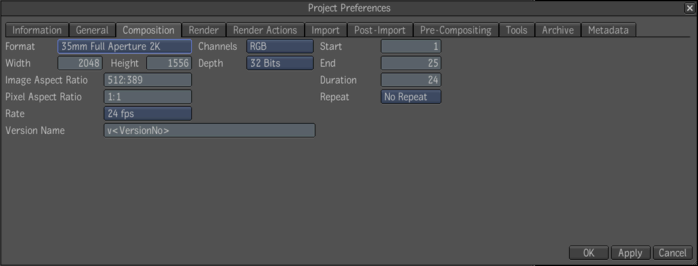
Format Set the media format for the project. Select Custom to define a custom format.
Width, Height Displays the width and height (in pixels) of the selected format. If you selected Custom in the Format box, you can click in these boxes and edit the values.
Image Aspect Ratio Displays the image aspect ratio of the selected format. If you selected Custom in the Format box, you can click in this box and edit the ratio.
Pixel Aspect Ratio Displays the aspect ratio of each of the pixels of the selected format. If you selected Custom in the Format box, you can click in this box and edit the ratio.
Rate View the frame rate of the selected format. Click to display the list of frame rates available for this format, and select the one you want to use.
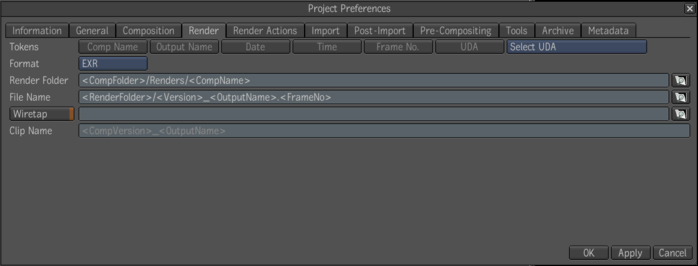
Version Name Enter a default name pattern for new versions created in compositions. You can enter any alphanumeric character, or click the Comp Name, Date, Time, or Frame No. buttons to insert any of those variables as part of the name. If you defined custom attributes, you can also insert any of these as variables in the file name. Click the Select UDA button to select the custom attribute you want to insert, then click UDA to insert it. Note that the file name, after all variables are resolved, cannot exceed 126 characters in length.Select a name for the composition version.
Channels Select the channels you want the media for the new composition to have by default. Select A to only have the alpha channel, RGB to have only red, green, and blue channels or RGBA to have all channels (red, green, blue, and alpha).
Depth Select the bit depth (8, 16, or 32 bits) for new compositions.
Start, End, Duration Set the start, end, and duration of the footage.
Repeat Select the default repeat mode (Hold, Loop, Ping-Pong, No Repeat) for new compositions when you play them in the Player.

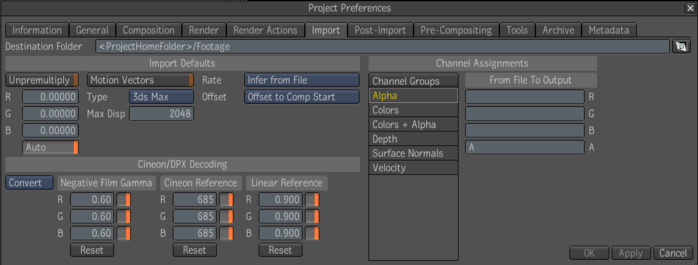
Destination Folder Enter the path to the project folder in which you want to import media, when using the Import as Footage actions in the contextual menus. By default the path is ad rectory inside the project home folder, but you can specify any folder.

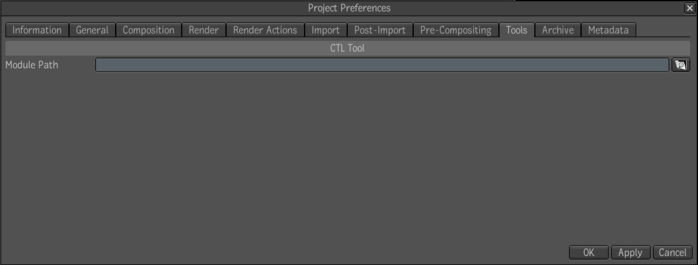

Archive Name The name template, using substitution tokens, that you select for the archive.
Archive Folder The folder or folder template (using substitution tokens) in which archives are stored.
Archiving Executable The command line that executes when you perform an archive operation in Composite. It starts the archive.py script, located in the \resources\bgTasks folder of the Composite program folder. Consult the script for an explanation of each of the command line options. You can click in the Archiving Executable field to edit the command line. For example, you can edit the argument for the silent option to prevent Composite from asking what archiving options you want to use (i.e. you are always comfortable with the defaults).
The following are illegal characters in file names and will cause the archiving to fail: *?:”<> (asterisk, question mark, colon, quote mark, open angle bracket, close angle bracket).
Restore Executable The command line that executes when you perform a restore operation in Composite. This command line launches the restore.py script, which is located in the \resources\scripts folder of the Composite program folder. Consult the script for an explanation of each of the command line options. You can click in the Restore Executable field to edit the command line (for example to change the script that the command line launches).
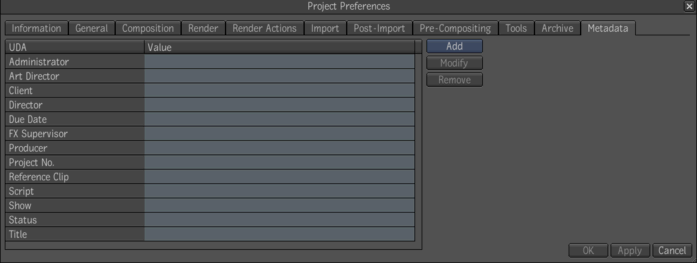
Any change done to a project must be confirmed using the OK button (to confirm + dismiss) or Apply (to confirm and stay open).