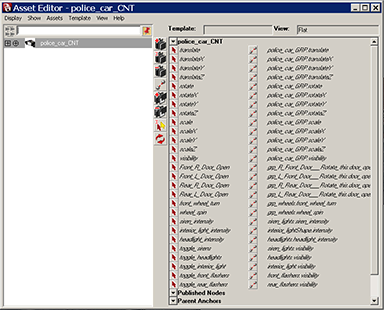
You can use assets to replace the existing police car in the scene with the fire truck model you created in Lesson 1, without losing the existing animation.
First you need to make sure that the published attributes of the police car and fire truck match precisely. To do this, you can reuse the template you created in Lesson 1 from the fire truck to define the police car.
To assign a template to a container

 ).
).
If you didn’t start at Lesson 1, navigate to Getting Started/Assets/assets/templates and select the file emergency_vehicle.template.
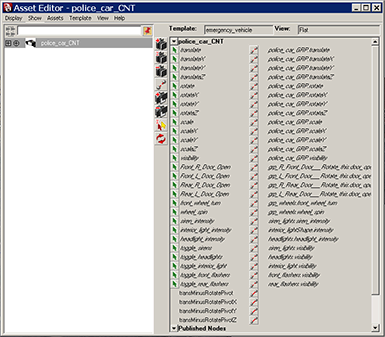
A number of the attribute icons turn green, while others turn yellow. To better organize this, you can apply the template’s views.
The right panel is split into a number of sections.
The majority of the attribute icons in the police_car_CNT section are green. This signifies that they have been bound to identical published names that were found in the template.

However, there are a set of published names without icons next to them. These represent published names that the template is expecting, but couldn’t find. In some cases this may mean you need to bind and publish additional attributes to fulfill them.