


Learning Resources > Tutorials > Getting Started with Maya > Assets > Lesson 2: Using assets
in a scene >
Importing assets to dress
a scene
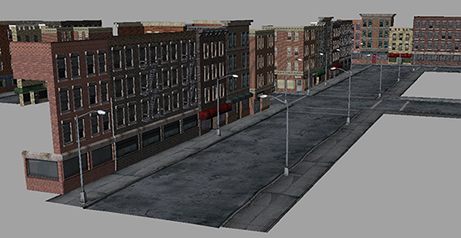
If you open the Outliner, you can see that this scene has already been organized into assets (the buildings and the animated police car). Now you can add some lightposts to make the city more believable.
To add lightposts to the scene
You can now duplicate this lightpost container to set up more lightposts in regular intervals across your scene.
To clean up the Outliner, you can select all the lightpost containers and place them all in a single container as well.
To create an container for all the lightposts
 .
.
Maya encapsulates all the lightpost containers into a single container.