Rotate joints while painting
skin weights
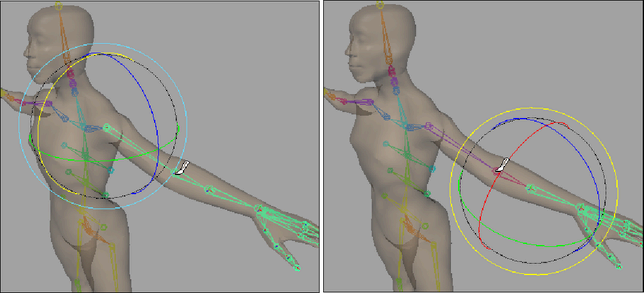
You can rotate your skeleton’s joints while using the Paint Smooth Skin Weights Tool. This is useful when you want to test the way your joints deform your bound geometry while painting their skin weights.
To rotate your joints while using the Paint Skin Weights Tool
 -click
the joint you selected in the tool settings to switch from the Paint
Skin Weights Tool brush to the Rotation manipulator.
-click
the joint you selected in the tool settings to switch from the Paint
Skin Weights Tool brush to the Rotation manipulator.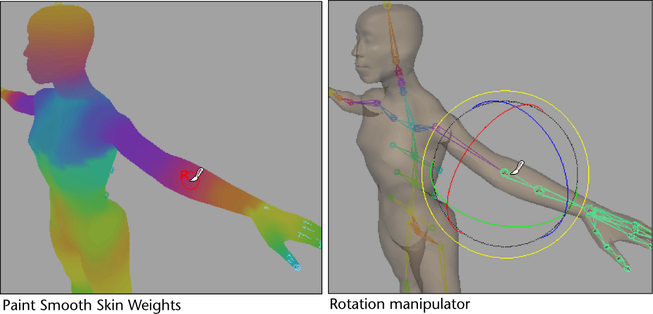
-click
the rotation axis you want to rotate about, and then -drag
to rotate the joint about the selected axis.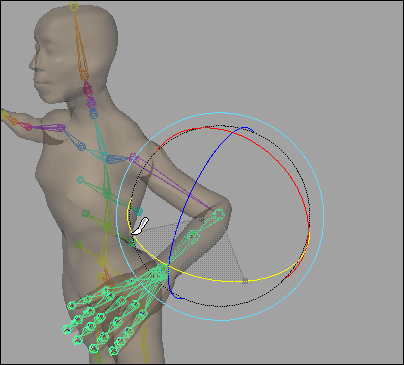
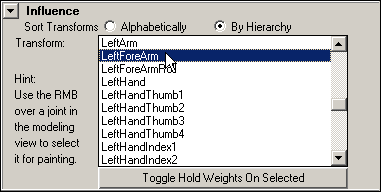
 and
and  arrow
keys to select other joints up or down the joint hierarchy. For
example, walking up the joint hierarchy to LeftArm (shoulder) or
down the hierarchy to LeftForeArmRoll.
arrow
keys to select other joints up or down the joint hierarchy. For
example, walking up the joint hierarchy to LeftArm (shoulder) or
down the hierarchy to LeftForeArmRoll.