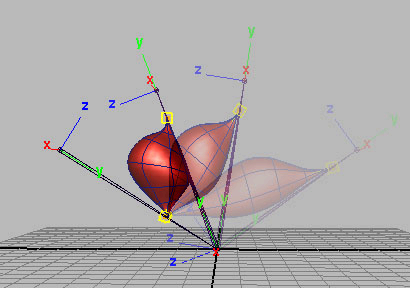
The Muscle Spline deformer is a deformer node that lets you deform any object based on a Muscle Spline. Since the deformation is based on the spline information, much of the previous section is related. The deformer itself takes connections/inputs from a Muscle Spline object as discussed earlier, and all of the Jiggle is based on the spline jiggling. Since the object is deformed from the spline curve, the geometry changes as the spline curve moves or changes.
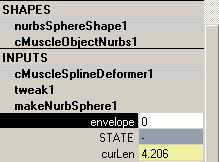
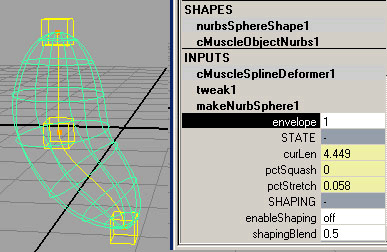
The Muscle Spline deformer is the typical deformer used to get muscle control. It has several main options including basic Squash and Stretch, and custom muscle/geometry shaping based on spline length.
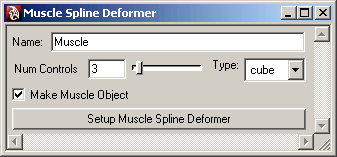
To apply a Muscle Spline deformer on any object
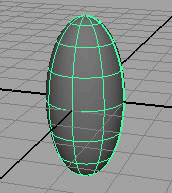
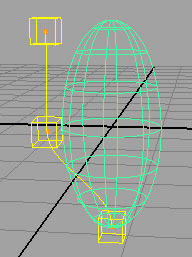
Typically, this is a NURBS surface so that the object can act as a muscle, but it does not have to be. A basic NURBS object is used in the following example.
The Muscle Spline Deformer tool appears with options for creating the Muscle Spline deformer node. See Muscle Spline Deformer tool.
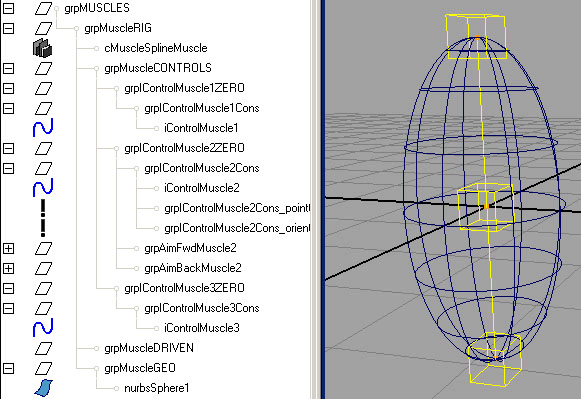
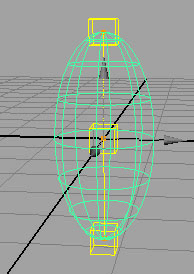
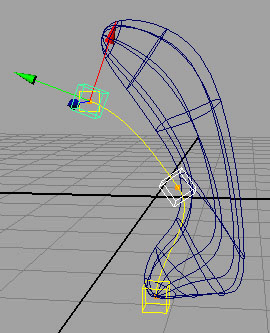
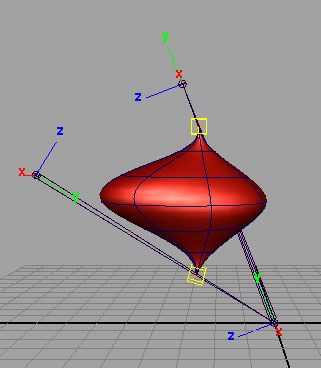
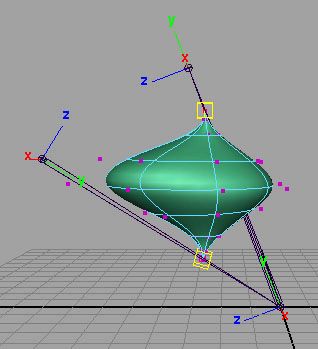
The geometry is rigged. A Muscle Spline node is created, a Muscle Spline deformer is applied to the surface, and all of the needed spline information is connected into the deformer.
Reset Base Pose for Muscle Spline deformer
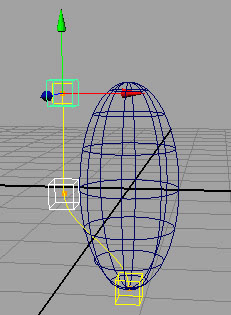
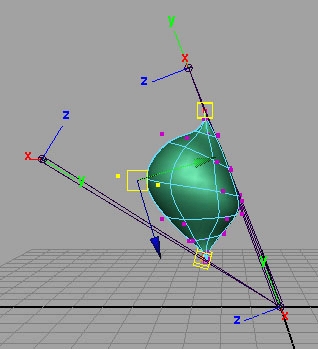
Once a Muscle Spline deformer is created, the control curve and controls are automatically placed inside the surface. In some cases, you may want to adjust the default location of the controls without affecting the surface. This lets you set up exactly where and how the curve is shaped before deformation is applied.
To do this, you adjust the controls, then reset the base pose for the deformer. This makes the current shape of the curve the default.
To reset the Base Pose for a Muscle Spline deformer

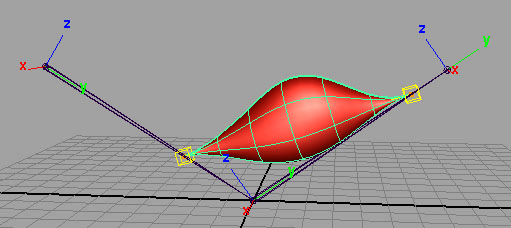
After a moment the object is reset as if it was not deformed. The current state of the spline is now used as the default state for the deformation.
Set up custom muscle shapes with the Muscle Spline deformer
If you use the Muscle Spline deformer, you can also use Custom Muscle Shaping. This tool lets you directly modify and sculpt the exact muscle deformation and shape you want for any length that the muscle is at. As the muscle length changes, each custom shape you make is triggered.
This is similar to creating a blendshape for the muscle driven by the muscle length, except that the deformation is tied directly into the Muscle Spline deformer, and you can directly modify the shape of the muscle in the current pose instead of having to sculpt in the original reset pose.
To set up custom muscle shapes
If Jiggle is on, the shaping you see is not accurate because the muscle shape includes the Jiggle effect. You can disable Jiggle by selecting each muscle control and setting the Jiggle amount for each to 0, or using the Muscle Parameters tab.
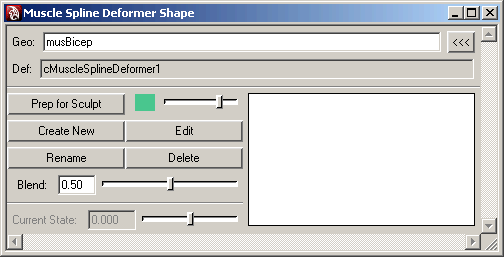
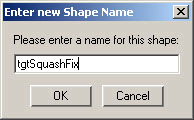
After a moment, the original object appears with the correction applied to it. The new or edited pose appears in the list on the right side of the dialog box with the Current State value the shape was made at next to the name.
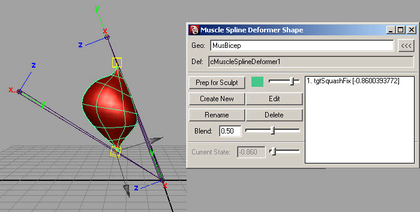
The muscle goes into the sculpted pose whenever it reaches the specified length. You can adjust the Blend value to control how the fading on and off for the shape occurs. Lower values make the shape appear only when the length is close to the length where the sculpt was done, larger values blend on even if the length is farther away. You can also edit the existing pose, or create more poses for other lengths.