 ❒
❒The control window opens.
Curve fit uses the algorithm from the Curve Edit > Fit Curve tool to fit a free curve to the underlying projected curve-on-surface. Match original projects the edit points first, then creates a curve between them.
The surfaces turn pink.
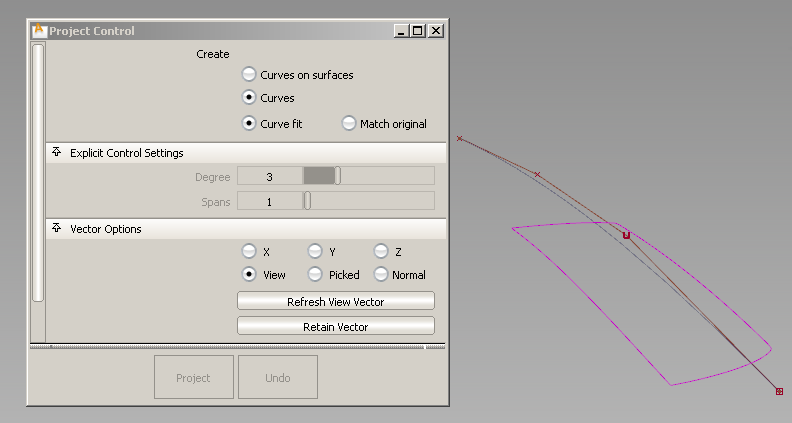
The curve is projected along the View vector of the active window, by default.
A free curve is created on the surface(s). By default, it has the same degree and number of spans as the original curve.
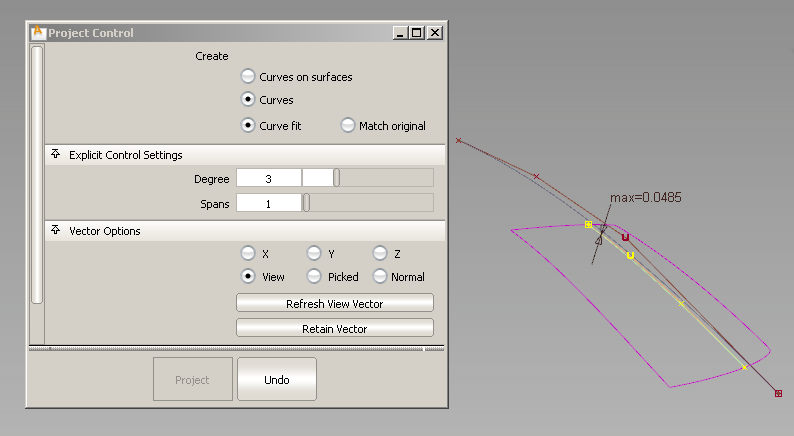
A deviation locator appears, showing the maximum distance between the projected curve and the surface.
The projected curve and its maximum deviation locator update accordingly.
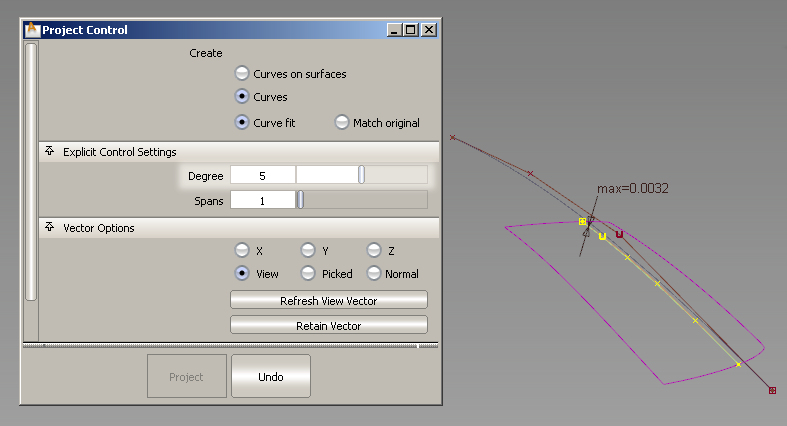
The degree was changed from 3 to 5. The deviation has decreased.
The Project operation can take time depending on the complexity of the objects. To cancel, press 
Vector Options in the control window let you change the direction of projection interactively, or re-project according to a different view. See Create curves-on-surface by projecting curves onto surfaces for more details.


