


Create curves-on-surface by projecting free curves or surface curves onto one or more surfaces.
The Project tool lets you specify and change the projection direction from within the tool, as described in the workflow below. By default, the tool projects along the view vector of the current window (that is, the direction the camera is looking at).
You can also use an external reference vector to specify the projection direction.
See Create or edit a reference vector
Create curves-on-surface by projection
 ❒.
❒.
The control window opens.
The surfaces turn pink.
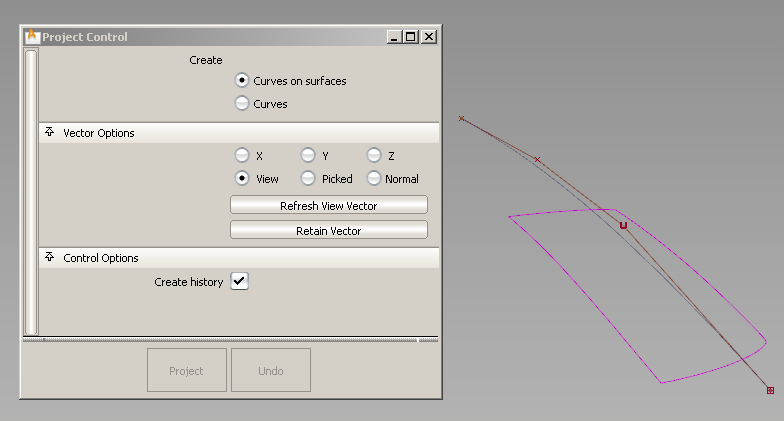
The curve is projected along the View vector of the active window, by default. A curve-on-surface is created on the surface(s).
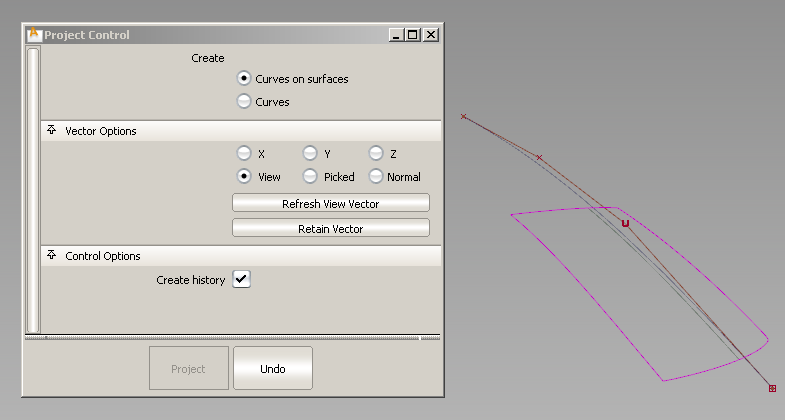
The curve-on-surface updates according to the new view vector in the Perspective window.
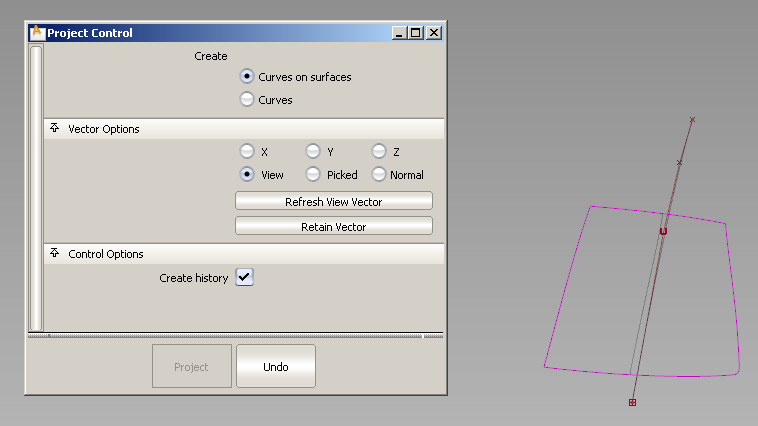
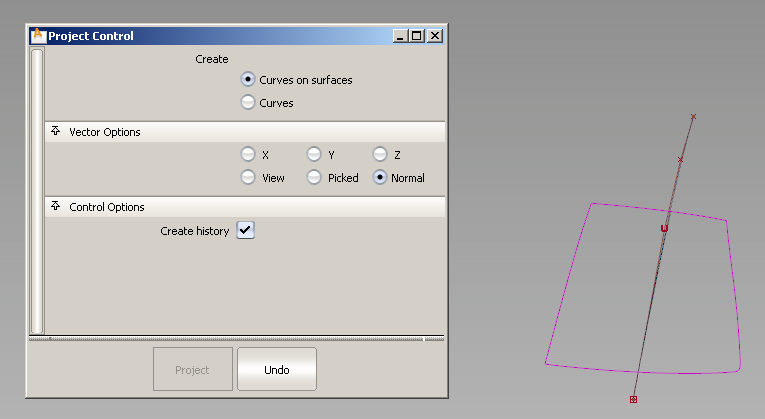
The curve-on-surface updates.
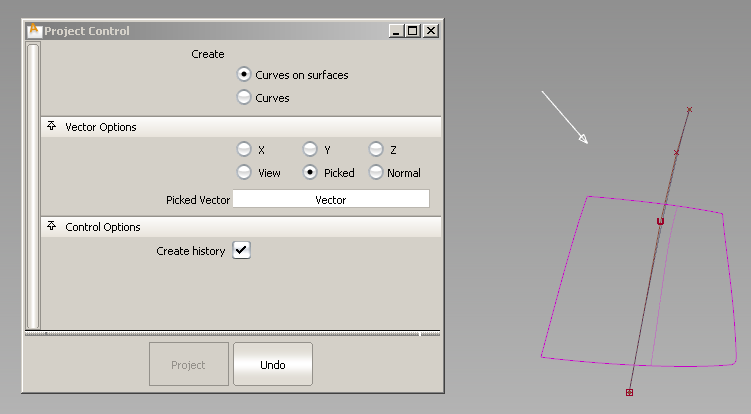
The name of the vector appears in the Picked Vector field. The curve-on-surface updates according to the picked projection vector.
 ).
).
The control window disappears.
 and select the curve-on-surface.
The Project tool control window opens. You can modify the options and watch the curve-on-surface update. This only works if the curve-on-surface was created with construction history.
