Choose Paint > Shape > Make Image Shape , click the curves that define the shape, and click Accept.
.
The Shape Editor opens, displaying the parameters previously saved for that tool.
The shape may not appear as you expect if a shape’s curves are 3D curves or if you drag a pick box around complex curve structures.
These curves will define the inner and outer boundaries of the shape. If a shape’s curves do not form a closed region, the end points of the curve will be connected by a straight line segment that does not have any outline properties.
The shape is created and the parameters from the Shape Editor are applied to it.
The shape updates interactively. You can also adjust the parameters in the Paint control panel.
If you edit the parameters of a new shape while still inside the tool, these new settings are saved for the tool. If you quit the tool before editing the parameters, these new settings apply only to the active shape.
To create a more complex shape
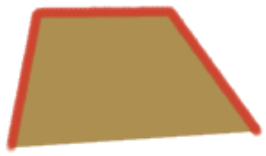
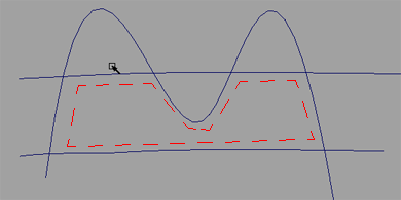
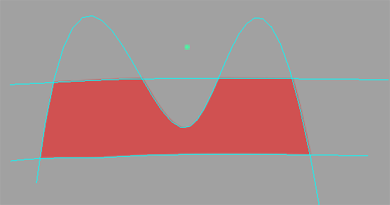
Certain shapes require selecting a curve in more than one location. In the example below, let’s say we want to create a Shape Fill for the region outlined in red.
(This workflow also applies to any of the Paint > Shape > tools).
 .
.
The Shape Editor opens.
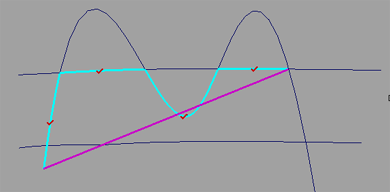
Small check marks show the points where you clicked. A thick line marks the outline of the shape defined so far.
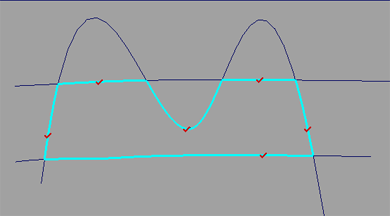
The correct shape is created.
Duplicating and mirroring shapes
Duplicating the shape geometry (with Edit > Copy and Edit > Paste) will also duplicate the shape.
Because shapes are constructed from curves, and curves are geometry, not paint, the only way to mirror a shape is to draw the initial curves on a Modeling Layer that has symmetry turned on.
See Organize objects on layers and Windows > Information > Layer Stats .
.
Paint > PaintSymmetry > Modify Canvas Brush Symmetry  only mirrors paint brush strokes.


