In this section, you will use Keypoint curves to create the outline of the MP3 player casing.
You will choose millimeters as the units for measurement and building, and use X, Y, Z coordinates to accurately position the curves.
To save time, you will build only one quarter of the geometry, and use symmetry to create the full model.
The dimensions of the casing are shown below:

For this tutorial, you will create a file and work from the dimensioned drawing to create your model.

Watch Part 1 of the tutorial.
 to open the File Browser.
If you already have a file open, you will be asked if it is OK to delete the current file.

Answer Yes.
An empty file is created.
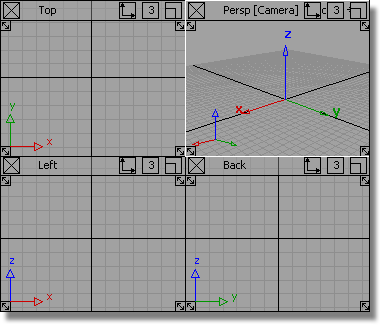
When you are using dimensions to specify a model in Alias, you first need to select which units to use.
All the commonly used units are available:
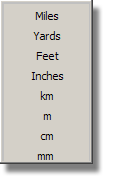
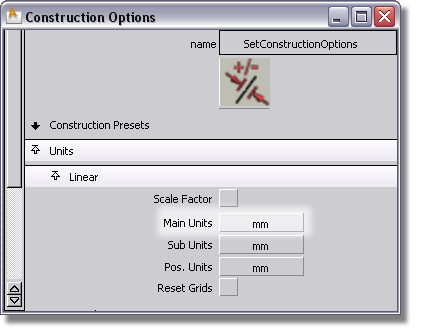
For this tutorial, you will be working in millimeters, so first you will ensure that the modelling units are set to mm.
 . In the Units section,
open Linear and check that the Main
Units are set to mm. Close
the window.
To help you visualize the scale of the new model, you will change the grid spacing.
 and double-click the icon
to open the option window.
Set the Grid Spacing to 10.0 mm in the Preset Grid Options window.


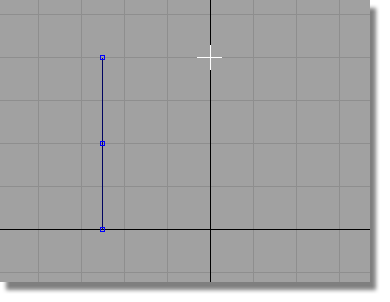
First, you will create the side and top curves of the MP3 player casing.
 and use the
  (Windows) or
  (Mac) key to
  the start of the line to the
origin.
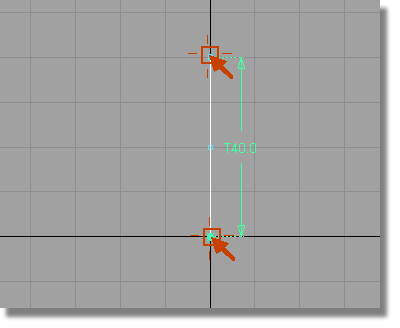
 and type in -25,0,0 at the prompt
window to move the curve 25 mm to the left in the x-direction.
Next, you will create the arc for the top of the MP3 player.
The arc will define one half of the design, which will later be mirrored. It is therefore important that the arc is tangent to the center line, so that it will create a smooth result when it is mirrored.
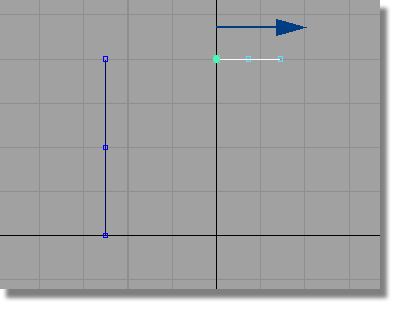
So first, you will create a horizontal construction line to help create a tangent arc.
 and use the
  (Windows) or
  (Mac) key to
  to the grid point at 0,40,0.
 , click to the right of the
grid to create a horizontal line.
Now you will create the arc at the top of the MP3 player.
 .
.
You are prompted to
Select the curve at location to make arc tangent to.
Click the horizontal line and, without releasing the mouse button, drag the start point to the left end of the line, where it meets the grid.
 and
and  (Windows) or
  and
and  (Mac)).
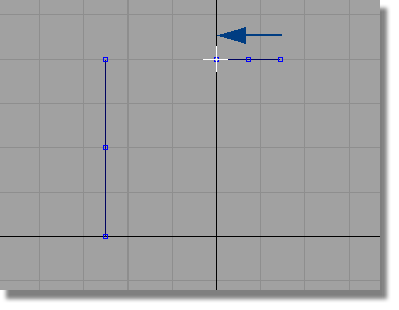
Enter end point of tangent arc.
Type -30,38,0 to position the end point.
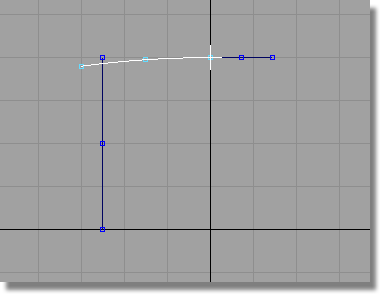
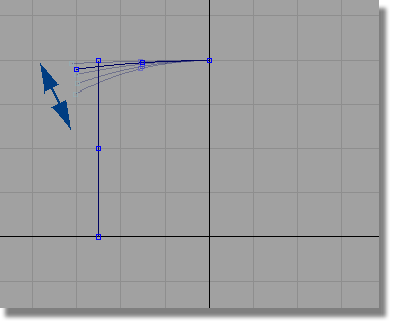
 and click and drag the end
of the arc until you achieve the desired curve. The curve remains
tangent to the center line.
 to select it, and press the
  key to delete it.
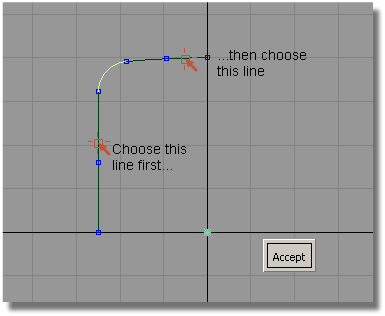
Now you will use the Curve Fillet tool to create a smooth corner.
 .
.
You are prompted to choose a curve.

Then you are prompted to choose a second curve.


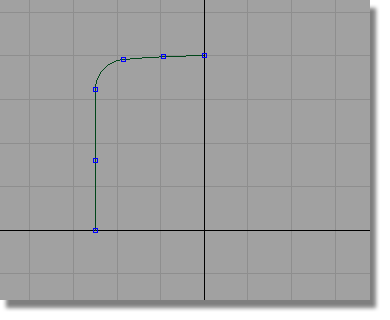
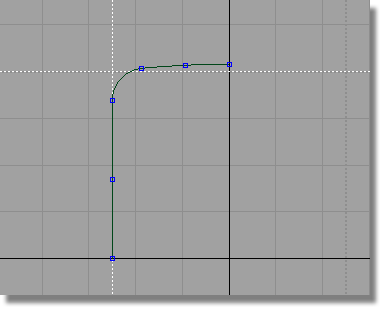
To delete the guidelines, choose Delete > Delete Guidelines  from the menu.
 to save the current scene.
For information on creating the Lessons project, or saving your work, see Saving your work in a Windows environmentor Saving your work in a Mac OS X environment.